Alright, adventurer! Ready to tackle the perplexing Weirdwood Mirage in *Dragon Quest 1 HD-2D Remake*? This area can be a real head-scratcher, but with the right strategy, you’ll clear it and vanquish those pesky Mirages in no time.
### **Prerequisite: Rescuing Princess Gwaelin**
Before you can truly navigate the Weirdwood, you *must* have rescued Princess Gwaelin. Her necklace is the key to dispelling the illusions within the forest. Without it, the Weirdwood’s true path will remain shrouded in mystery, and you’ll be stuck in an endless loop. Don’t fall for any rumors that suggest you need to drop her off at the castle; she can and should accompany you through the Weirdwood.
### **Navigating the Weirdwood Maze**
The primary goal upon entering the Weirdwood is to trigger a cutscene where Princess Gwaelin communicates with you through her necklace, dispelling the illusions and revealing the true path. While you might stumble upon it by chance, there’s a consistent route to trigger this event. You’ll need to follow a specific path three times in a row:
1. **Enter the Weirdwood** from the world map.
2. Walk **up (North)**, and take the **left path** at the first fork.
3. Use the **first path on the right** to continue upward.
4. At the next fork, go **right**.
5. Immediately take the **first path on the left** to continue upward, veering slightly to the right.
6. Follow this linear path until you hit a loading zone, which will send you back to the beginning of the Weirdwood.
7. **Repeat this exact sequence (steps 2-6) two more times.**
On the third successful completion of this route, the cutscene with Gwaelin will trigger. After the scene, a new, straightforward path North will open, leading you directly to the Silver Harp and the boss encounter.
### **Preparing for the Mirage Fight**
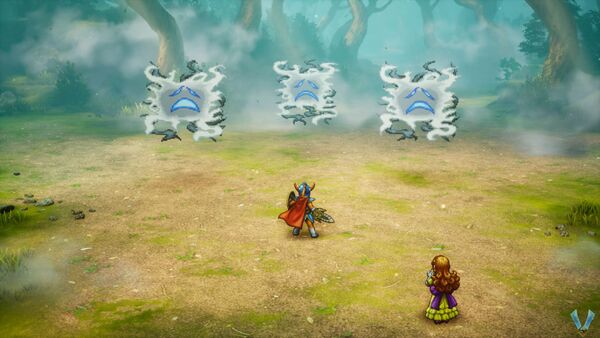
Immediately after the cutscene, you will face three Mirages. This is a significant difficulty spike, and going in unprepared is a recipe for a Game Over.
**1. Level Up:**
It’s highly recommended to be at least **Level 25+** before attempting this fight. Some guides even suggest closer to Level 28-30 for a more manageable challenge.
**2. Equipment is Key:**
Equipping the best possible gear is crucial. Hunt for these items if you don’t have them already:
* **Tempest Shield:** Found in a blue chest within the Faerie Village.
* **Phantom Mask:** Located in a blue chest inside the Citadel of the Monarch of Medals.
* **Tectonic Plate:** Acquired from behind the blue door on B3 of the Cave of the Dwarves.
**3. Essential Items:**
Load your Hero up with plenty of healing items and antidotes:
* **Antidotal Herbs:** Mirages can envenomate you.
* **Special and Strong Medicines:** For significant HP recovery.
**4. Learn Crackle:**
The **Crackle** spell is vital for this fight as it deals area-of-effect damage to all enemies simultaneously. You can learn


Leave a Reply