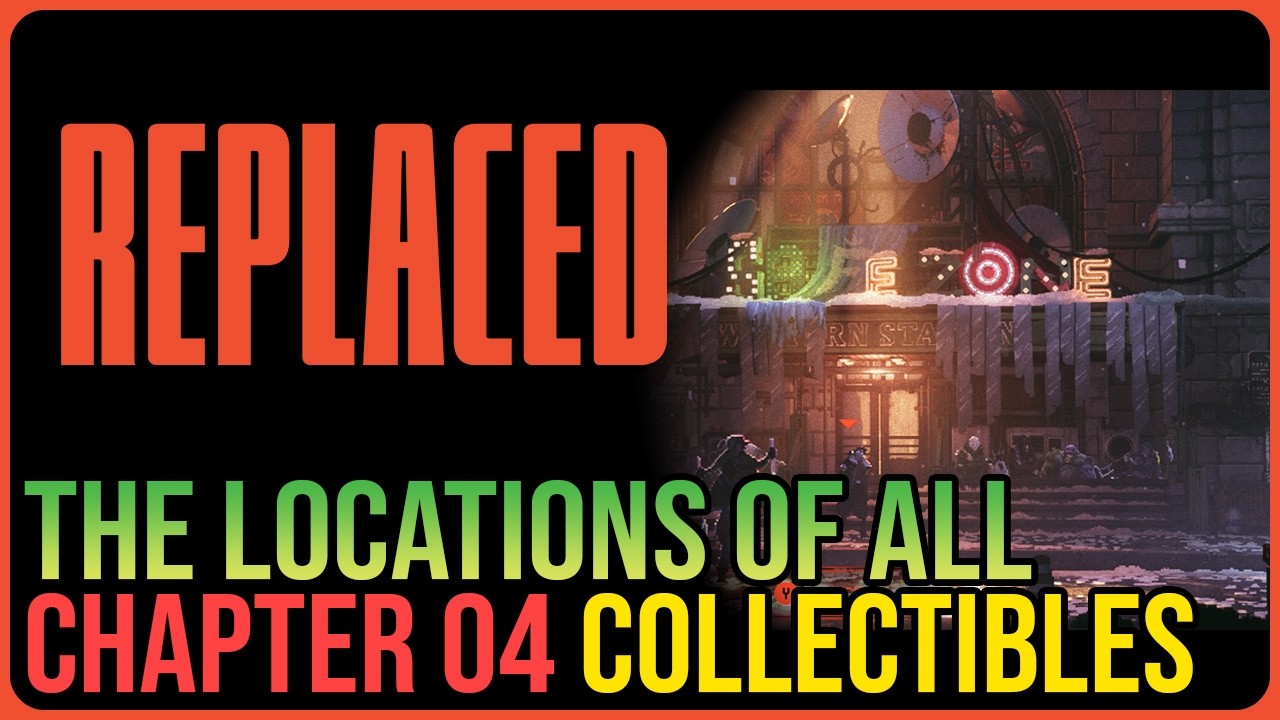
Alright, gamer, let’s dive into REPLACED Chapter 4 and snag every single collectible! This chapter is a bit of a breather, focusing on side quests and exploration, but it’s packed with valuable lore, music, and upgrades. Here’s a detailed breakdown to ensure you don’t miss a thing:
**Hospital Area**
* **Scan #39: Doctor’s Orders**
* After waking up in the Western Station’s hospital at the start of the chapter, head left out of your room. You’ll find this scan near a quarantine sign in the main hospital area.
* **Old Man’s Quest Collectibles (Family Reunion Achievement)**
* **Start the Quest:** Speak to the Old Man on the hospital bed to initiate his request to bring his wife and daughter to him.
* **Flower Tent Code:** Leave the hospital and locate the Flower Tent under the overpass. Interact with it and input the code **02, 18, 1944**.
* **Scan #40: Family Photo:** This is rewarded after successfully entering the code in the Flower Tent.
* **Genetic Profile #5 (Health & Med-Stim Upgrade):** Return to the Old Man in the hospital and speak to him again to complete the quest and receive this upgrade.
* **Scan #41: Nursery Rhyme**
* After leaving the hospital, head right until you reach the sign just outside the Safe Zone. Interact with the sign to pick up this scan.
**Safe Zone / Station Hall**
* **Music Track #5: Great Power, Great Responsibility**
* Inside the Safe Zone, on the lower level near the static monitors by the entrance.
* **Scan #42: Phoenix Initiative Takes Control**
* Just below the stairs leading up to the bar in the Safe Zone.
* **Scan #43: About Reach**
* Head upstairs into the bar. You’ll find this scan on the seat where Matriarch was previously sitting.
**Edward’s Quest Collectibles (Hunted Achievement)**
* **Start the Quest:** Speak to Edward in the Safe Zone to begin his quest.
* **Edward’s Diary:** Exit the Safe Zone and head into Tempest’s pad. Interact with the map on the wall. After this, you’ll find Edward’s body just outside the elevator leading up to Yo-Yo. Interact with the area to pick up Scan #44: Edward’s Diary.
* **Rechargeable Ampoule #2 (Gun & Pickaxe Upgrade) & Scan #45: Old Logs:** Return to the main street and walk left past Western Station. Interact with the mural on the wall to the left of the Safe Zone entrance to complete the quest and receive these items.
**Excalibur’s Quest Collectibles (Good Boy! & We Are All Here For It Achievements)**
* **Start the Quest:** Speak to Excalibur, Tempest’s dog, in the alleyway leading to Tempest’s pad. He’ll be barking with yellow text, indicating a quest.
* **Music Track #6: Prayer of the Damned Ones:** After handing over the burger to Excalibur (which is part of the quest, though the burger itself isn’t a collectible), he’ll lead you into a nearby house. Don’t go upstairs immediately; instead, head to the right to collect this music track.
* **Scan #47: Unsent Letter to Mole & Reduction Gear #1 (Gun & Pickaxe Upgrade):** Inside the house with Excalibur, interact with the three white sparkling points around the tribute. After examining all three, speak to Excalibur again to complete the quest and receive these items.
* **Pet Excalibur:** Before leaving the area after completing his quest, speak to Excalibur one more time to pet him and unlock the “We Are All Here For It” achievement.
**Yo-Yo’s Workshop / Station Platform**
* **Scan #48: Solar Panels Are Safe:** Head up to see Yo-Yo. Before speaking to him, interact with the News Console to the right and select “Check the recent news” to unlock this scan.
* **Cat #2:** Just to the left of Yo-Yo, you’ll find the cat. Be sure to pet her.
* **Scan #49: Ironwood’s Note:** After speaking to Yo-Yo, take a quick detour up to the station platform where David’s telescope was located earlier in the game. Here, you’ll find this scan on the ground.
**Arcade**
* **Kinetic Inductor #2 (Gun & Pickaxe Upgrade):** Head back to the Safe Zone and into the arcade where you previously met Susan. A new arcade machine, similar to Frogger, is now active. Beat the high score on “Jumper” (Arcade Machine 2). Once done, speak to Susan to receive this upgrade.
* **Scan #50: Mommy’s Letter:** Just to the right of Susan in the arcade, you’ll find this scan.
And there you have it, a complete rundown of all the collectibles in REPLACED Chapter 4! Happy hunting, and remember, a true gamer leaves no stone unturned!


Leave a Reply