
In The Last of Us Part II Remastered, effective scavenging for supplies is vital to ensuring survival, particularly in the expansive, open-world settings such as Seattle. Understanding where to look and how to approach each area can make a significant difference in your gameplay experience. Below, I’ve outlined some of the best locations to scavenge, essential tips for success, and specific details on safes and their codes.
Key Scavenging Locations in Seattle
Downtown Seattle
1. Truck in the Water
Found near the grey concrete and cascades, this truck not only contains a letter but also showcases the lore of the area. It’s a narrative piece that provides depth to your exploration.
2. The Courthouse
A critical location for story progression, inside the courthouse, players can discover a training manual alongside a lockbox filled with supplements and scrap materials. To gain entry, navigate to a truck positioned near the military checkpoint, scale it, force open a window, and be ready to clear out any infected within.
3. Westlake Bank
To access Westlake Bank, enter through the debris near the base of the sign. Here you will find a vault containing a pump-action shotgun and safety deposit boxes filled with Easter eggs. Be prepared for potential encounters with infected.
4. FEDRA Trunk
Close to the courthouse, keep an eye out for a truck emblazoned with “Fascists”. Inside, you’ll find notes and additional supplies.
5. Music Shop
This emotional location features Ellie playing a guitar, focusing on her memories of Joel. Hidden within are some supplies, enhancing the depth of the moment.
Other Seattle Areas
– Tommy’s Camp: While not rich in supplies, it offers insight into Tommy’s character and storyline.
– Tank Supply Stash: A stash containing shotgun shells and a poignant letter located near a skeleton.
– Coffee Shop and Barko’s: Both spots provide ammunition, crafting items, and additional supplies.
General Supply Locations
1. Supermarkets: Risky but rewarding, supermarkets often harbor safes filled with parts and supplements. Exercise caution as they can be infested with enemies.
2. Banks and Offices: Frequent locations for lockboxes and safes. Keep an eye out for codes scribbled on whiteboards or found in documents.
3. Gas Stations: These locations generally yield parts and supplements, pivotal to progressing the storyline.
Safes and Their Codes
– West Gate 2 Safe: Code: 0451. Unlocking this safe grants access to valuable supplies like ammo and supplements.
– Dome Synagogue Safe: Code: 86-07-22. Offers further resources that can aid your journey.
Tips for Successful Scavenging
– Explore Thoroughly: Don’t overlook any area, regardless of how trivial it seems; valuable items or important artifacts could be hidden away.
– Check for Hidden Safes: Look for codes on walls or documents nearby to unlock these treasures for additional supplies.
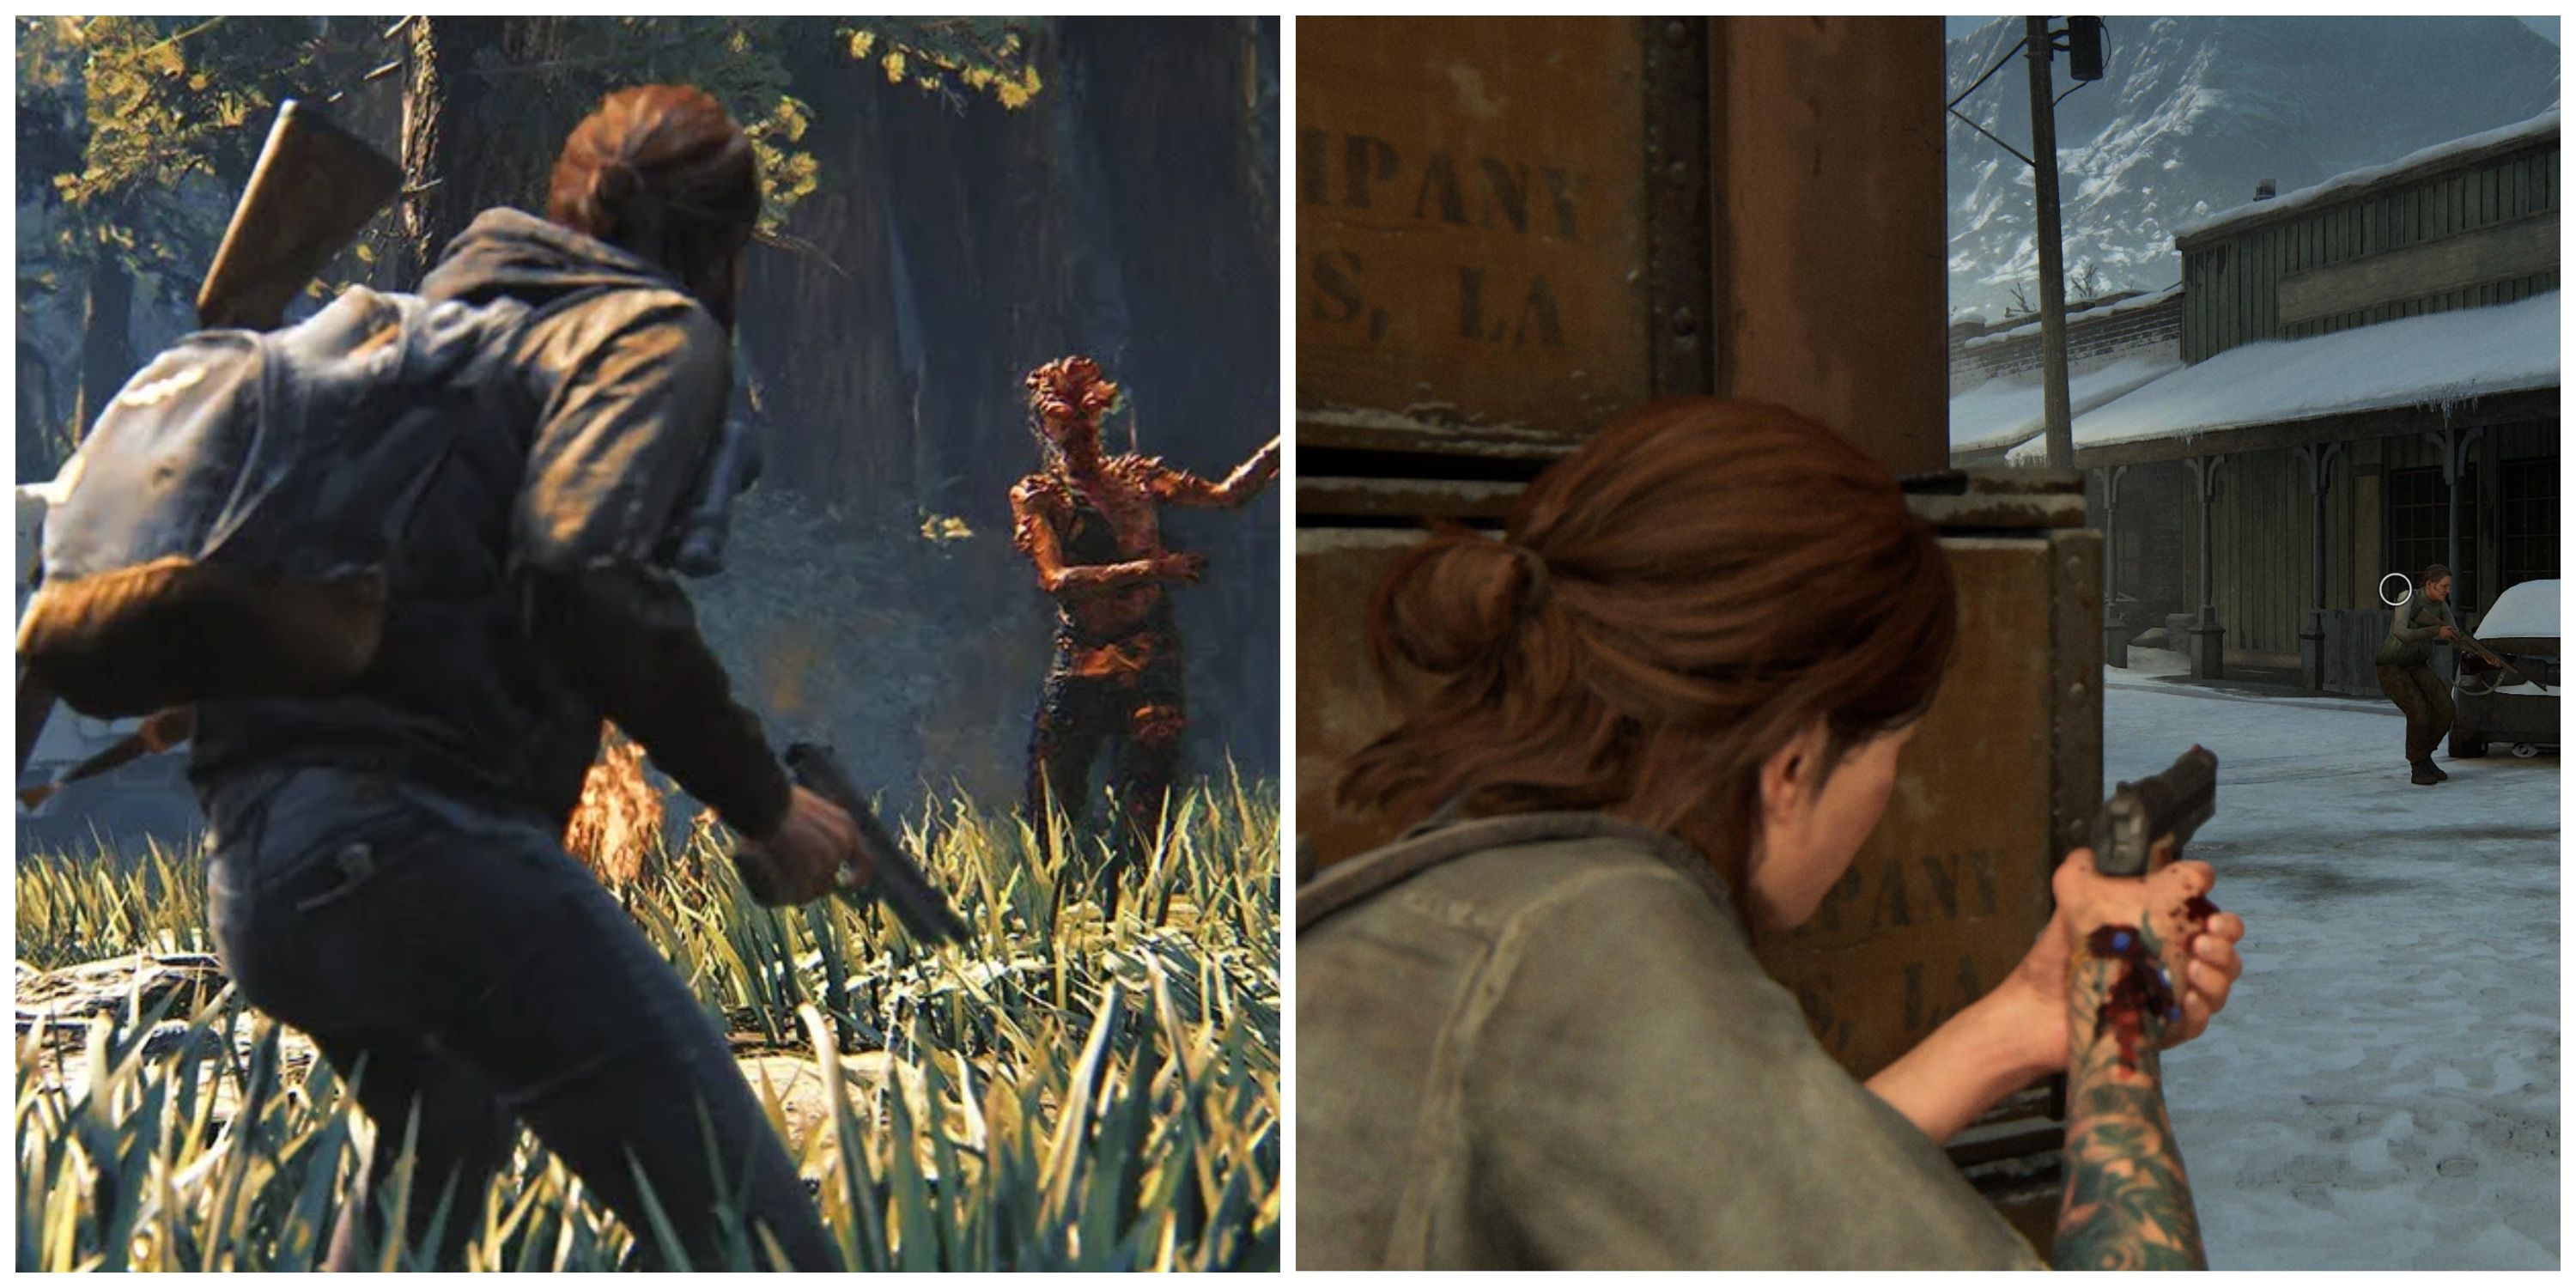
– Engage in Stealth: Utilize stealth tactics to navigate around or confront enemies. This will help you save resources for more crucial encounters later on.
By focusing your efforts on these locations and strategically using stealth in your explorations, you can significantly enhance your ability to gather essential supplies in The Last of Us Part II Remastered. Happy scavenging!



Leave a Reply