
In Helldivers 2, upgrading and managing your ship is a crucial aspect that can significantly enhance your gameplay experience. Here’s a detailed guide to effectively navigate the various components of ship upgrades.
Accessing Ship Upgrades
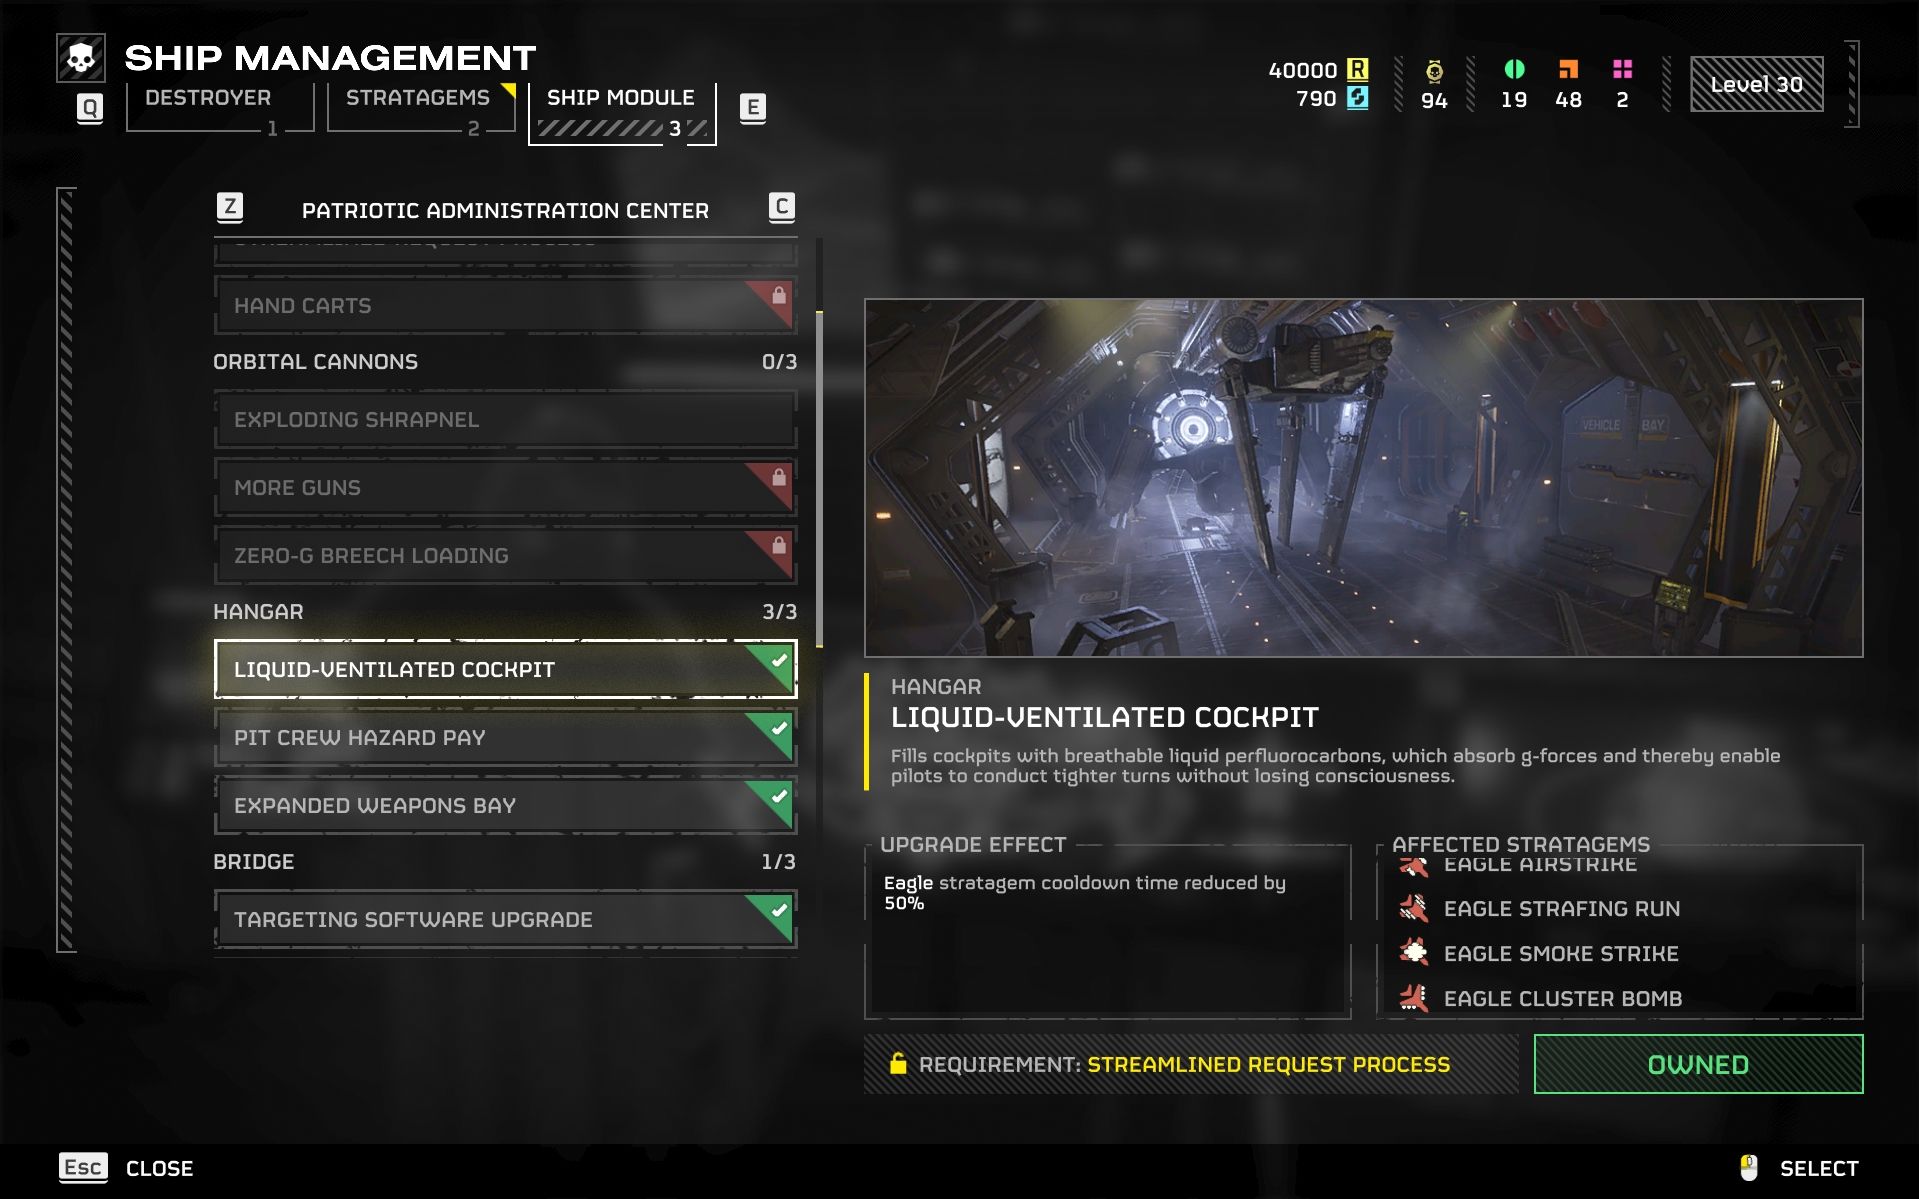
1. Location: To begin your upgrade process, head to the Ship Management terminal located on your Destroyer. This terminal is situated near the Bridge, just before the Armory, making it easy to access when you’re preparing for missions.
Understanding Ship Modules
2. Module Categories: Ship Modules are categorized into six distinct sections, each providing unique enhancements:
– Bridge: Focuses on improving navigation and support for Stratagems.
– Engineering Bay: Increases effectiveness of defensive structures like Sentries and Emplacements.
– Robotics Workshop: Facilitates upgrades that enhance robotic companions in the field.
– Orbital Cannons: Strengthens the capabilities of your orbital bombardments.
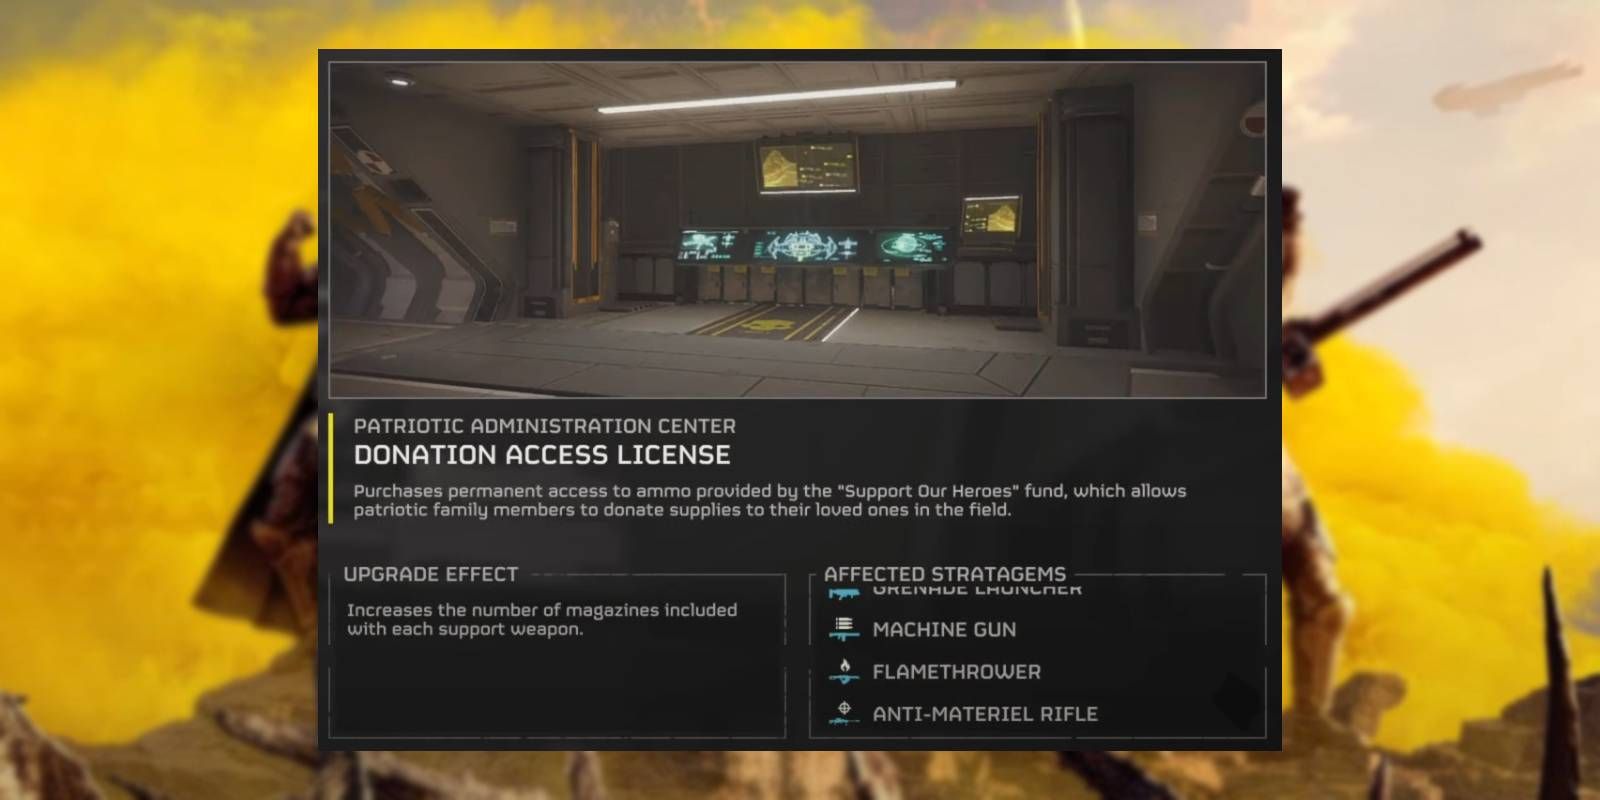
– Patriotic Administration Center: Provides upgrades that bolster team morale and operational efficiency.
– Hangar: Affects the deployment and functionality of air support and transport.
3. Upgrade Effects: Each module category offers specific enhancements:
– Bridge modules can improve minimap visibility and reduce cooldowns on vital Stratagems.
– Engineering Bay modules enhance durability and efficacy of defensive measures.
– Upgrades in the Orbital Cannons category significantly increase the damage dealt by orbital attacks, making them more formidable.
Managing Upgrades
4. Sequential Upgrades: It’s essential to follow a sequential upgrade path. Each new level requires you to first purchase the previous level. This progression is key since the resources needed escalate with each tier.
5. Resources Needed: Upgrading modules requires various Resources:
– Samples: These come in three tiers—Common (green), Rare (orange), and Very Rare (pink). The rarity of samples often correlates with the difficulty of missions you undertake.
– Requisition Slips: Higher-tier upgrades may necessitate these slips, which can be acquired through mission completions or other means.
6. Strategic Selection: Align your upgrades with your preferred playstyle. For example, if you favor aggressive tactics, prioritize enhancements that boost damage output. Conversely, if you like a supportive role, focus on upgrades that enhance team survival and efficiency.
7. Gathering Resources: Samples needed for upgrades are collected during missions. It’s important to challenge yourself with higher-difficulty missions to secure better-quality samples. Always ensure you successfully extract from missions to retain your gathered resources.
Customization and Interaction
8. Ship Name Customization: While visual customization of your ship is unavailable, you can personalize your experience by renaming your ship at no cost in the ‘Destroyer’ tab.
9. Stratagem Customization: Utilize the Ship Management interface to not just upgrade modules but also enhance your Stratagems. This will make them more beneficial during combat engagements.
10. Prioritization: For optimal performance, consider combining upgrades from different categories. For instance, enhancing both the Engineering Bay and Robotics Workshop can lead to a powerful synergy that maximizes the effectiveness of Sentries alongside robotic units.
By understanding and utilizing these aspects of ship upgrades in Helldivers 2, you will be able to tailor your gameplay experience significantly. Efficient management of your ship’s functions can make a substantial difference in mission performance and overall team success.



Leave a Reply