
To build and optimize minecart tracks in Minecraft for efficient transportation, it is essential to understand the key components, track construction techniques, and advanced systems that can maximize your rail infrastructure’s functionality. This comprehensive guide will cover everything you need to know to create effective minecart transportation systems.
Track Construction Basics
1. Crafting Rails
– Standard Rails: You can craft 16 standard rails using 6 iron ingots and 1 stick.
– Powered Rails: For those essential speed boosts, use 6 gold ingots, 1 stick, and 1 redstone dust to create 6 powered rails.
– Detector Rails: These are essential for activating redstone mechanisms, requiring 6 iron ingots, 1 stone pressure plate, and 1 redstone dust to craft 6 rails.
2. Placement Techniques
– To lay down tracks, right-click on solid blocks. When laying out diagonal tracks, utilize a zig-zag pattern; though they appear angled, they function as straight paths.
– Powered Rails: Place powered rails every 38 blocks on flat terrain to maintain speed. For uphill climbs, space them every 3-4 blocks to ensure carts ascend effectively.
Minecart Types & Mechanics
1. Standard Minecart: Primarily used for transporting players or entities.
2. Powered Minecart (Furnace): Can push or pull other carts using coal or charcoal as fuel, but note that this option has been removed in recent versions in favor of powered rails.
3. Hopper/Chest Minecart: Automate the transport of items. With the use of activator rails, items can be automatically ejected from hopper minecarts.
4. TNT Minecart: This type can be triggered using activator rails or by collisions, making it useful for mining or traps.
Redstone Integration
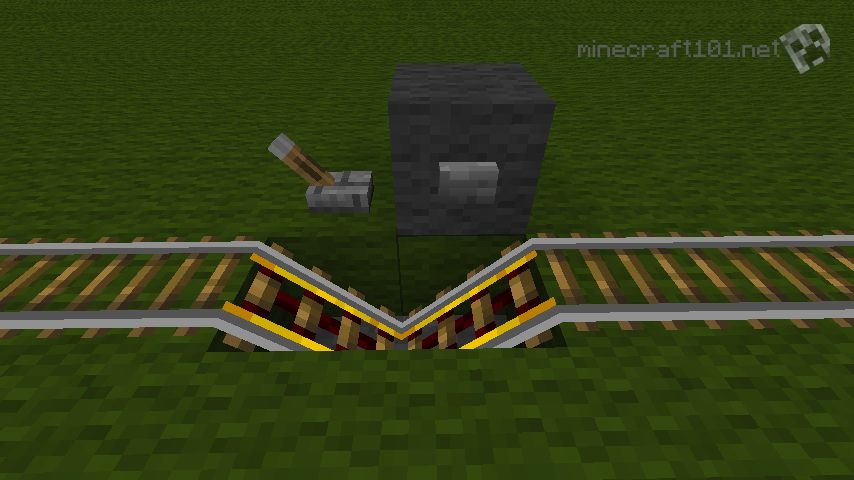
1. Activating Powered Rails: You can power powered rails by placing redstone torches or levers either adjacent to the rails or beneath the blocks that support them. Ensure a constant power supply for sections of track that go uphill.
2. Using Detector Rails: These rails can activate powered rails as minecarts pass over, providing dynamic speed boosts. They can also trigger redstone circuits to automate stations and can detonate TNT minecarts.
Efficiency Optimization
1. Terrain Flattening: To cut costs on powered rails, try to minimize elevation changes. Flatter tracks are more efficient.
2. Unloader Stations: Set up hoppers beneath the tracks to automate the unloading of chest minecarts, enhancing logistics.
3. Redstone-Timed Boosts: Leverage detector rails to trigger a sequence of powered rails that can sustain speed over longer distances.
4. Bubble-Column Elevators: For vertical transport, consider using soul sand bubble columns at the endpoints of your rail system as an alternative to building spiral tracks.
Advanced Track Designs
1. Branching Systems: Implement switches using levers or powered rails to create branching track paths. When powered, the desired path will be activated.
2. Auto-Return Stations: Employ detector rails to activate piston pushers that can reverse the cart direction automatically for user convenience.
3. Chest-to-Hopper Loops: For sorting systems, connect storage minecarts to hoppers to create a self-sorting and efficient inventory management process.
Additional Resources
For visual guidance and a deeper understanding of minecart mechanics, refer to resources such as:
– Ultimate Minecraft 1.21 Minecart & Rail Guide: This offers tutorials on rail duplicators, compact station designs, and tips for the different Bedrock and Java editions.
– No Nonsense Minecart Tutorial: This covers a broad spectrum of advanced techniques and optimizations.
Conclusion
Building an efficient minecart track system goes beyond just laying down tracks; it involves thoughtful construction, integration of redstone technology, and designs that emphasize automation and efficiency. By prioritizing the use of gold for powered rails in long-distance networks due to their superior boost range, you can ensure your transportation system is not only operational but also highly effective.

Leave a Reply