
Managing the Drive Gauge in Street Fighter 6 is a vital skill that can greatly impact your performance in matches. Understanding its mechanics and effectively utilizing its features will allow you to fully leverage both offensive and defensive strategies. Here’s a comprehensive guide to aid in building and managing your Drive Gauge.
Understanding the Drive Gauge
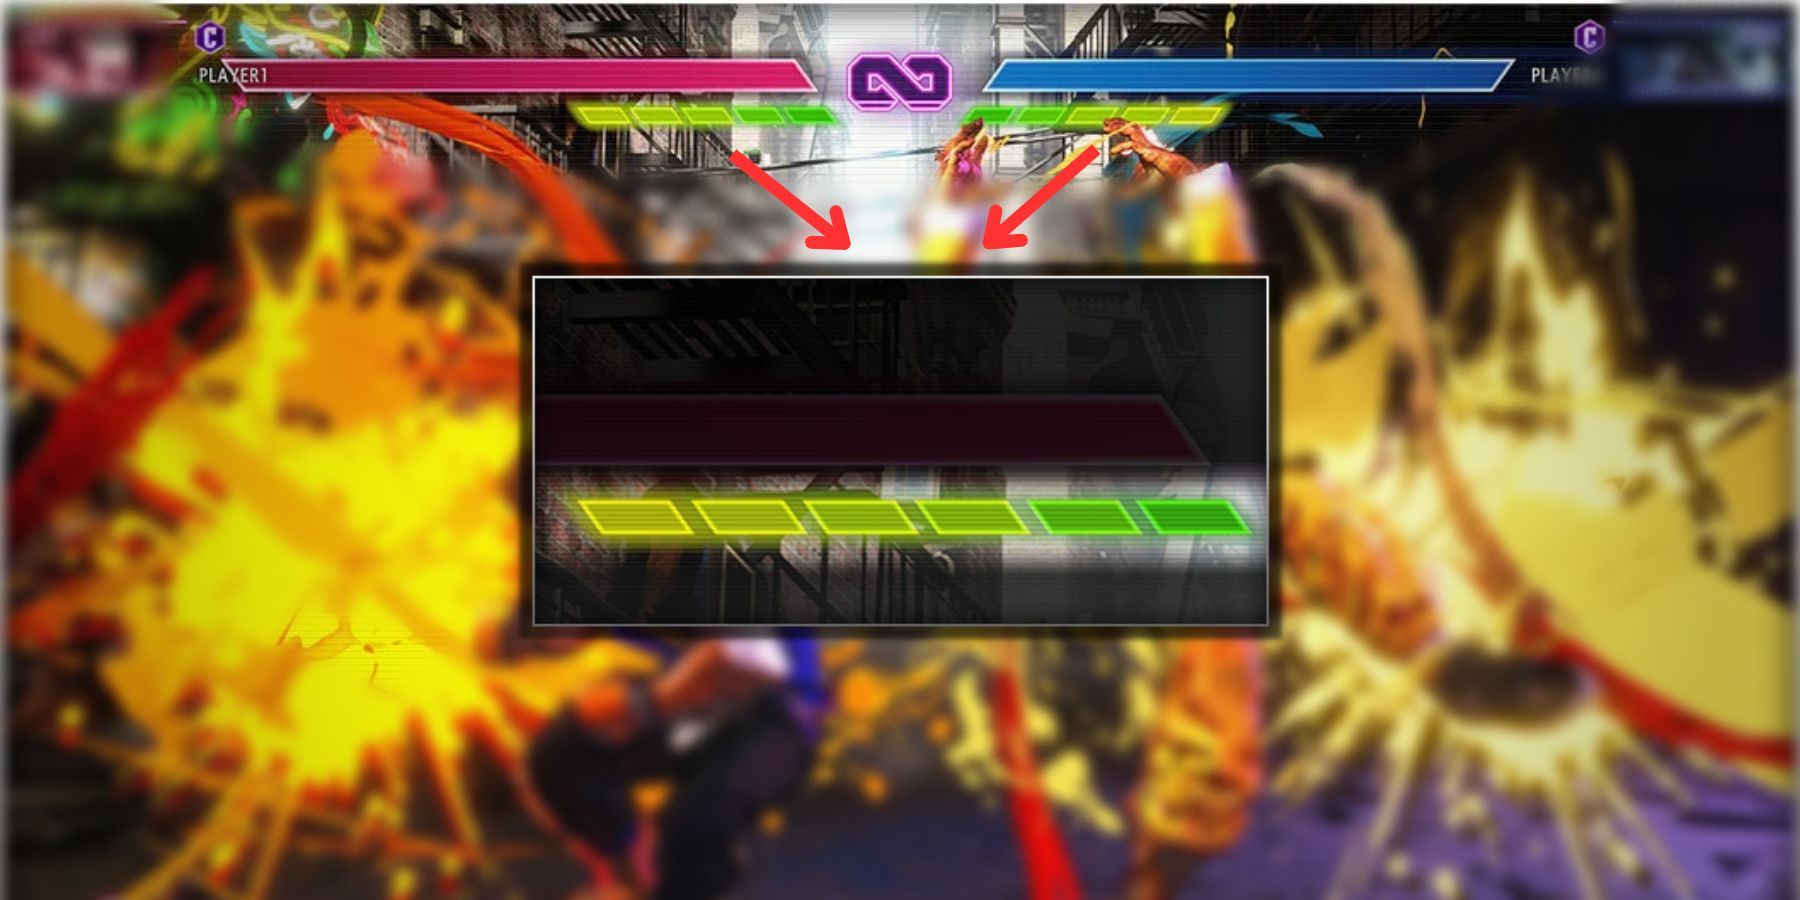
1. Starting Amount: Each player commences a round with six bars of Drive Gauge, providing ample resources to begin the match.
2. Regeneration: The Drive Gauge replenishes automatically over time when it is not being actively used, ensuring that you can steadily build your resources even when not engaged in direct combat.
3. Independent Functionality: The Drive Gauge operates independently from the Super Move bar. This means that the depletion of one does not affect the other, allowing for diverse strategic options during encounters.
Drive Types and Uses
Street Fighter 6 features five primary Drive types, each serving distinct functions that can enhance your play:
1. Impact: This is a strong attack that can pierce through your opponent’s defenses, making it a valuable tool for breaking through a block.
2. Parry: By executing a parry, you can deflect incoming attacks, setting you up for an effective counterattack. This action consumes half a bar but can refill part of the gauge if timed correctly.
3. Rush: A forward-moving dash that enhances mobility and can be used for both offensive pressure and evasive maneuvers, making it versatile in various situations.
4. Reversal: A defensive move that allows for a counterattack when your opponent is on the offensive, potentially turning the flow of the match in your favor.
5. Overdrive: This move amplifies your character’s abilities temporarily, providing you with enhanced damage and capabilities during its duration.
Building and Managing the Drive Gauge
Building the Gauge
– Automatic Refill: Take advantage of the gauge’s innate ability to refill over time. Be patient and strategic in your plays.
– Deflecting Projectiles: Utilizing the Drive Parry effectively allows you to not only defend but also refill your gauge. Being mindful and timing your parries can lead to advantageous situations.
– Blocking Attacks: While on defense, blocking attacks can also result in minor refills of the Drive Gauge, highlighting the importance of smart defensive play.
Managing the Gauge
– Conservation vs. Aggression: Striking a balance between conserving your Drive for pivotal moments and utilizing it aggressively is essential. Ineffective management can leave you vulnerable in crucial instances.
– Avoid Burnout State: Depleting your Drive Gauge completely leads to the Burnout State, which increases damage taken and slows the gauge’s refill rate. Maintain a deliberate use of Drive moves to prevent reaching this disadvantageous state.
– Strategic Usage: Adapt your playstyle using the diverse offerings of the Drive system. Employ Impact for aggressive strategies, utilize Parry for defensive setups, and employ Rush for maintaining pressure or evading attacks.
Effective Strategies
– Adaptability: Remain flexible, adjusting your strategies based on your opponent’s combat style and your current Drive Gauge levels. Recognize when to be aggressive and when to play defensively.
– Resource Management: Identify which Drive moves are most essential for your ongoing strategy within a match. Carrying the weight of multiple methods while ensuring efficiency is key to dominating your opponent.
– Blocking and Deflecting: Use defensive options judiciously to both protect against incoming attacks and replenish your Drive Gauge effectively.
Conclusion
By mastering the nuances of Drive Gauge management, you not only enhance your overall gameplay experience in Street Fighter 6 but also increase your chances of success against opponents. Investing time to understand and apply these principles during matches will provide a significant edge over less prepared players. Embrace the Drive system, and enjoy the heightened strategic depth it brings to your battles!


Leave a Reply