
Maximizing Equipment in Halo Infinite: A Comprehensive Guide
Halo Infinite’s introduction of innovative equipment options, including the Threat Sensor and Drop Wall, offers players unique ways to enhance their gameplay. Below is a detailed guide on leveraging these tools in both multiplayer and campaign modes.
Threat Sensor: Tactical Advantage
Functionality
The Threat Sensor is designed to mark enemy positions within a certain radius, providing visibility for both you and your teammates. This tool is particularly valuable in scenarios of limited visibility or during aggressive enemy maneuvers.
Deployment
To deploy the Threat Sensor, hold and release the equipment button. Upon impact, it creates a spherical area of effect (AoE) that identifies enemy locations.
Strategic Uses
1. Ambush Avoidance: Always throw the sensor into rooms or around corners before entering crucial areas to avoid unexpected enemy ambushes.
2. Team Coordination: As enemies are marked, coordinate with your teammates for synchronized attacks or flanking maneuvers.
3. Objective Play: Utilize the sensor near key points such as capture zones or high-value weapon spawns to gauge enemy presence.
4. Disruption: Detecting enemies can lead to strategic retreats on their end, allowing your team to seize control of the objective.
Drop Wall: Defensive Mastery
Functionality
The Drop Wall allows players to deploy a one-way energy barrier. Allies can fire through the wall, while it absorbs incoming rounds from the opposite side. Although enemies can move through it, sustained fire can deplete the wall’s integrity.
Deployment
On a controller, activate the Drop Wall by pressing right then left on the D-pad; on a keyboard, use the ‘3’ key.
Strategic Uses
1. Control Key Areas: Place the wall at choke points or to block enemy entry, forcing foes into a more advantageous position for your team.
2. Revives and Respawns: Use the Drop Wall to shield yourself while reviving teammates or during heightened objective engagements.
3. Power Weapon Defense: When contesting powerful weapons, the wall can help secure sightlines while minimizing enemy suppression.
4. Combination Tactics: Pair the Drop Wall with grenades or other equipment to create effective area denial or force enemies into less favorable situations.
Campaign Upgrades for the Drop Wall
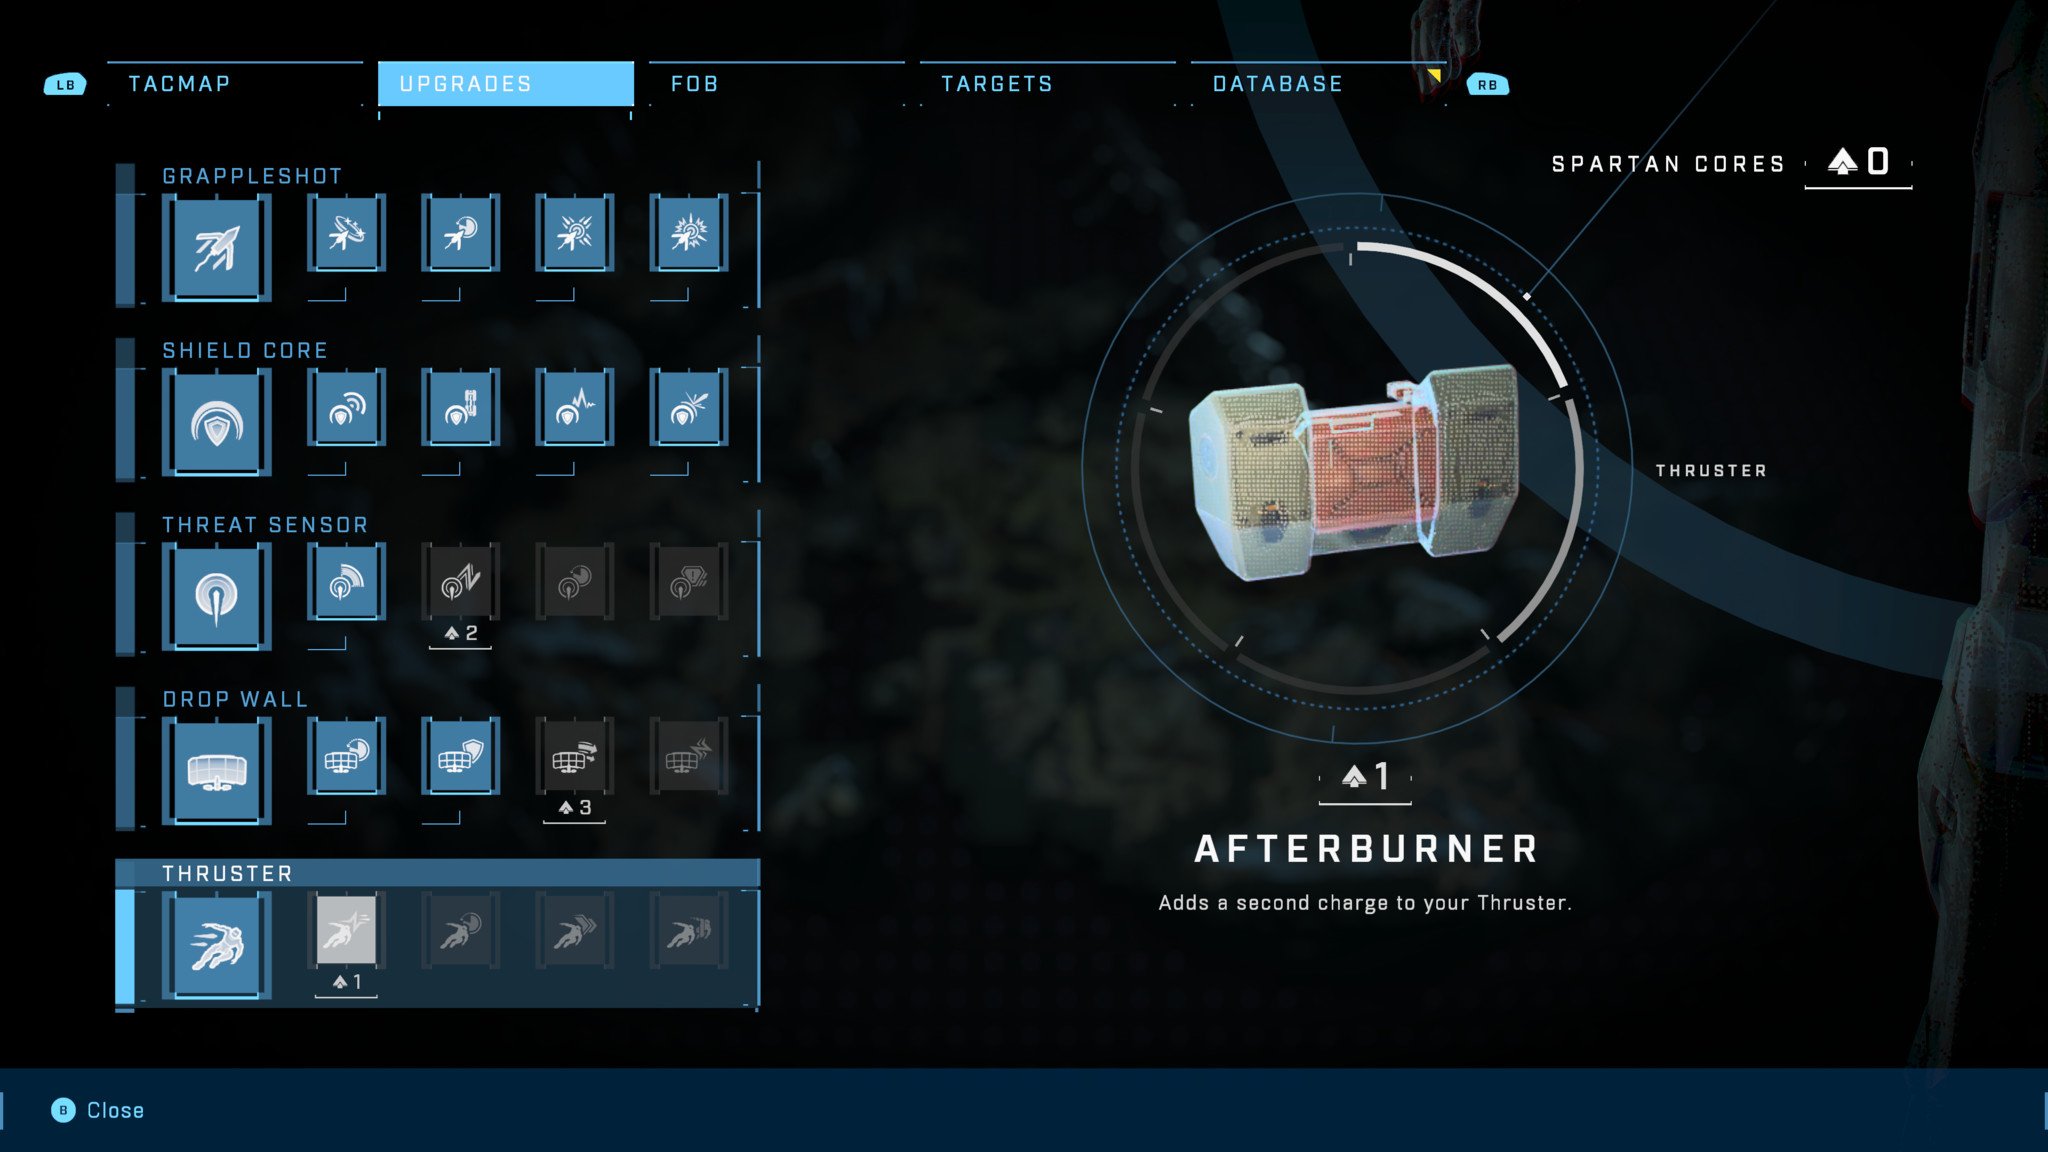
In the campaign mode, players can upgrade the Drop Wall for enhanced performance:
– Swift Shelter: Reduces cooldown by 20%.
– Rampart: Increases the wall’s strength by 35%.
– Blockade: Further boosts wall strength (by 70%) and enlarges its coverage area.
– Direct Current: Adds electric shock damage to projectiles fired through the wall, turning your defense into an offensive asset.
General Tips for Equipment in Halo Infinite
– Situational Awareness: Be vigilant about the equipment in play. For instance, enemy Threat Sensors can be neutralized with gunfire to stop them from marking you.
– Equipment Combinations: Utilize the strengths of both equipment types. For example, a Threat Sensor can reveal enemies while you take cover behind a Drop Wall.
– Upgrade Progression: In campaign mode, prioritize collecting Spartan Cores to unlock new equipment potential and improve your combat mechanics.
– Mastering Recharge Times: Familiarize yourself with the recharge timers for each equipment type to ensure you’re prepared when situations become critical.
Summary Table: Key Equipment Uses
| Equipment | Main Use | Strategic Tips |
|—————|————————|—————————————————–|
| Threat Sensor | Enemy detection | Pre-throw into rooms, communicate enemy positions |
| Drop Wall | One-way defense | Deploy at chokepoints, protect during objectives |
By mastering these strategies, you can significantly boost your effectiveness in both competitive multiplayer and the campaign, fully harnessing Halo Infinite’s diverse equipment system.




Leave a Reply