
Collecting all the Spybots in Ratchet & Clank: Rift Apart is a rewarding endeavor that not only unlocks the RYNO 8—a formidable weapon—but also reveals deeper lore and upgrades throughout the game. Here’s a structured guide to help you track down all ten Spybots effectively:
Spybot Locations
Each Spybot is positioned in a specific location across various planets in the game. Below are the detailed locations and tips for accessing each one:
1. Corson V (Nefarious City)
– Location: South-west from Mrs. Zurkon’s bazaar stall.
– How to Find: Navigate around the corner of the building and use the Gravity Strip to access the roof. The Spybot is at the end of a loading bay pipe, where a fight with Nefarious Troopers occurs.
2. Sargasso (Outpost L51)
– Location: Area of Outpost L51.
– How to Find: Follow the main path, and the Spybot will be located here within the outpost.
3. Scartsu Debris Field (Zurkie’s)
– Location: Zurkie’s area within the Scartsu Debris Field.
– How to Find: As you progress through the main story, keep an eye out for exploring around Zurkie’s to uncover the Spybot.
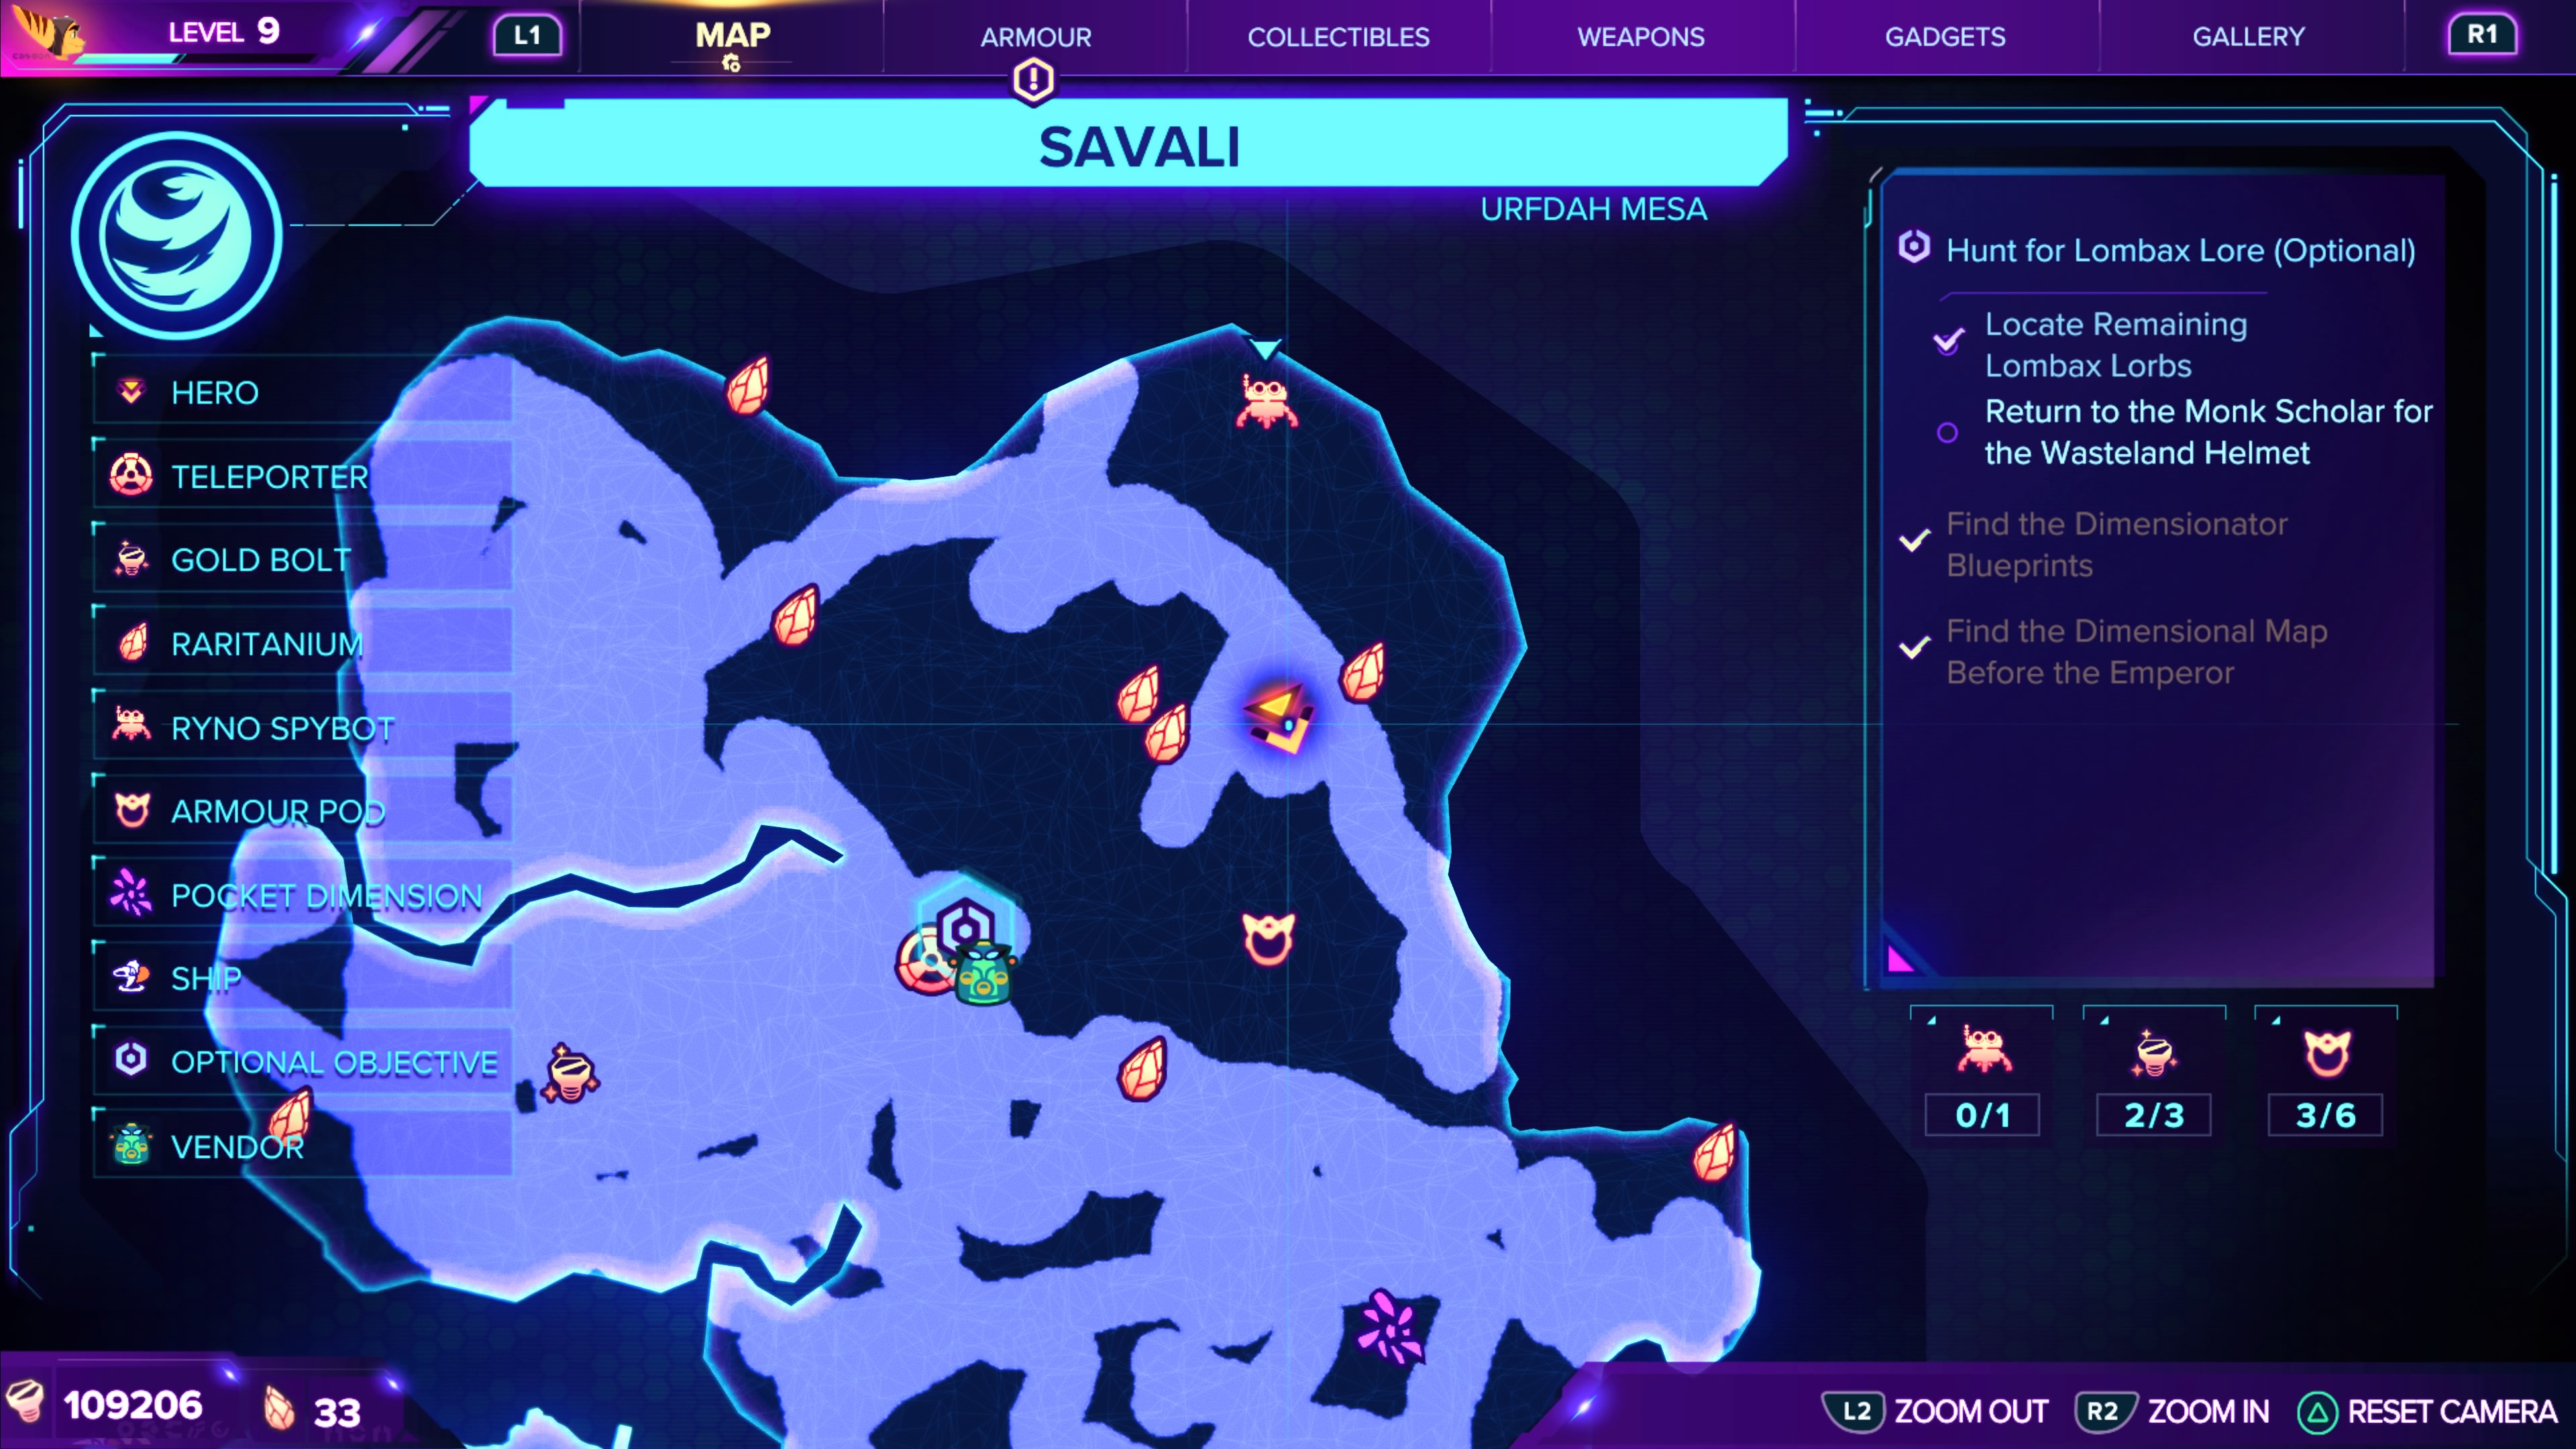
4. Savali (Urfdah Mesa)
– Location: Inside a cave system on a pirate ship.
– How to Find: Use your map to locate the specific area, then cross platforms to access the cave housing the pirate ship where the Spybot resides.
5. Blizar Prime (Blizon Mines)
– Location: Blizon Mines.
– How to Find: Complete the side mission titled “Find the Missing Chef” to receive the Spybot as a reward.
6. Torren IV
– Location: Little Junktown’s marketplace.
– How to Find: After arriving, take a right turn to discover an underground area containing the Spybot.
7. Cordelion
– Location: Marked on the map.
– How to Find: Follow the designated path to a room with a rift portal, then use your grappling hook to reach the Spybot.
8. Ardolis
– Location: An isolated island on the upper right side of the map.
– How to Find: Jump and glide from the main area to reach the island, then navigate through the island to discover the Spybot.
9. Viceron
– Location: Initial entry area.
– How to Find: Upon entering, head back through a door and follow the corridors that lead to the Spybot.
10. Zurkie’s Again (Second Spybot)
– Location: Zurkie’s area, the only location with two Spybots.
– How to Find: Follow the main path to find this second Spybot in the same vicinity.
Unlocking the RYNO 8
To acquire the RYNO 8, you must collect all ten Spybots scattered across the galaxies. Once you’ve gathered them, their complete collection will unlock the RYNO at a vendor, allowing access to one of the game’s most potent weapons.
Collecting for Hidden Upgrades
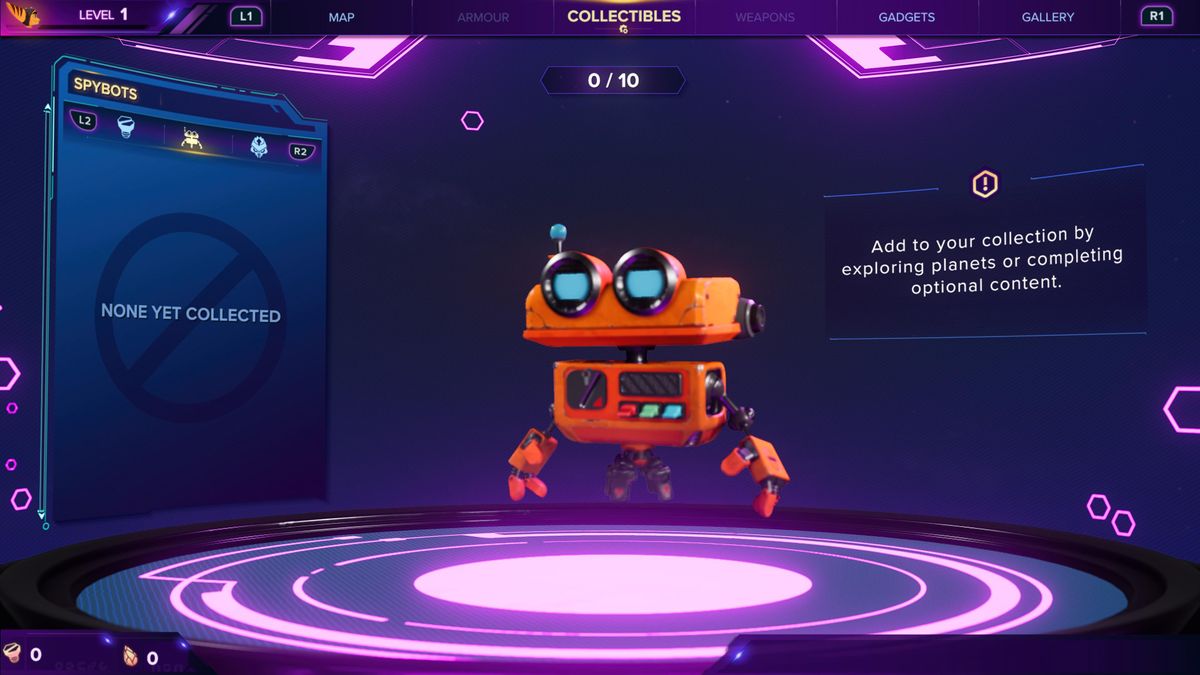
Beyond their role in unlocking weapons, the Spybots also contain lore and backstory that enrich your gaming experience. You can listen to these insights via the Collectibles menu to dive deeper into the narrative of the game.
Tips for Collecting Spybots
– Explore Thoroughly: Each Spybot may require exploration beyond the main path. Use your map to help identify marked locations and scavenge off the main routes.
– Utilize Abilities Wisely: Make effective use of abilities like Gravity Strips and Grappling Hooks to reach specific Spybot locations.
– No Missables: Thankfully, none of the Spybots are missable! You have the opportunity to collect them at any time by returning to the planets.
By following this detailed guide and utilizing the tips provided, you will be well-equipped to collect all Spybots and unlock the powerful RYNO 8, while also gaining access to valuable game lore and upgrades. Happy collecting!

Leave a Reply