
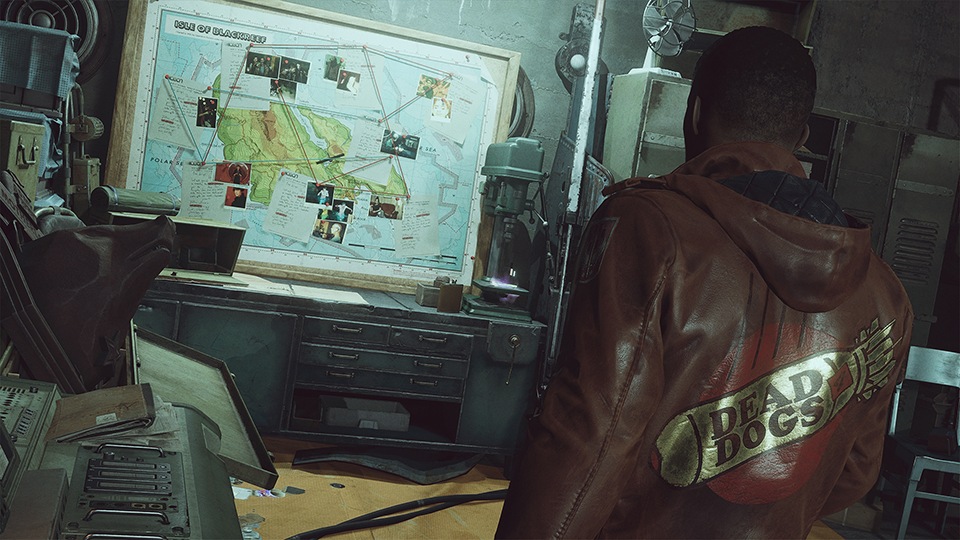
In Deathloop, each location on Blackreef presents unique challenges and opportunities, necessitating strategic adaptations based on your chosen objectives—be it stealth, combat, or speed. The environment is dynamic, especially with time-of-day variations affecting enemy behavior and terrain accessibility. Below are comprehensive strategies to help you navigate key locations effectively:
General Location Approach Guidelines
1. Time of Day Matters:
– Understanding the time-of-day mechanics is crucial. Different patrol routes and enemy placements can create new risks or opportunities. For instance, frozen water bodies may provide new traversal routes, while snow can alter navigation options significantly. Repeated exploration at various times will unveil alternative paths and strategies for completing missions.
2. Use of Hackamajig:
– Employ the Hackamajig to disable cameras and turrets when infiltrating enemy territory. Utilize cover during hacking to maintain stealth and avoid detection. This device is especially pivotal in locations with heavy surveillance, allowing you to make safer progress without excessive confrontation.
3. Mine Detection and Disarming:
– Mines are a prevalent hazard throughout Blackreef. Stay alert for visual indicators like lights or tripwires and listen for rising beeping sounds to identify them. Move cautiously and disarm mines by approaching slowly and activating the interaction command. This careful approach is essential in heavily guarded areas where alternative routes may be limited.
4. Avoid Water:
– Contact with any water—even shallow pools—will freeze and cause instant death. Always keep a keen eye on your surroundings to circumvent any watery traps that could end your loop unexpectedly.
Location-Specific Strategies
– The Complex:
– Being a highly secure research facility, The Complex is riddled with cameras and turrets. Utilize the Hackamajig extensively here to disable surveillance systems. Use the intricate indoor layouts to take advantage of verticality and cover, emphasizing stealth tactics to neutralize threats without causing alarms.
– Updaam:
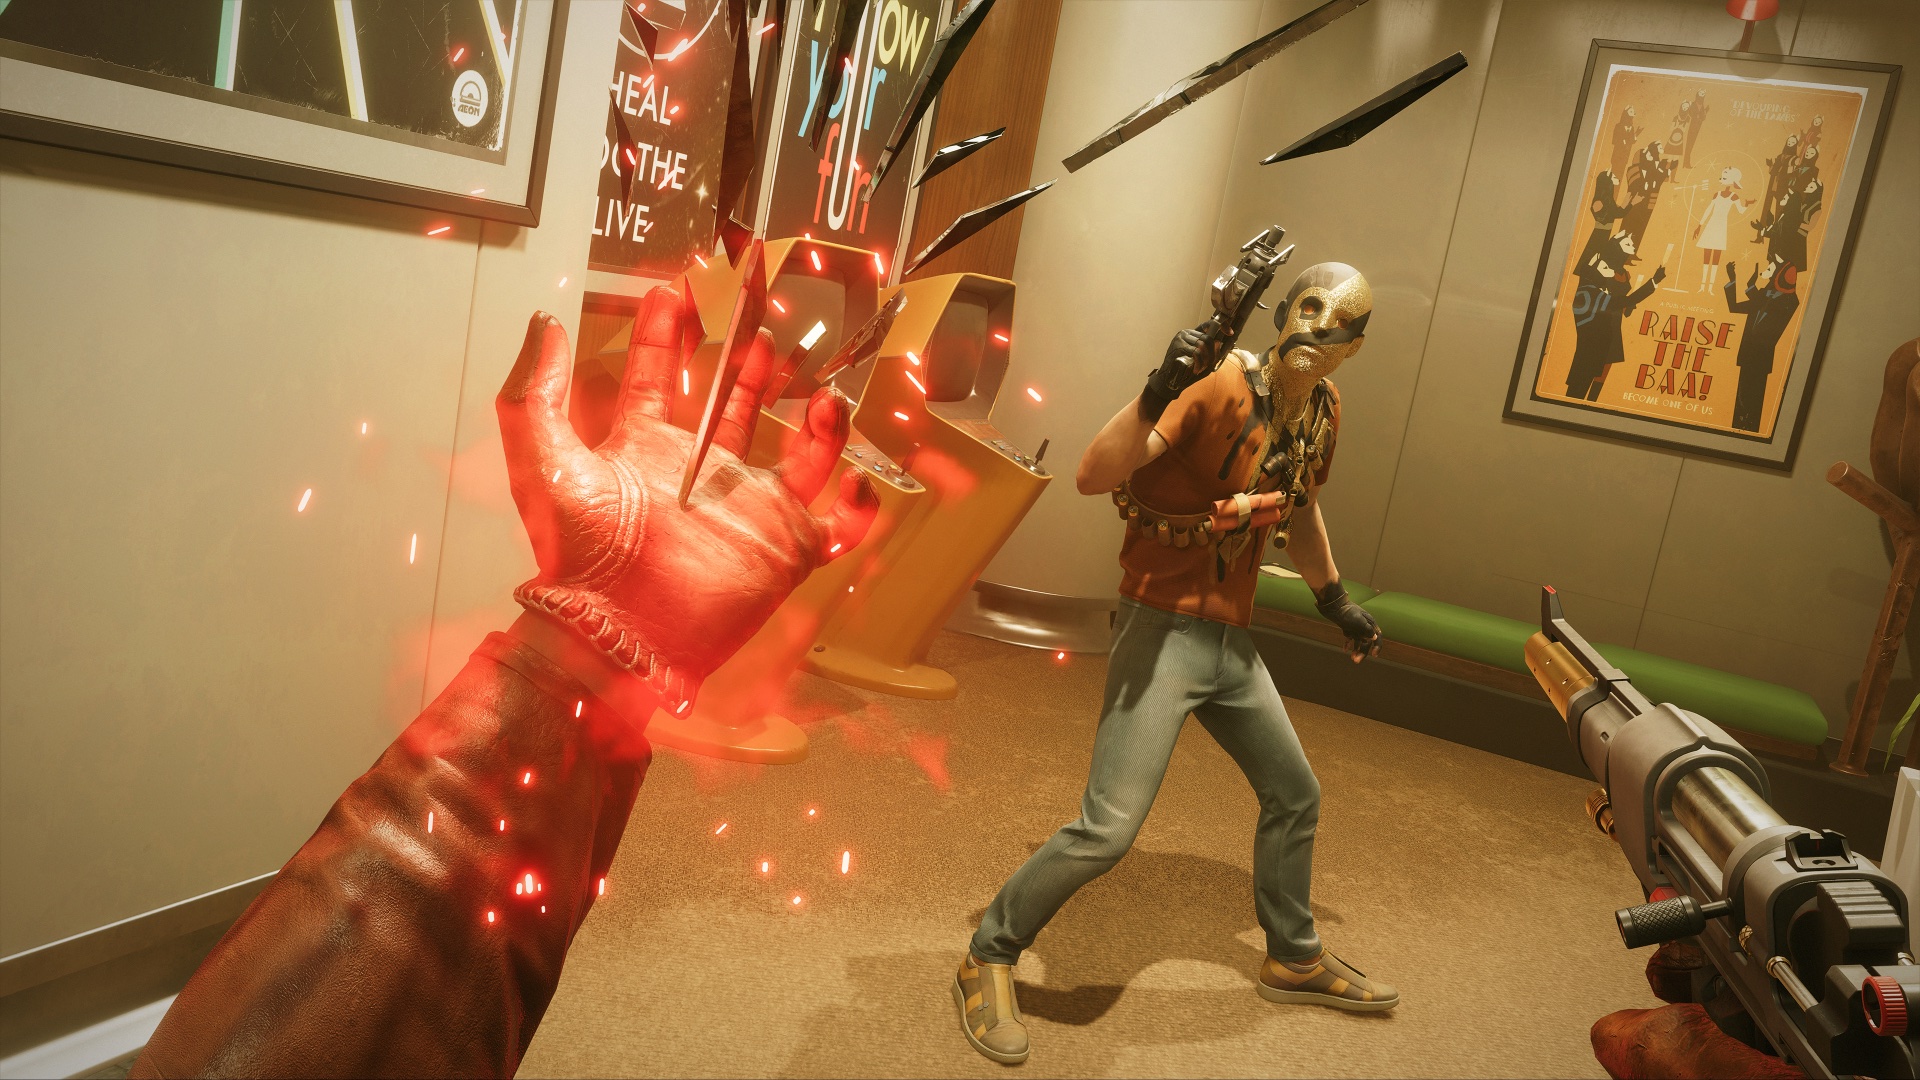
– This urban site features several rooftops and side alleys. Due to its changing terrain, explore Updaam at different times of day to find alternative paths. The Shift slab, which bestows teleportation abilities, allows you to circumvent ground-level patrols and maneuver quickly across rooftops, enhancing mobility to outsmart enemies.
Combat and Weapon Tactics
– Weapon Choice:
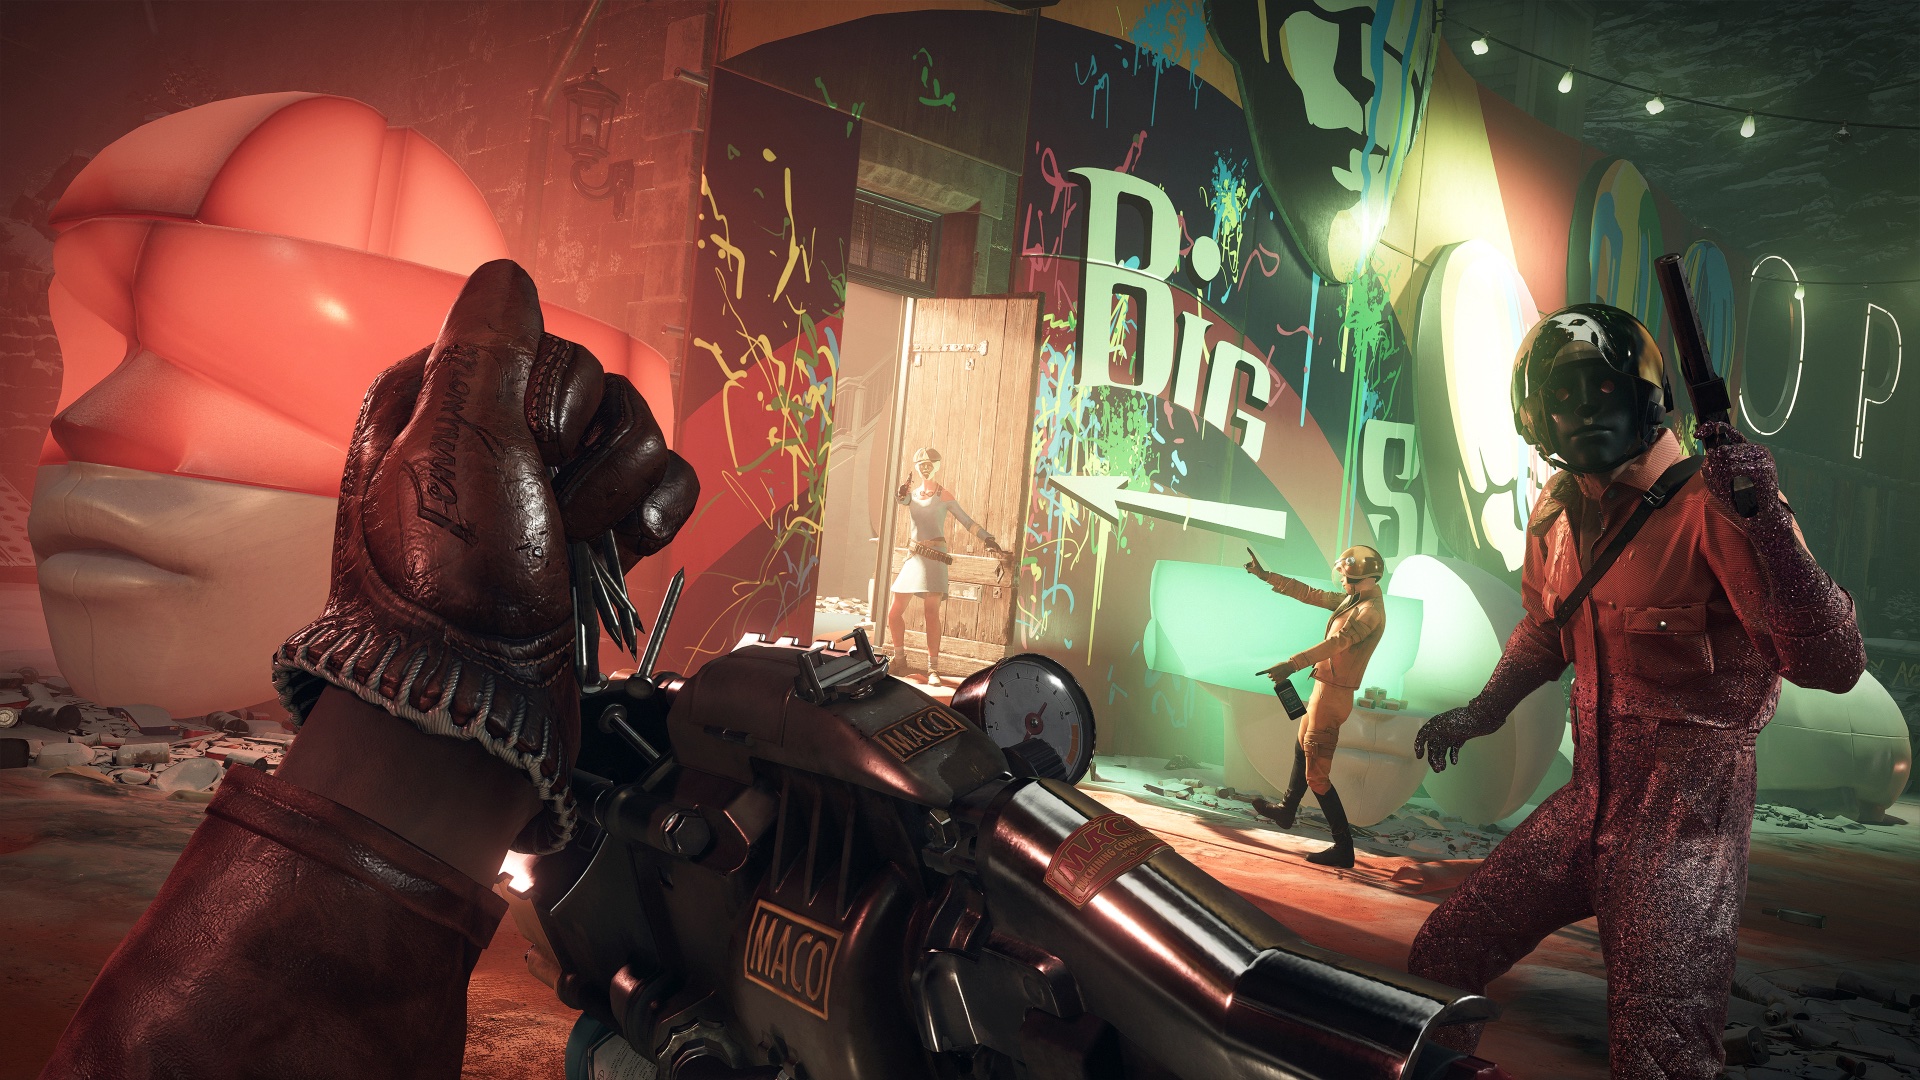
– Select weapons compatible with your gameplay style. A versatile weapon like Charlie’s Strelak 50-50, which slows targets upon firing, is beneficial for both combat encounters and strategic retreats. Pair it with the Speedloader trinket to counter its slow reload speed, ensuring you’re always ready for action.
– Poison Gas Use Against Juliana:
– During confrontations with Juliana, leverage weapons like the Fourpounder which releases poison gas, allowing for crowd control and the ability to temporarily stun her. This technique can provide you a significant tactical edge in scenarios where you encounter your rival.
Summary
– Adaptability: Tailor your approach based on changing day conditions and specific location layouts.
– Stealth Emphasis: Prioritize stealth tactics through hacking and careful disarming of mines while vigilantly avoiding water hazards.
– Exploration: Investigate each location at varying times to uncover new pathways and tactical advantages.
– Weapon and Slab Utilization: Enhance combat efficiency with strategic weapon choices and powerful slabs like Shift.
– Location Customization: Adjust infiltration strategies according to the environment—use stealth in secure areas like The Complex and mobility in more open spaces like Updaam.
Implementing these strategies will significantly improve your effectiveness in navigating the complexities of Deathloop and achieving your objectives on Blackreef.


Leave a Reply