
Certainly! Here’s a detailed guide on effectively using the autopilot system in Microsoft Flight Simulator for long-distance flights:
Understanding Autopilot Systems in Microsoft Flight Simulator
Microsoft Flight Simulator provides two primary types of autopilot systems:
1. AI Control (Co-Pilot): This option is accessible via the main menu by selecting the “Pilot Head” symbol. It enables basic AI control over the aircraft. While useful for simpler flying tasks, the AI co-pilot may struggle during complex operations, particularly with advanced aircraft such as airliners. It can manage basic tasks but typically isn’t as precise as dedicated autopilot systems.
2. Aircraft-Specific Autopilot: Found in larger and more complex aircraft, this advanced autopilot requires the use of the Flight Management System (FMS). This system allows for detailed programming of flight routes and is designed to handle intricate flight dynamics effectively.
Activating Autopilot for Long-Distance Travel
Using the aircraft-specific autopilot is ideal for managing long-distance journeys. Here’s a step-by-step guide:
Step 1: Plan Your Route with FMS
– Pre-Flight Planning: Begin by programming your route into the FMS. Enter the departure and arrival airports, and set waypoints to chart your course accurately.
– Utilize Navigation Tools: Ensure that your aircraft is equipped with essential navigation aids such as GPS or ILS (Instrument Landing System). These tools help ensure a precise approach to your destination.
Step 2: Takeoff and Climb
– Manual Takeoff: Execute the takeoff manually. This phase demands careful control to navigate the aircraft safely from the ground into the air.
– Climb to Cruising Altitude: After clearing obstacles and reaching a stable flight path, ascend to your predetermined cruising altitude.
Step 3: Engage Autopilot
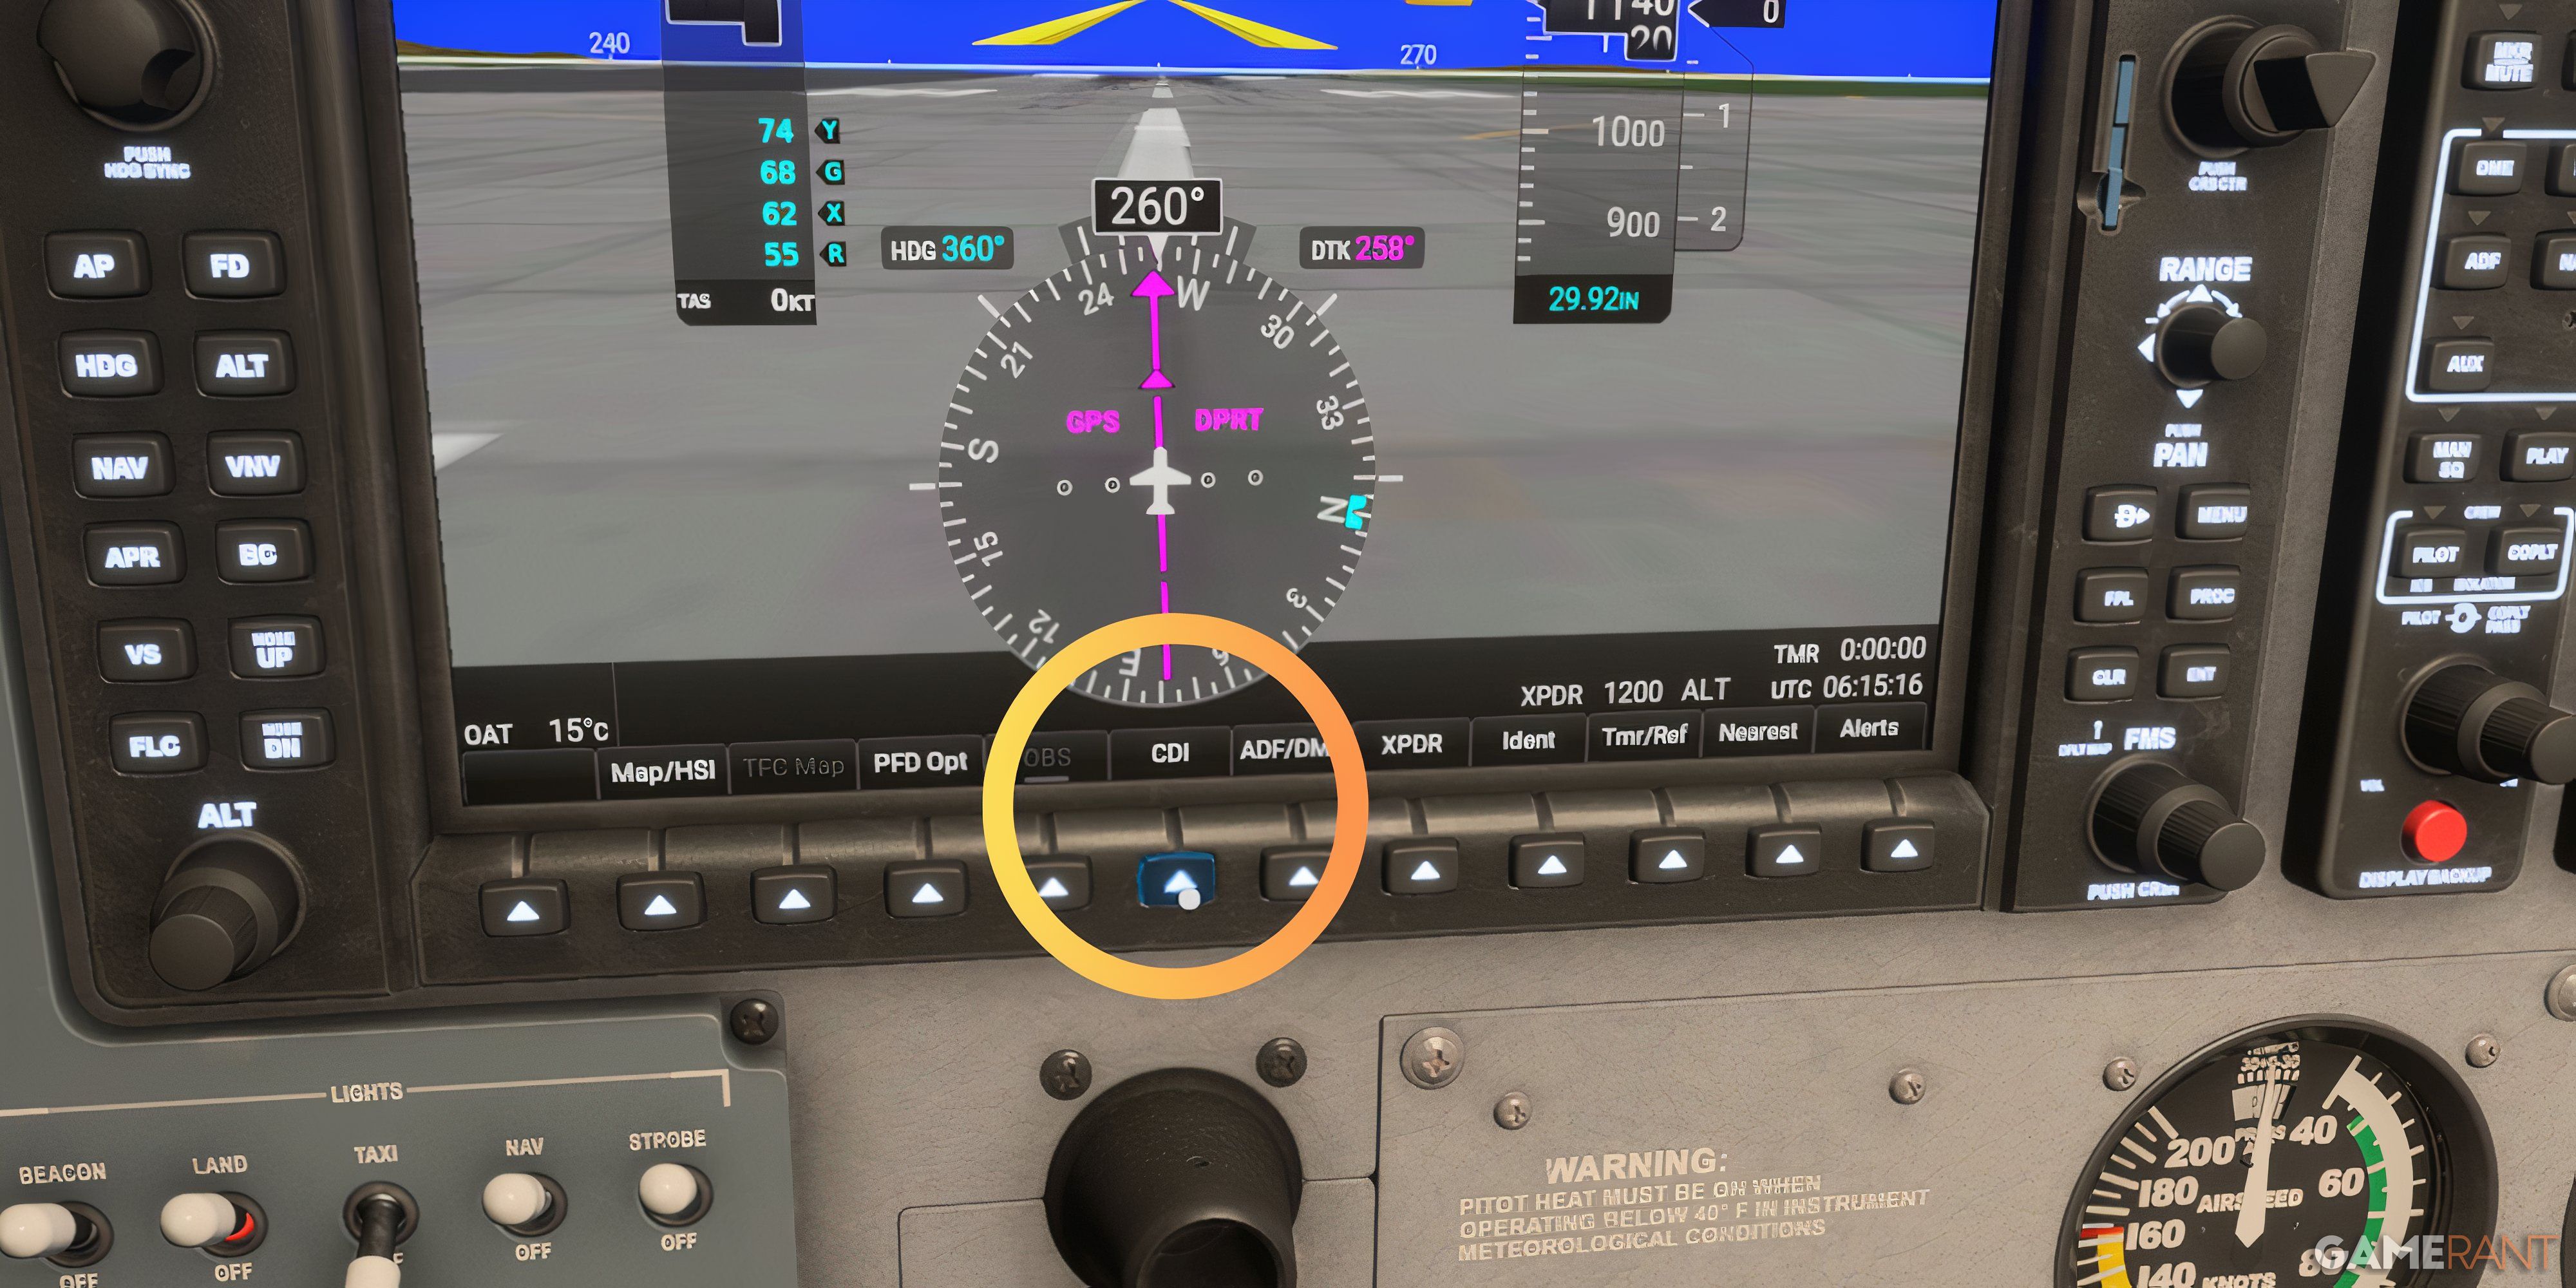
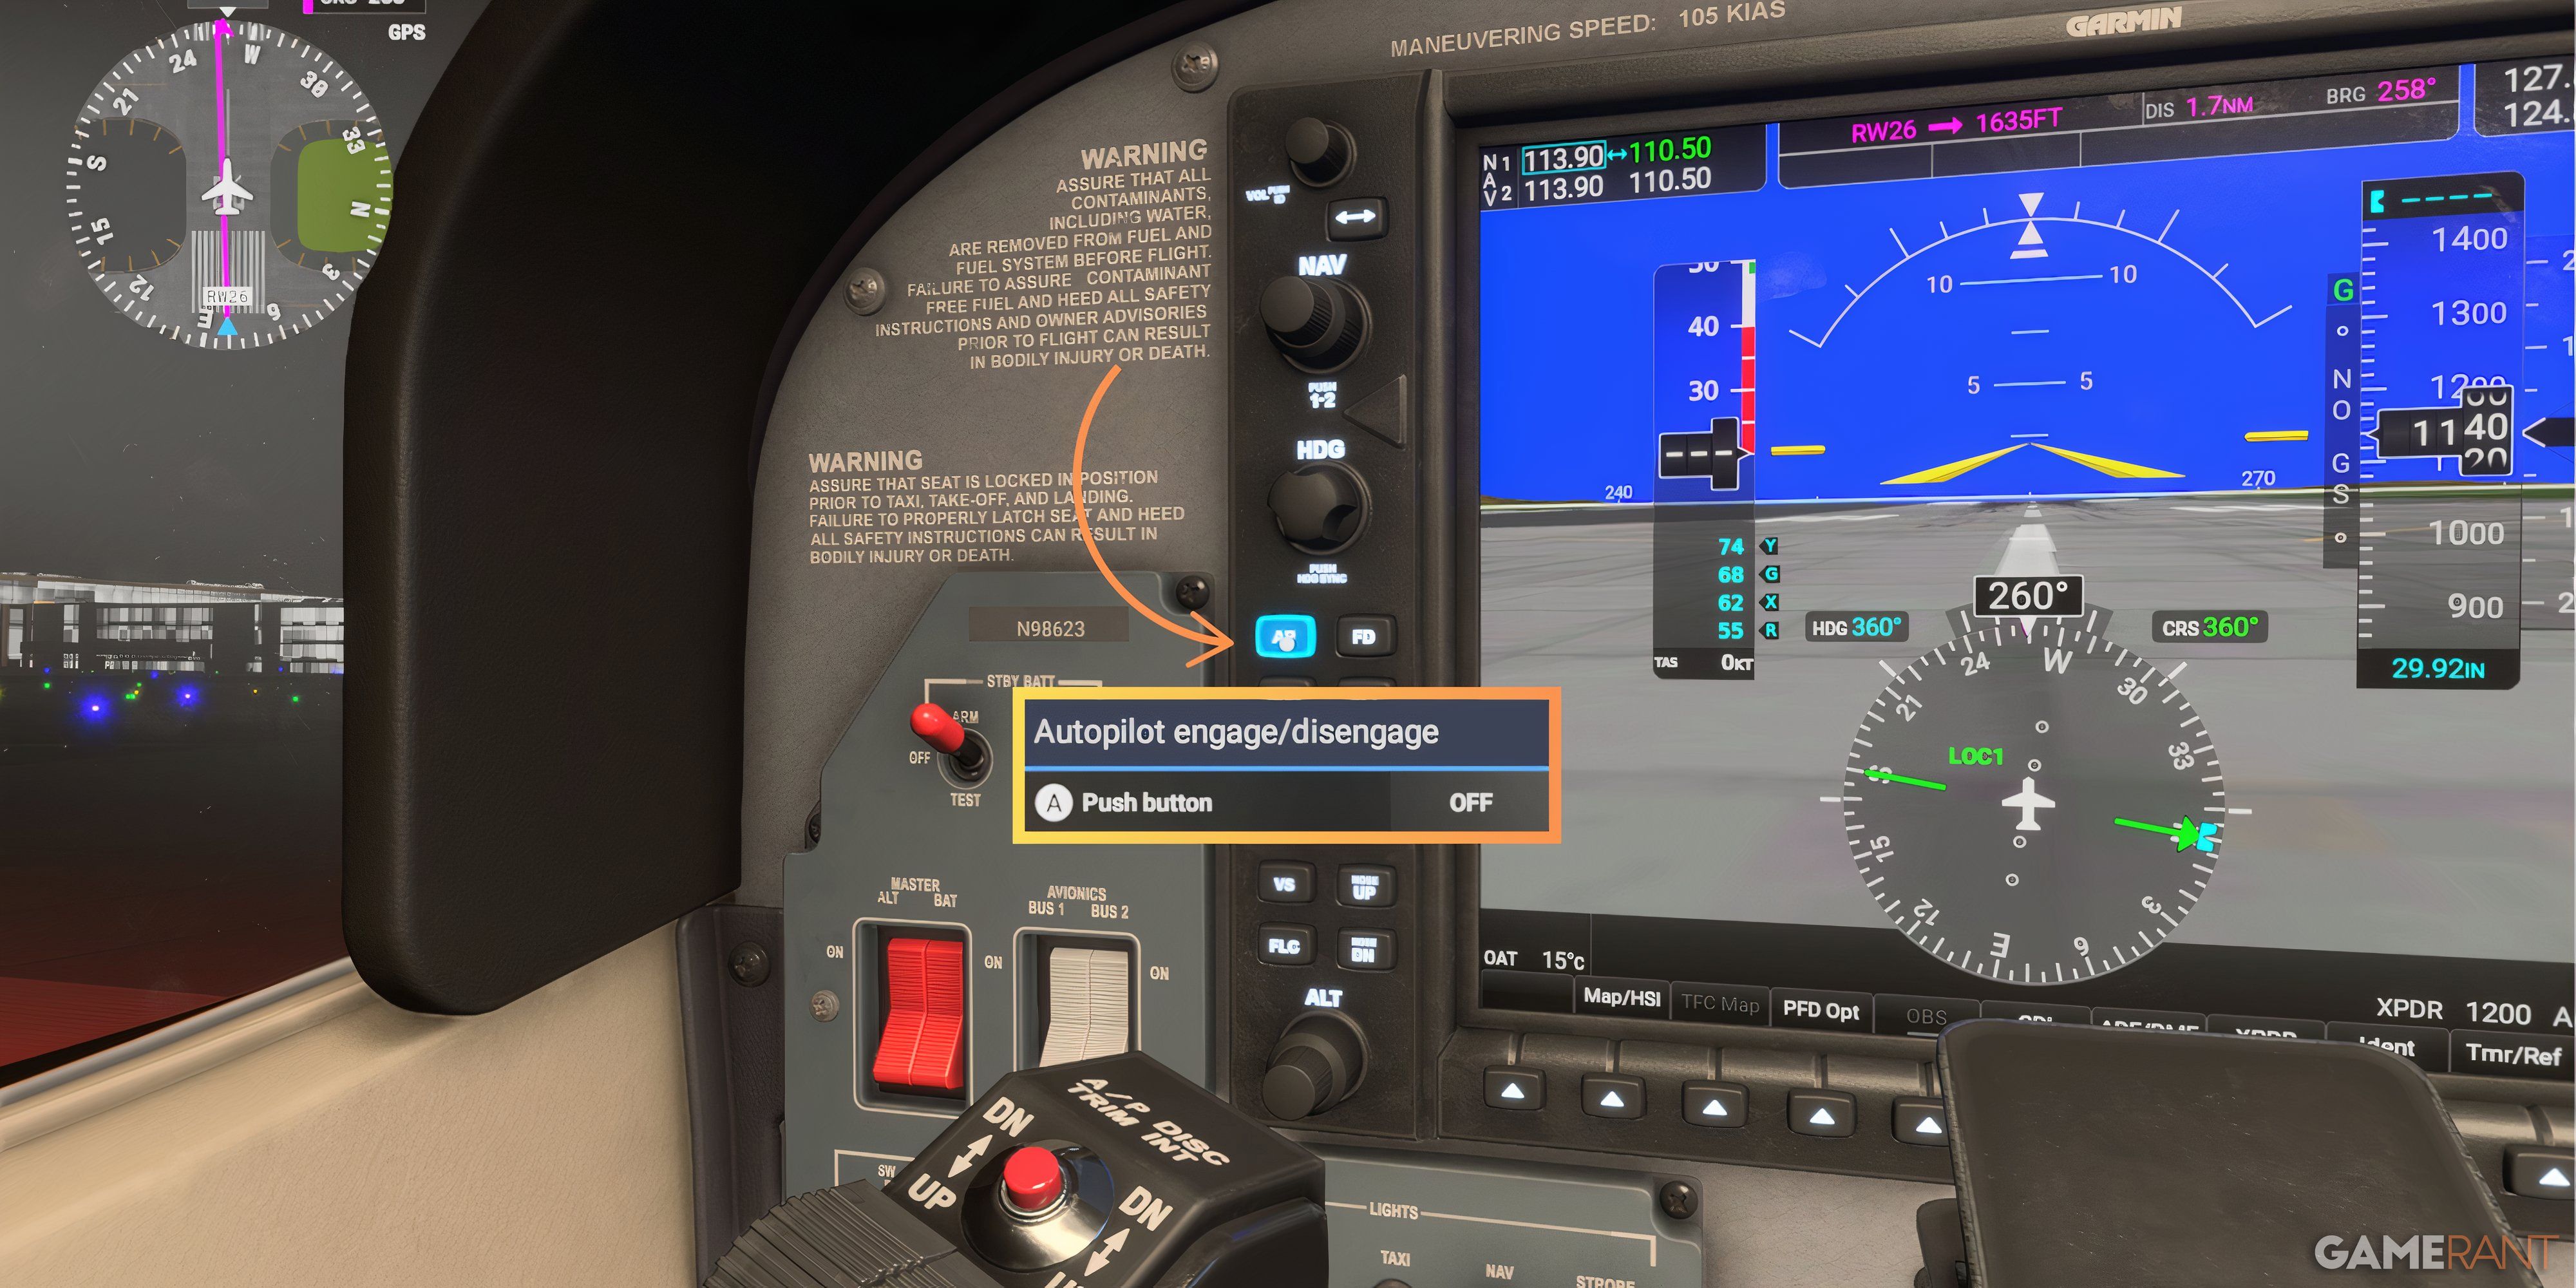
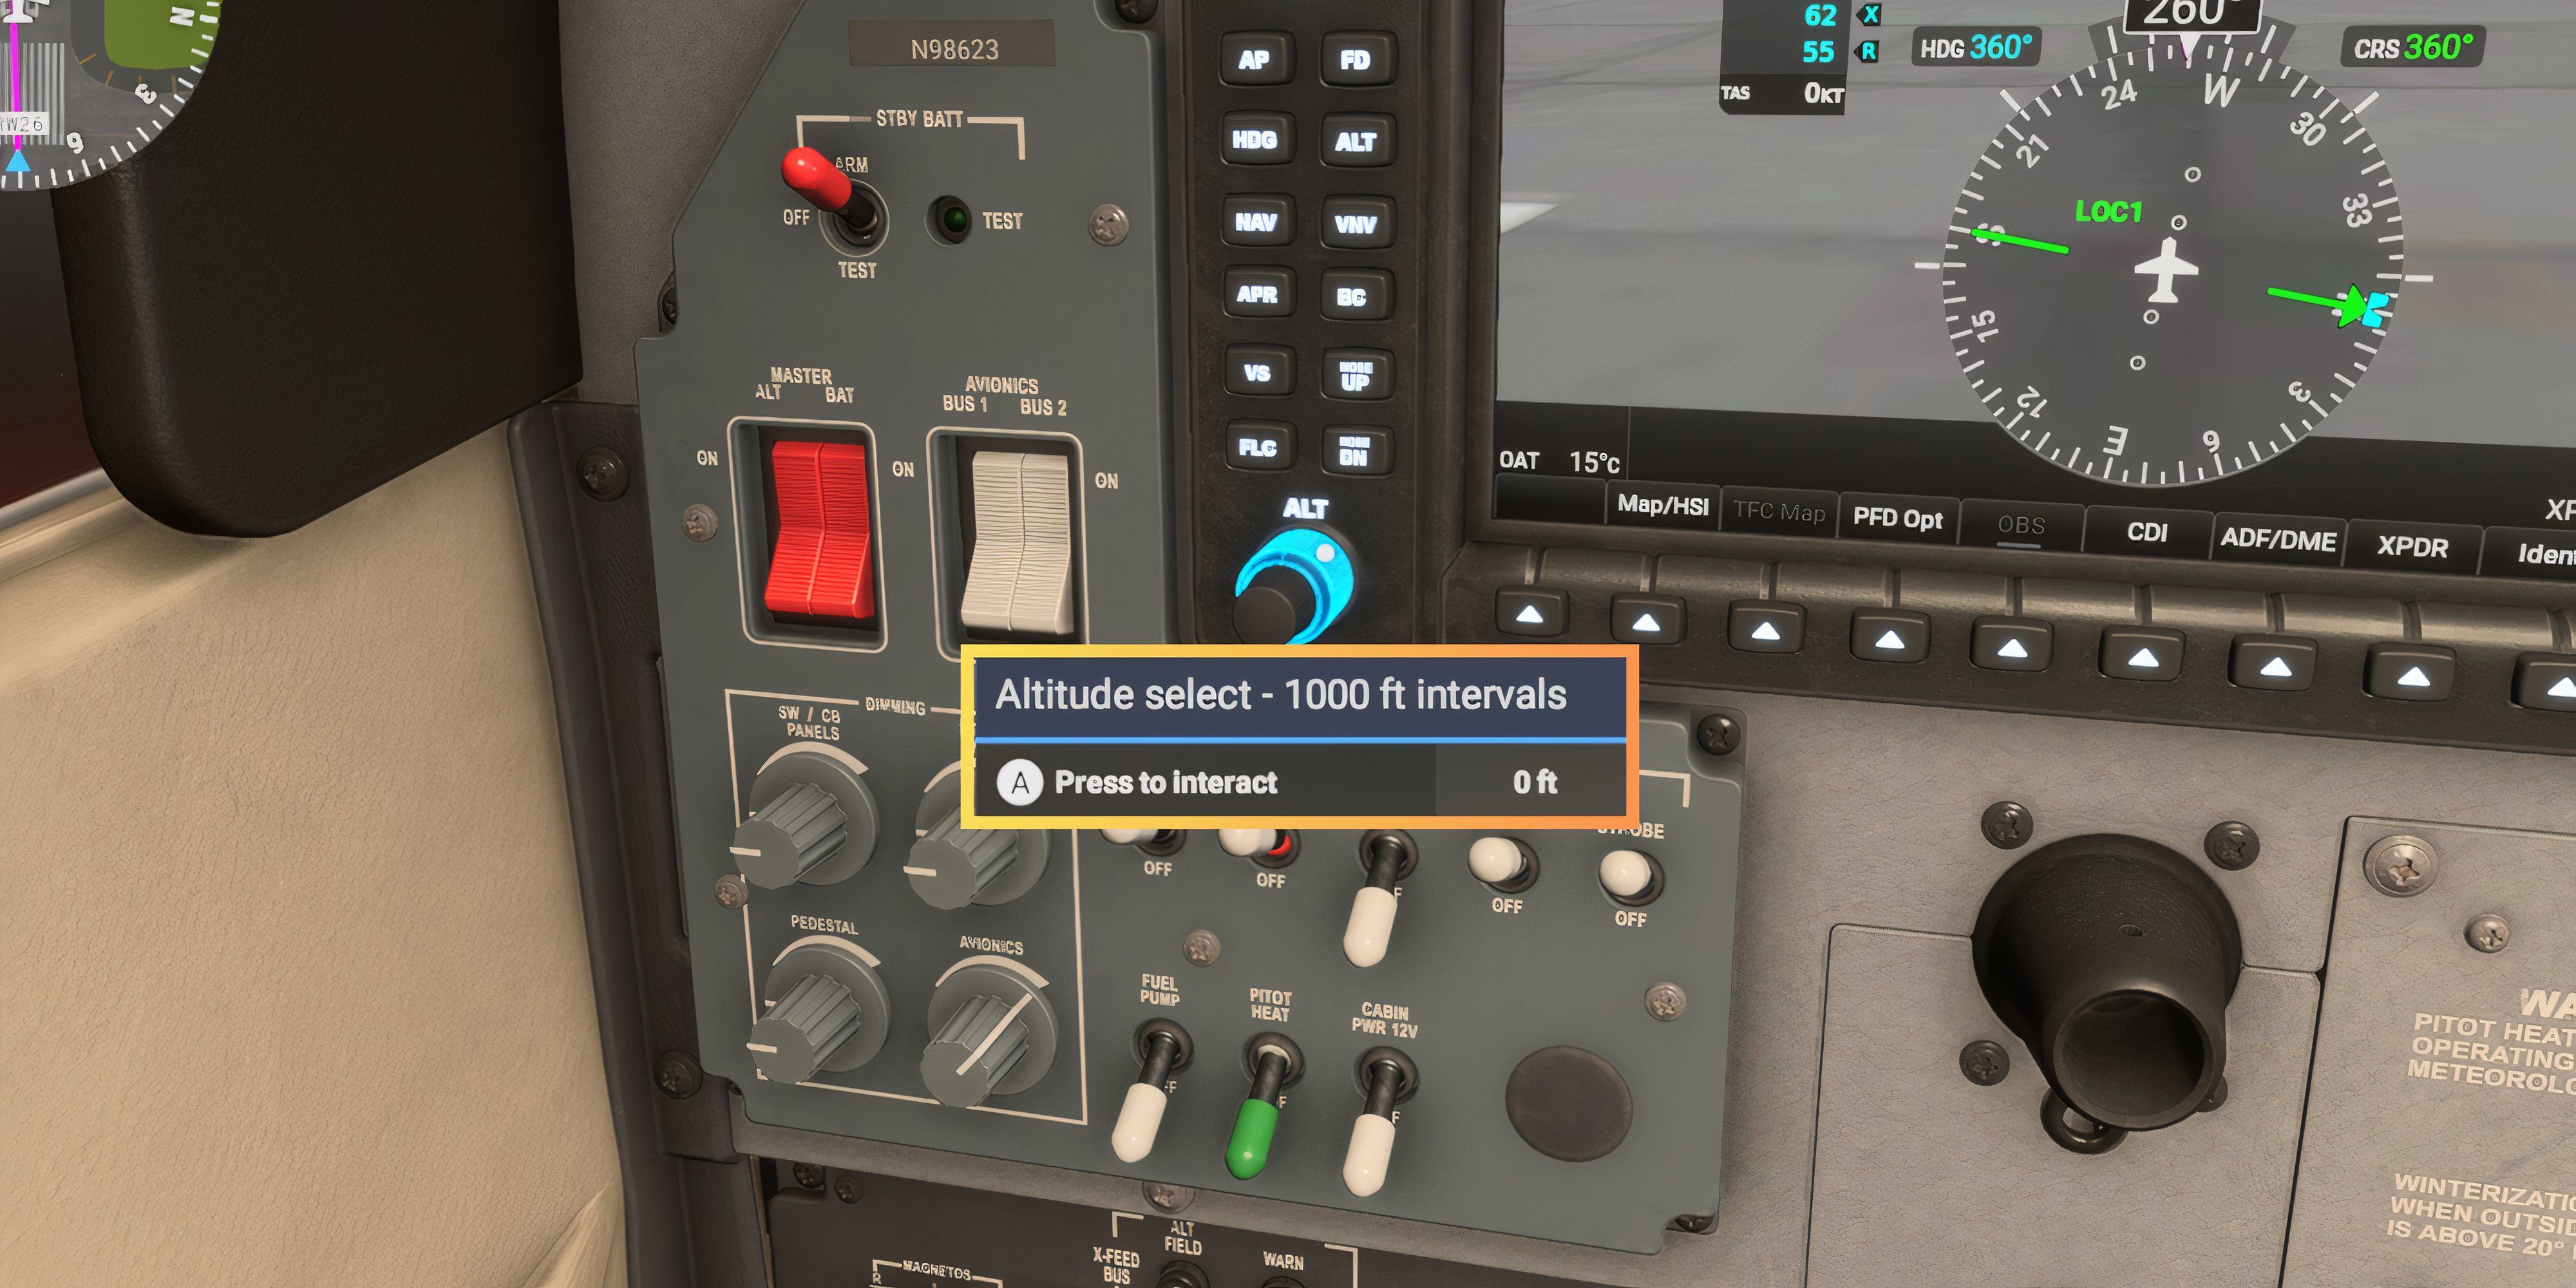
– Switch to Autopilot: Upon reaching cruising altitude, engage the autopilot system. It will follow the previously programmed flight plan, managing altitude, heading, and speed.
– Monitor and Adjust: Continuously observe the autopilot performance. Be prepared to make adjustments if your flight plan changes, or if you need to respond to unexpected conditions (e.g., turbulence, air traffic).
Step 4: Approach and Landing
– Disengage Autopilot for Approach: As you near your destination, disengage the autopilot system. This allows you to take manual control for the landing process, ensuring a smooth descent into the airport.
– Use ILS or Visual Approach: If available, utilize the ILS for a more guided landing approach, or rely on visual references if flying under visual flight rules (VFR).
Additional Tips for Successful Autopilot Use
– Practice Regularly: Gain familiarity with the specific autopilot systems by practicing on smaller, easier-to-handle aircraft before transitioning to larger, complex models.
– Utilize Keyboard Shortcuts: Familiarize yourself with important keyboard shortcuts like `CTRL+ALT+X`, which can help you quickly activate or deactivate the autopilot without increased workload.
– Watch Tutorials: Consider viewing online tutorials and video walkthroughs specific to different aircraft models. These resources offer valuable insights and can enhance your understanding of autopilot features and capabilities.
Conclusion
By following these structured steps and leveraging the available tools and resources, you can ensure smooth and accurate control during long-distance flights in Microsoft Flight Simulator. Autopilot systems can significantly enhance your flying experience, allowing you to enjoy the beauty of the virtual skies while maintaining a high level of operational efficiency. Happy flying!


Leave a Reply