
Creating a flight route in Microsoft Flight Simulator (MSFS) can significantly enhance your flying experience, providing you with a sense of realism and aiding in navigation. Below is a detailed guide to help you effectively plan your flight route:
Step 1: Open the World Map
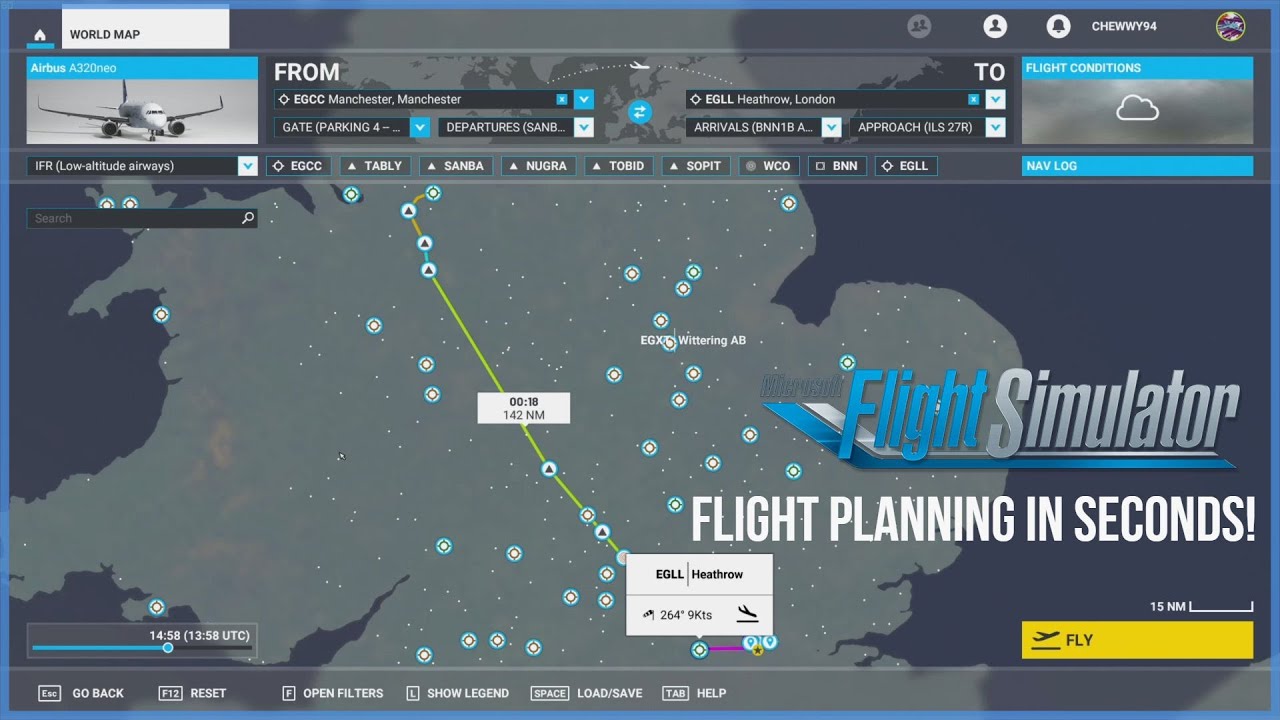
– Launch MSFS and navigate to the World Map. This interface will serve as your planning canvas, displaying all available airports, airways, and waypoints.
Step 2: Choose Aircraft
– Select your aircraft from the available options. Take into account the aircraft’s specific performance characteristics—such as cruising speed, range, and altitude capabilities—as these will influence your route planning.
Step 3: Select Departure and Arrival Airports
– Identify your departure airport by clicking on it directly on the World Map. You can also choose a specific parking position or runway if desired.
– Next, select your arrival airport. Ensure both locations are visible and correctly marked on the map.
Step 4: Change Flight Rules
– Determine your desired flight rules:
– Visual Flight Rules (VFR): Best for scenic flights and requires clear visibility of landmarks.
– Instrument Flight Rules (IFR): Ideal for flights in varied weather conditions with air traffic control (ATC) oversight. Choose between High Altitude Airways for longer flights or Low Altitude Airways for shorter, closer-to-the-ground navigation.
Step 5: Select Departure and Arrival Procedures
– If flying IFR, specify the following:
– Departure Procedure (SID): A standard route for departing airports, which helps with managing air traffic flow.
– Arrival Procedure (STAR): This outlines the approach to your destination, ensuring a smooth transition from en route to landing operations.
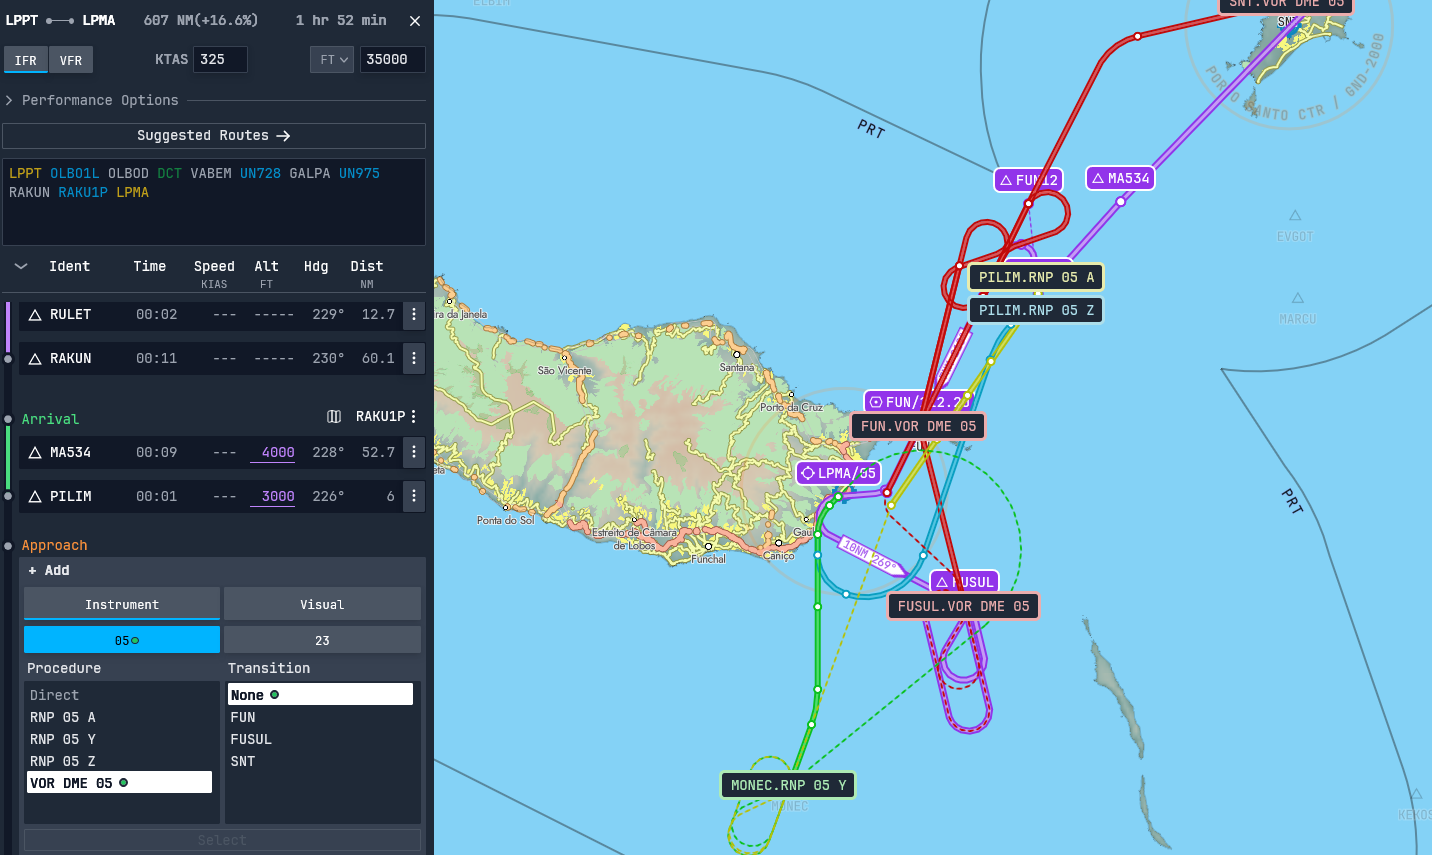
– Approach Procedure: Determines how you will land at your destination airport.
Step 6: Plan the Route
– Now you can define your route:
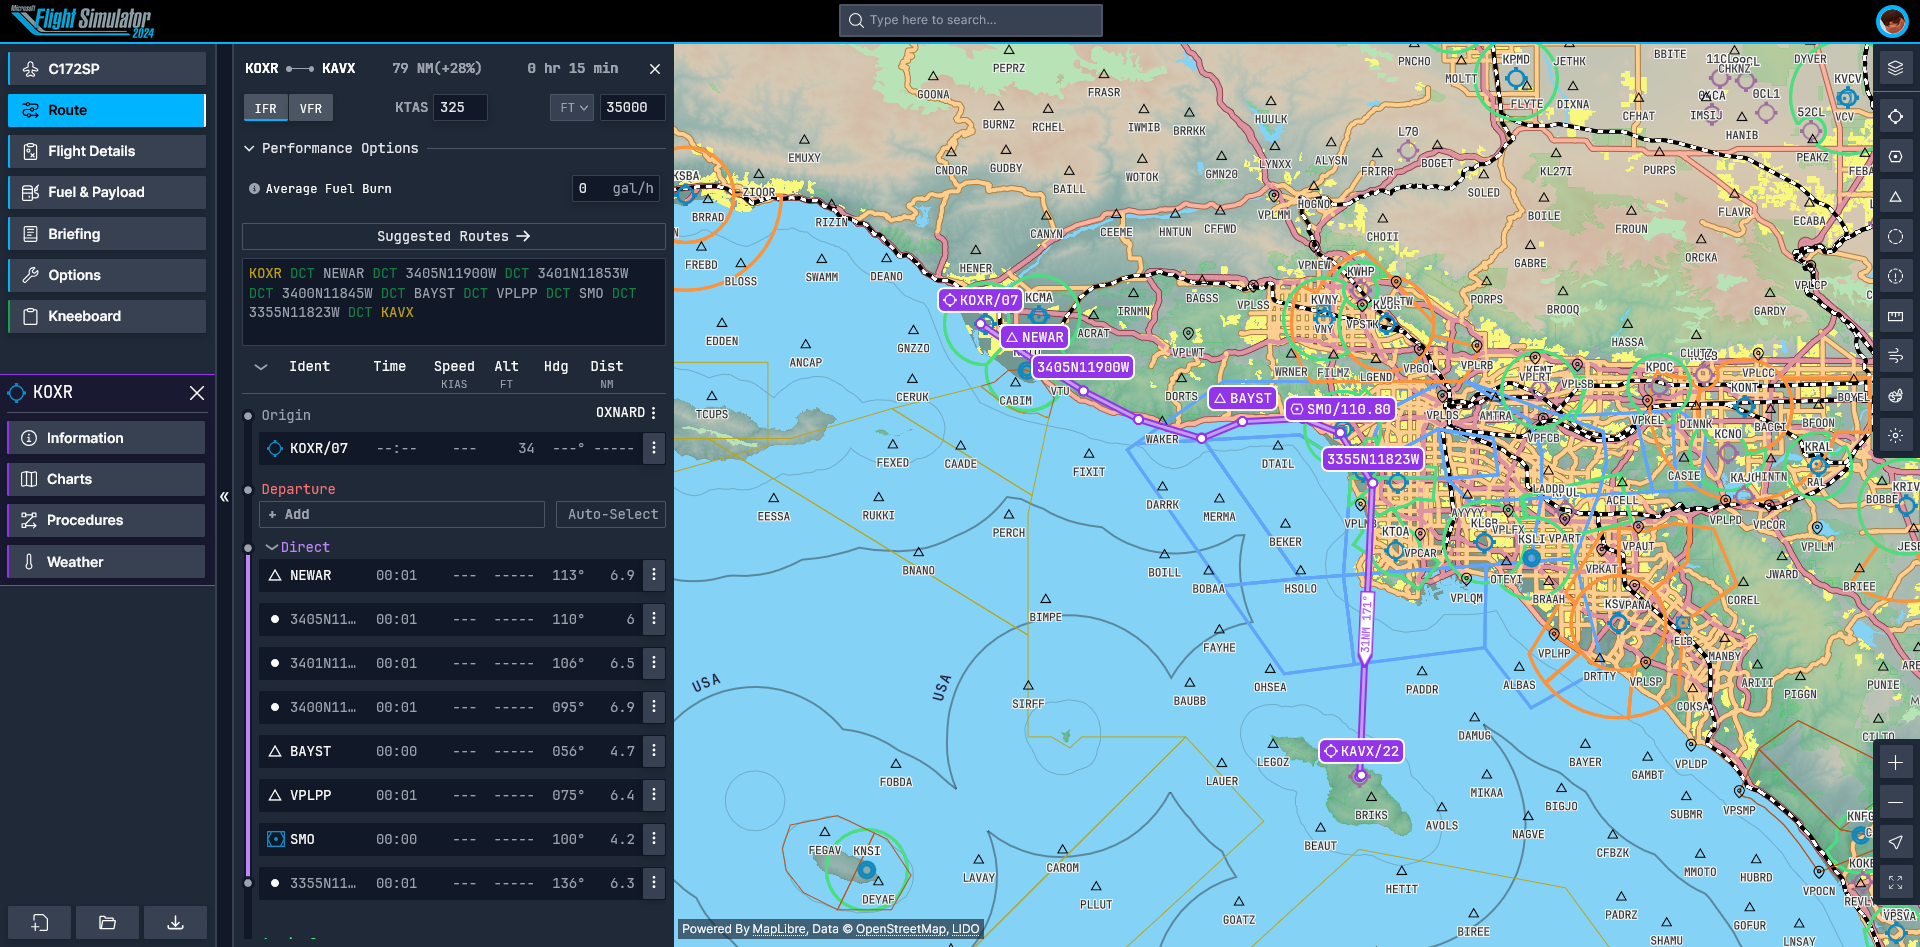
– Direct Route: For a more straightforward approach, opt for a GPS direct routing path.
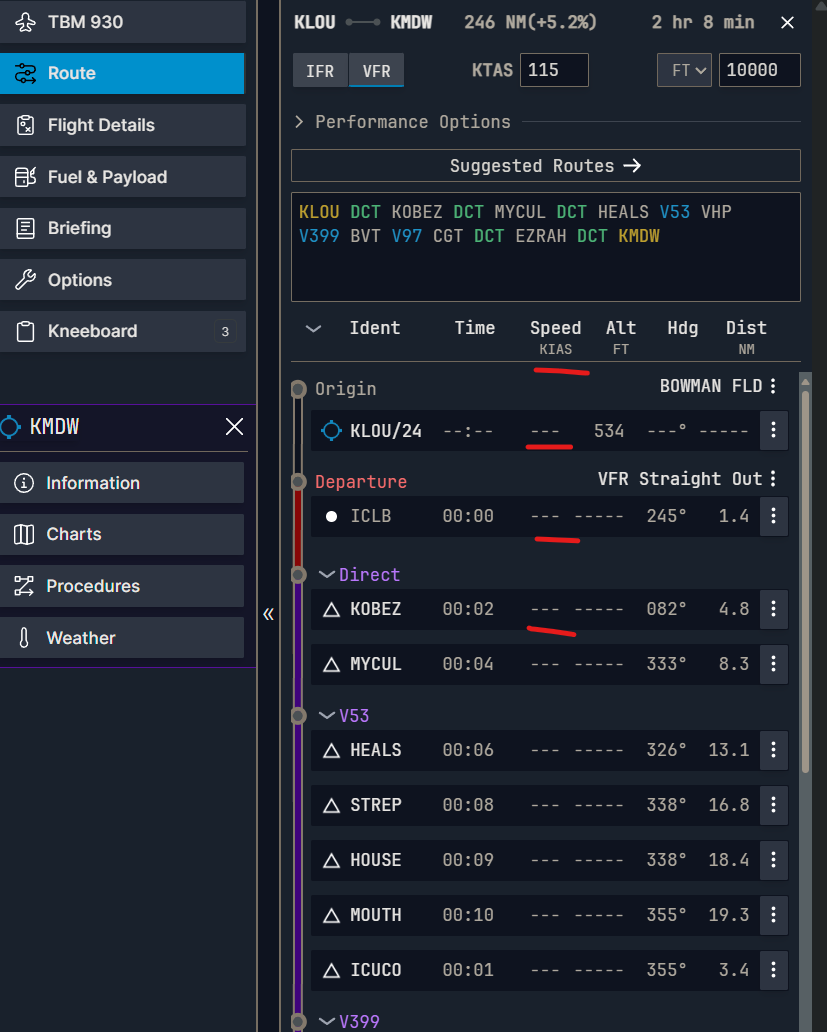
– Using Airways: If you want to navigate through established airways, select the appropriate airways and waypoints as indicated. This may require additional navigation planning and understanding of the airspace structure.
– Auto Route: Utilize the simulator’s auto-routing feature, which will automatically generate a route based on your selected departure and arrival points as well as your chosen flight rules.
Step 7: Set Altitudes
– Decide on your cruising altitude, keeping in mind the aircraft’s performance and current weather conditions.
– Consider setting different altitude levels for various stages of your flight, including:
– Climb: The initial ascent after takeoff.
– Cruise: The level flight segment, usually the longest part of your flight.
– Descent: The gradual descent towards your destination, where you will prepare for landing.
Step 8: Finalize the Flight Plan
– With all variables set—departure and arrival procedures, route, and altitudes—you can finalize your flight plan. The simulator will compute the details and display the planned route on the map.
Step 9: Review and Adjust
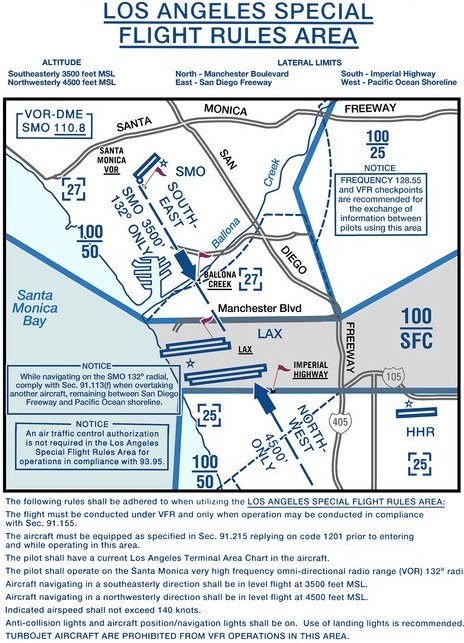
– Go over your flight plan to make sure it complies with aviation regulations and safety protocols. Look out for airspace restrictions or obstacles that may affect your route. Adjust any parameters if necessary to ensure a safe and enjoyable flight experience.
Additional Tips:
– Use of Third-Party Tools: Enhance your flight planning using external tools like SimBrief, which offers detailed flight planning and can integrate seamlessly with MSFS.
– Navigation Aids: Familiarize yourself with navigation aids available in the simulator, such as GPS, VOR (VHF Omnidirectional Range), and ILS (Instrument Landing System). These can greatly assist you, particularly during instrument conditions or complex approaches.
By meticulously following these steps, you’ll be well-equipped to create a detailed and effective flight plan in Microsoft Flight Simulator, ensuring a seamless flying experience. Happy flying!
Leave a Reply