
In Hitman 2, Agency Stash locations are crucial for efficiently managing the smuggling of weapons, gadgets, and other items beneficial for mission success. Here’s a comprehensive guide on how to unlock and effectively use these stash locations during your gameplay.
How to Unlock Agency Stash Locations
To access Agency Stash locations, follow these steps:
1. Complete a Mission: You must complete each mission at least once. This initiates the process of unlocking stash locations specific to that map.
2. Earn Mastery Points: As you play and complete objectives within the mission, you will earn mastery points. Increasing your mastery level for that specific location is essential to unlock the associated smuggling sites.
3. Unlocking Stash Locations: Once you’ve achieved sufficient mastery, the smuggling sites for that location become available. Smuggling sites function as inventory points where you can stash items for use in future missions.
How to Use Agency Stash Locations
Using Agency Stash locations effectively can significantly enhance your strategic options during missions:
– Selecting Starting Locations: At the beginning of each mission, you’ll have the option to choose a starting point, including any available smuggling sites linked to that map. This allows for a tactical advantage, especially when approaching complex missions.
– Bringing Inventory Items: You can use the stash locations to bring in items directly from your inventory (the warehouse) instead of scavenging for them on-site. This is particularly beneficial for equipping yourself with weapons, gadgets, or other items that aid in achieving your objectives.
– Capacity Variations: Different stash locations have different capacities:
– Larger Stashes: Some stashes can accommodate bulky items such as sniper rifles or suitcases.
– Smaller Stashes: Others can only hold smaller items like poison pills or compact gadgets. Be mindful of what you plan to bring when choosing your stash location.
Examples of Agency Stash Locations
Here are some specific stash locations across different maps in Hitman 2:
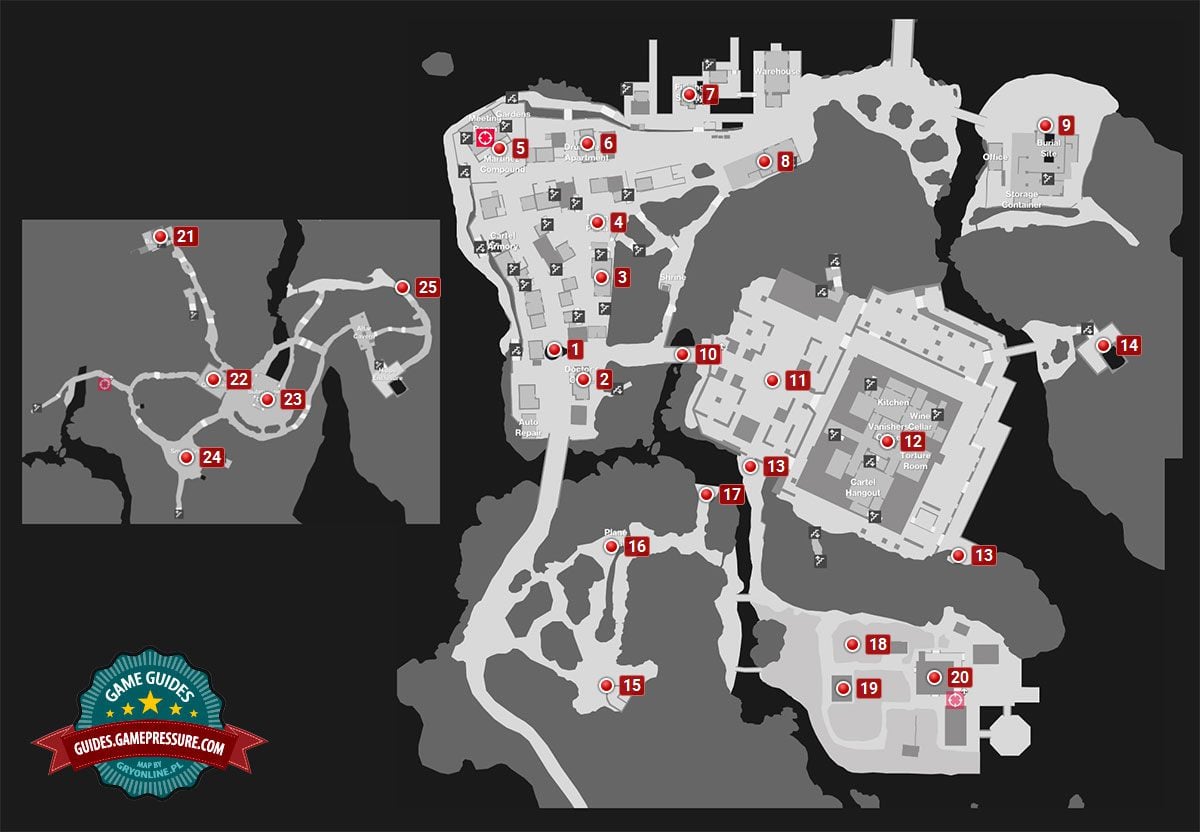
– Santa Fortuna Map:
– Hidden Stash: Village Construction Building: Ideal for storing large items like sniper rifles.
– Hidden Stash: Hostel: Limited to small items.
– Hidden Stash: Fishing Village: Again suitable for small items.
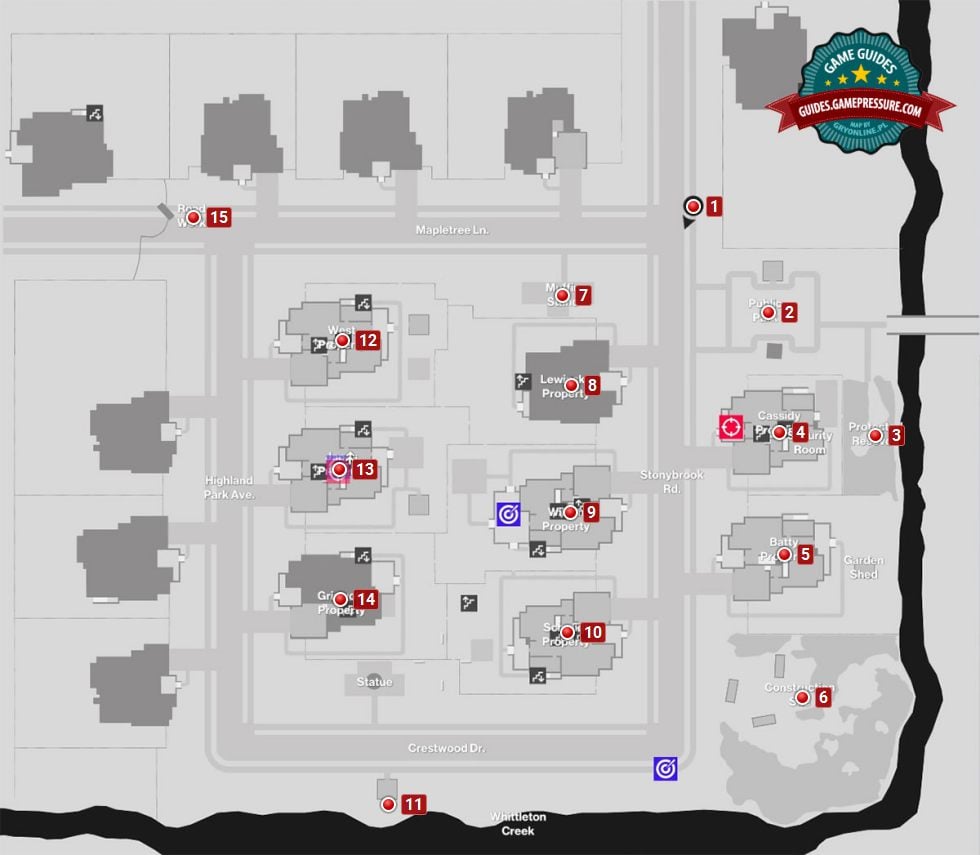
– Whittleton Creek Map:
– Agency Pickup: Bench: Good for accommodating larger items like sniper rifles.
– Agency Pickup: Park Shed: Also suitable for larger items.
– Various Hidden Stashes: These include small item-capacity locations such as the Creek Shed and various park areas.
Additional Notes
– Utilizing smuggling routes is especially advantageous for players looking to incorporate dangerous or bulky items that may be hard to find during missions or are likely to be confiscated.
– Successfully deploying these stashes and opting for non-default starting locations may also contribute to unlocking additional trophies or achievements in the game.
Conclusion
In summary, to optimize your gameplay in Hitman 2, focus on completing missions to enhance your mastery level, thus unlocking agency stash locations. Strategically select starting points based on available stashes to maximize your efficiency and potentially unlock achievements as you navigate through the game’s intricate missions.
Leave a Reply