
In Destiny 2, mods play a pivotal role in customizing and enhancing your Guardian’s gear, allowing for personalized gameplay experiences. Here’s a comprehensive guide on how to acquire and apply weapon and armor mods effectively.
How to Acquire Mods
1. Loot and Engrams:
– Mods can drop from various types of engrams, including legendary, prime, and Umbral engrams. Engaging in endgame activities such as Nightfalls, raids, and seasonal events can yield mods as rewards.
2. Vendors:
– Banshee-44, the Gunsmith, offers a daily rotating selection of mods for purchase, including essential armor and weapon mods. Keep an eye on his inventory to snag useful enhancements.
3. Seasonal Artifact:
– Leveling up your seasonal artifact grants access to specific seasonal mods. These must be selected and applied through the seasonal artifact interface.
4. Rank and Challenges:
– Certain ranks, such as Guardian Rank 6, and the completion of challenges can unlock various armor mods that enhance your playstyle.
5. Vendor Rank-Up Packages and Events:
– Periodically, some mods are available through vendor packages or during special events linked to seasonal content, adding variety to your mod collection.
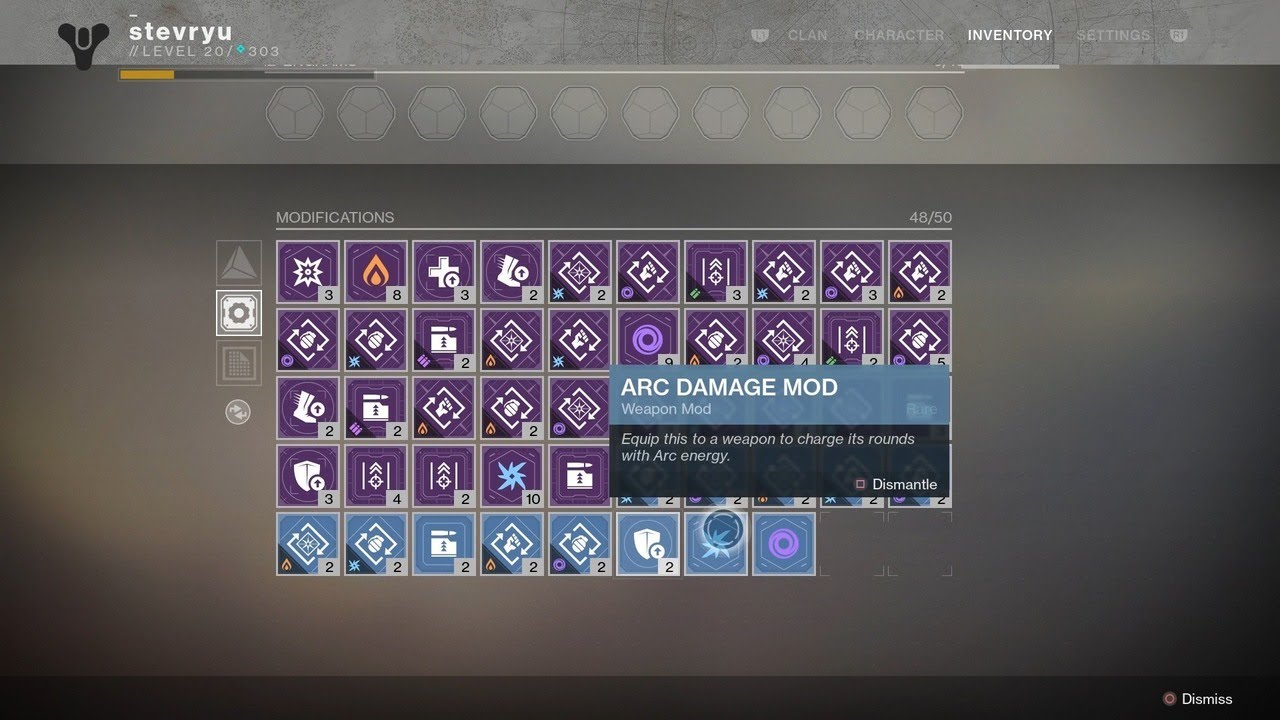
You can manage and view your entire collection of mods in the Mods section of your inventory. This allows you to track which mods you own and identify any gaps in your collection.
How to Apply Mods to Armor and Weapons
1. Access Your Inventory:
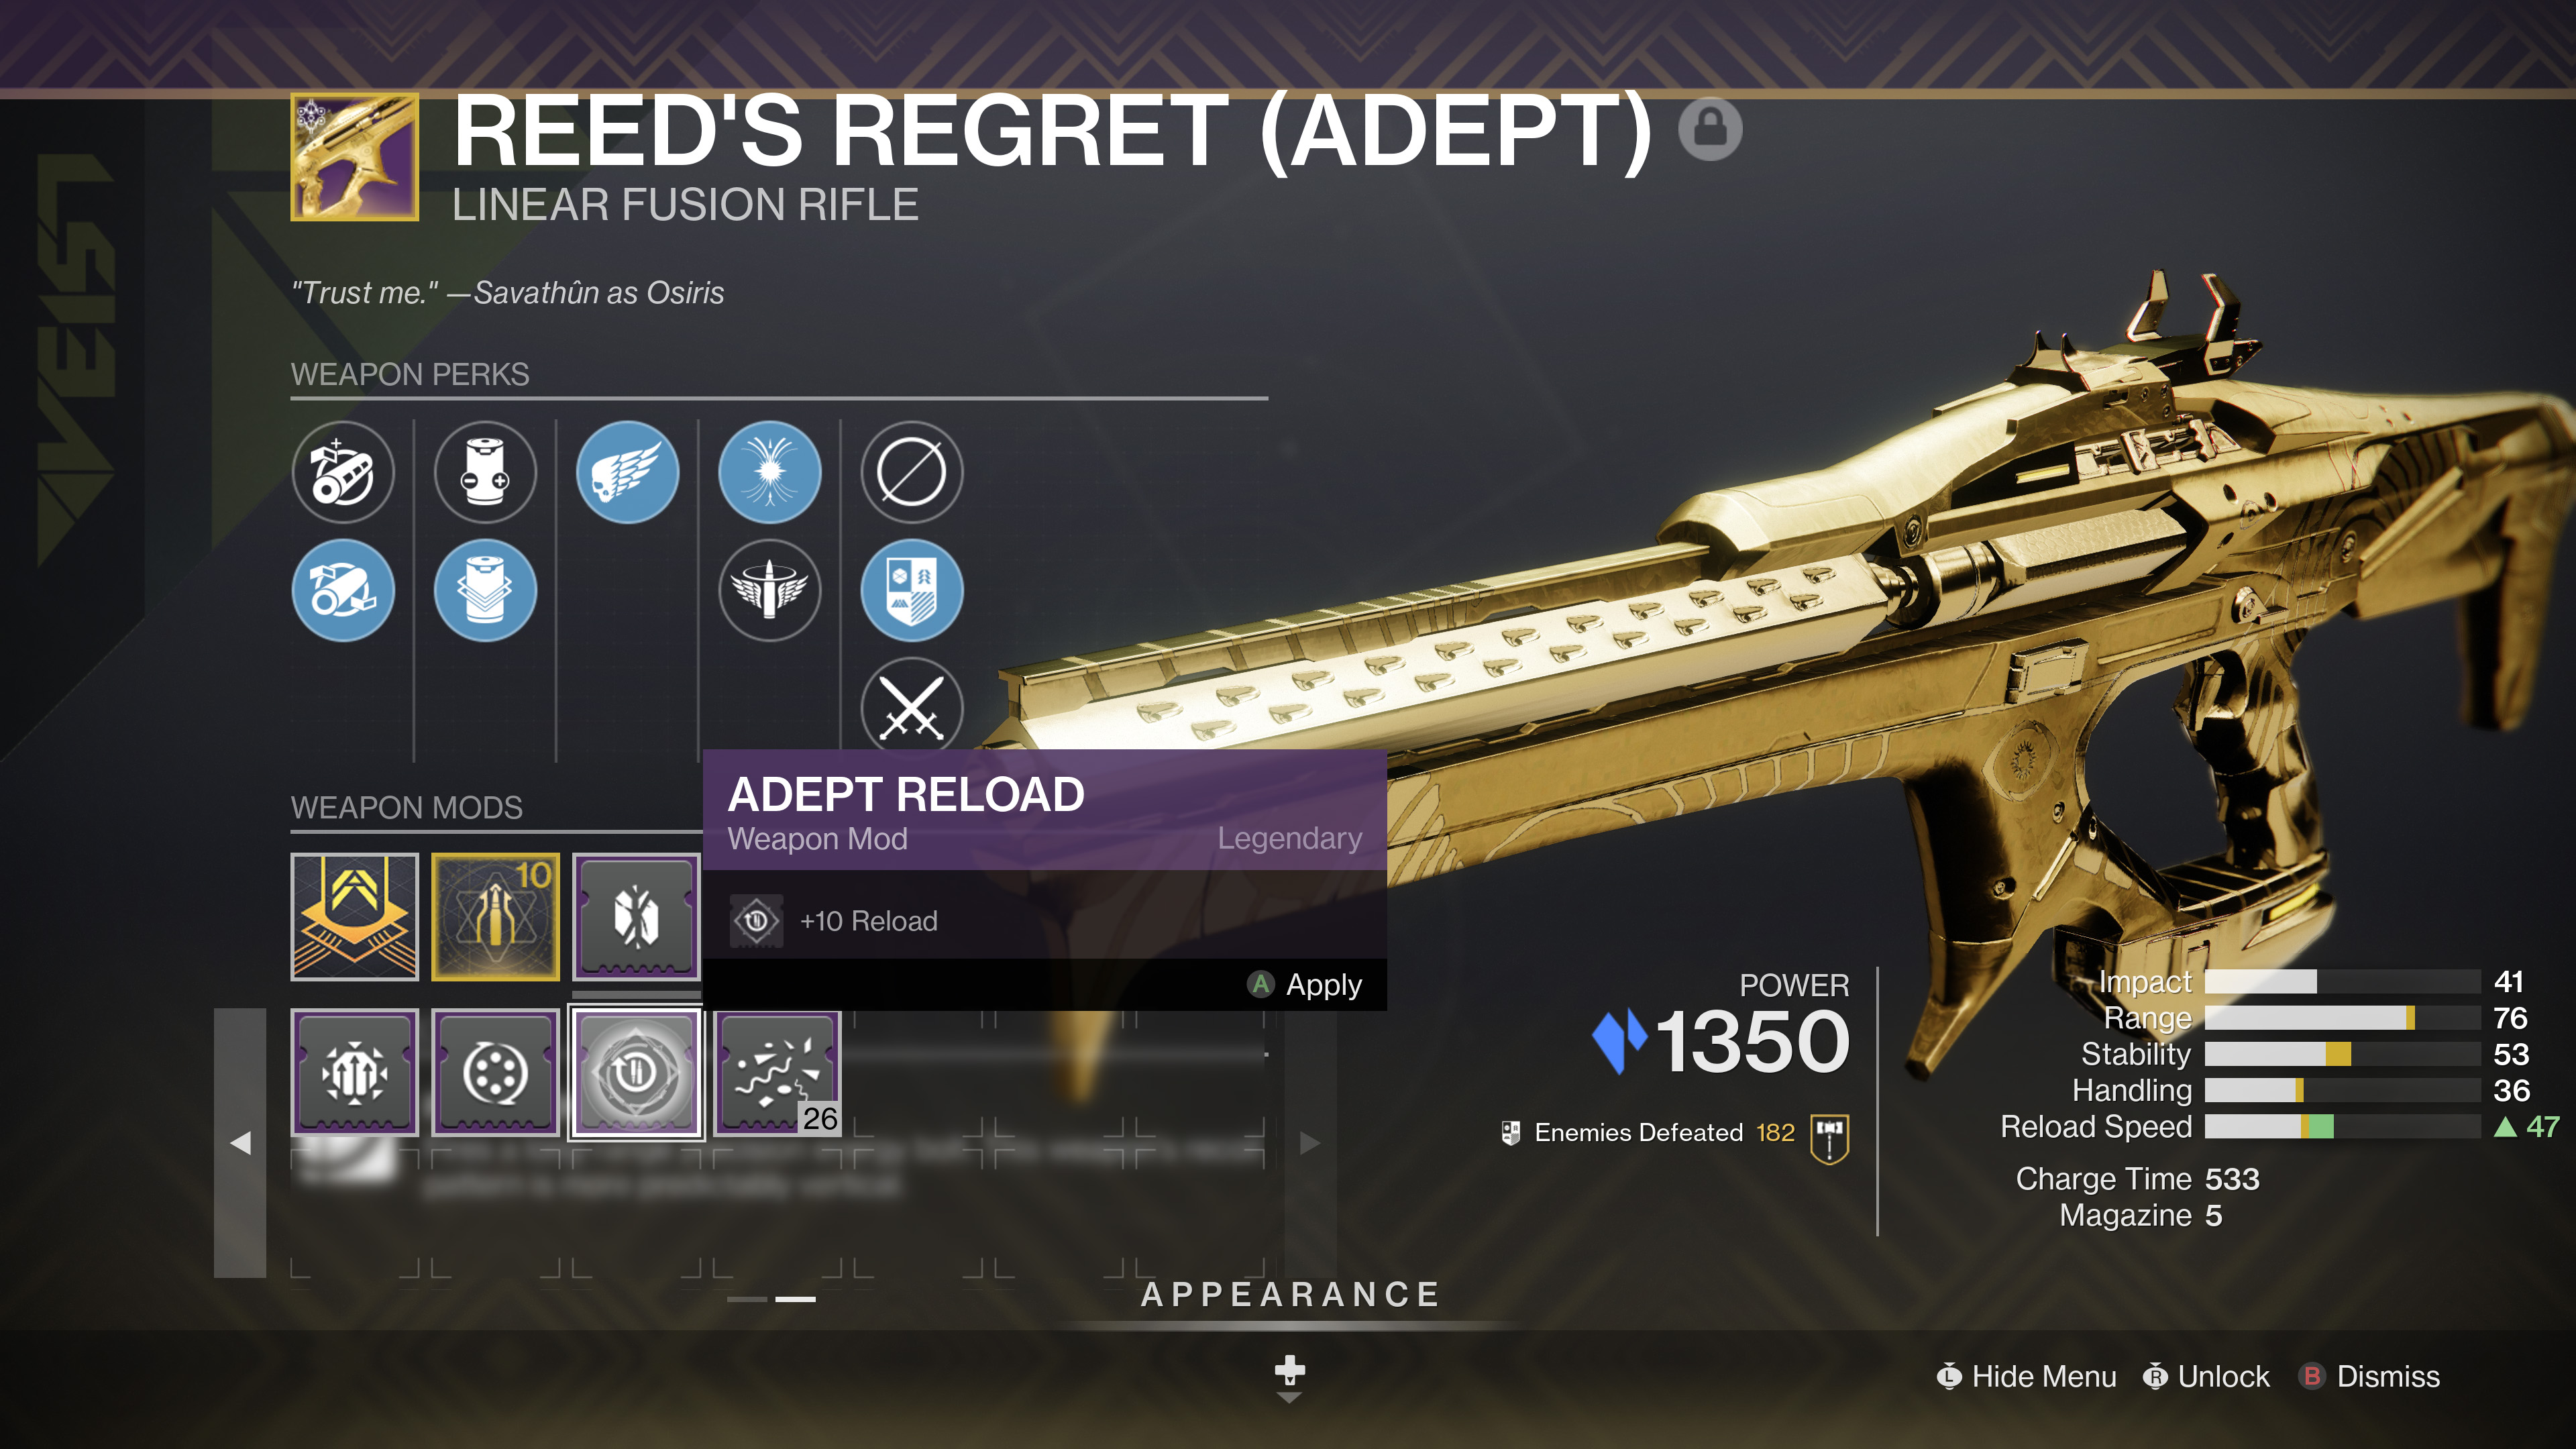
– Navigate to the Mod Customization tab found on the right-hand side of the UI.
2. Choose Gear:
– Select the armor piece or weapon that you wish to mod.
3. Understand Armor Slots:
– Armor pieces typically have four mod slots:
– One General mod slot: For stat-enhancing mods (e.g., +5 or +10 to resilience or intellect).
– Three Armor mod slots: Are specific to the armor type (helmet, arms, chest, legs, class item) accommodating mods that pertain to ammo finding, ability uptime, or elemental resistances.
4. Energy Costs and Capacity:
– Each mod has an energy cost (e.g., a Hands-On mod may consume 3 energy). Your armor has a cap on energy capacity, which can be extended by using upgrade modules on the armor piece.
5. Installing Mods:
– Choose the desired mod from your inventory and install it in an available slot. You can freely remove or replace mods as needed.
6. Special Armor Considerations:
– Exotic armor pieces or Artifice armor may feature additional mod slots or unique properties that alter your mod options.
Types of Mods and Their Effects
– Stat Mods: Enhance core stats like mobility, resilience, recovery, discipline, intellect, and strength, crucial for gearing towards specific combat roles.
– Ammo Finder/Scavenger Mods: Help you locate or generate special ammo for your weapons, which can be vital during intense firefights.
– Ability Uptime Mods: Significantly reduce the cooldown times for your super, grenade, melee, or class abilities, allowing for more frequent usage.
– Combat and Raid Mods: Provide buffs such as damage increases, orb generation, or class-specific enhancements that can be integral during raids and challenging encounters.
Using mods strategically is essential for optimizing your loadout to fit specific playstyles or activity requirements. Tailoring your build with the right combination of mods can dramatically improve your performance in various game scenarios.
Summary
To enhance your gear with mods in Destiny 2, gather them through gameplay and vendors. Equip mods via the mod customization tab in your inventory, keeping your armor energy limits in mind. Upgrading armor further increases energy capacity, enabling you to utilize more mods or higher-cost mods. Balancing different mod types and effects allows you to create a build that complements your gameplay style and the demands of different in-game activities.



Leave a Reply