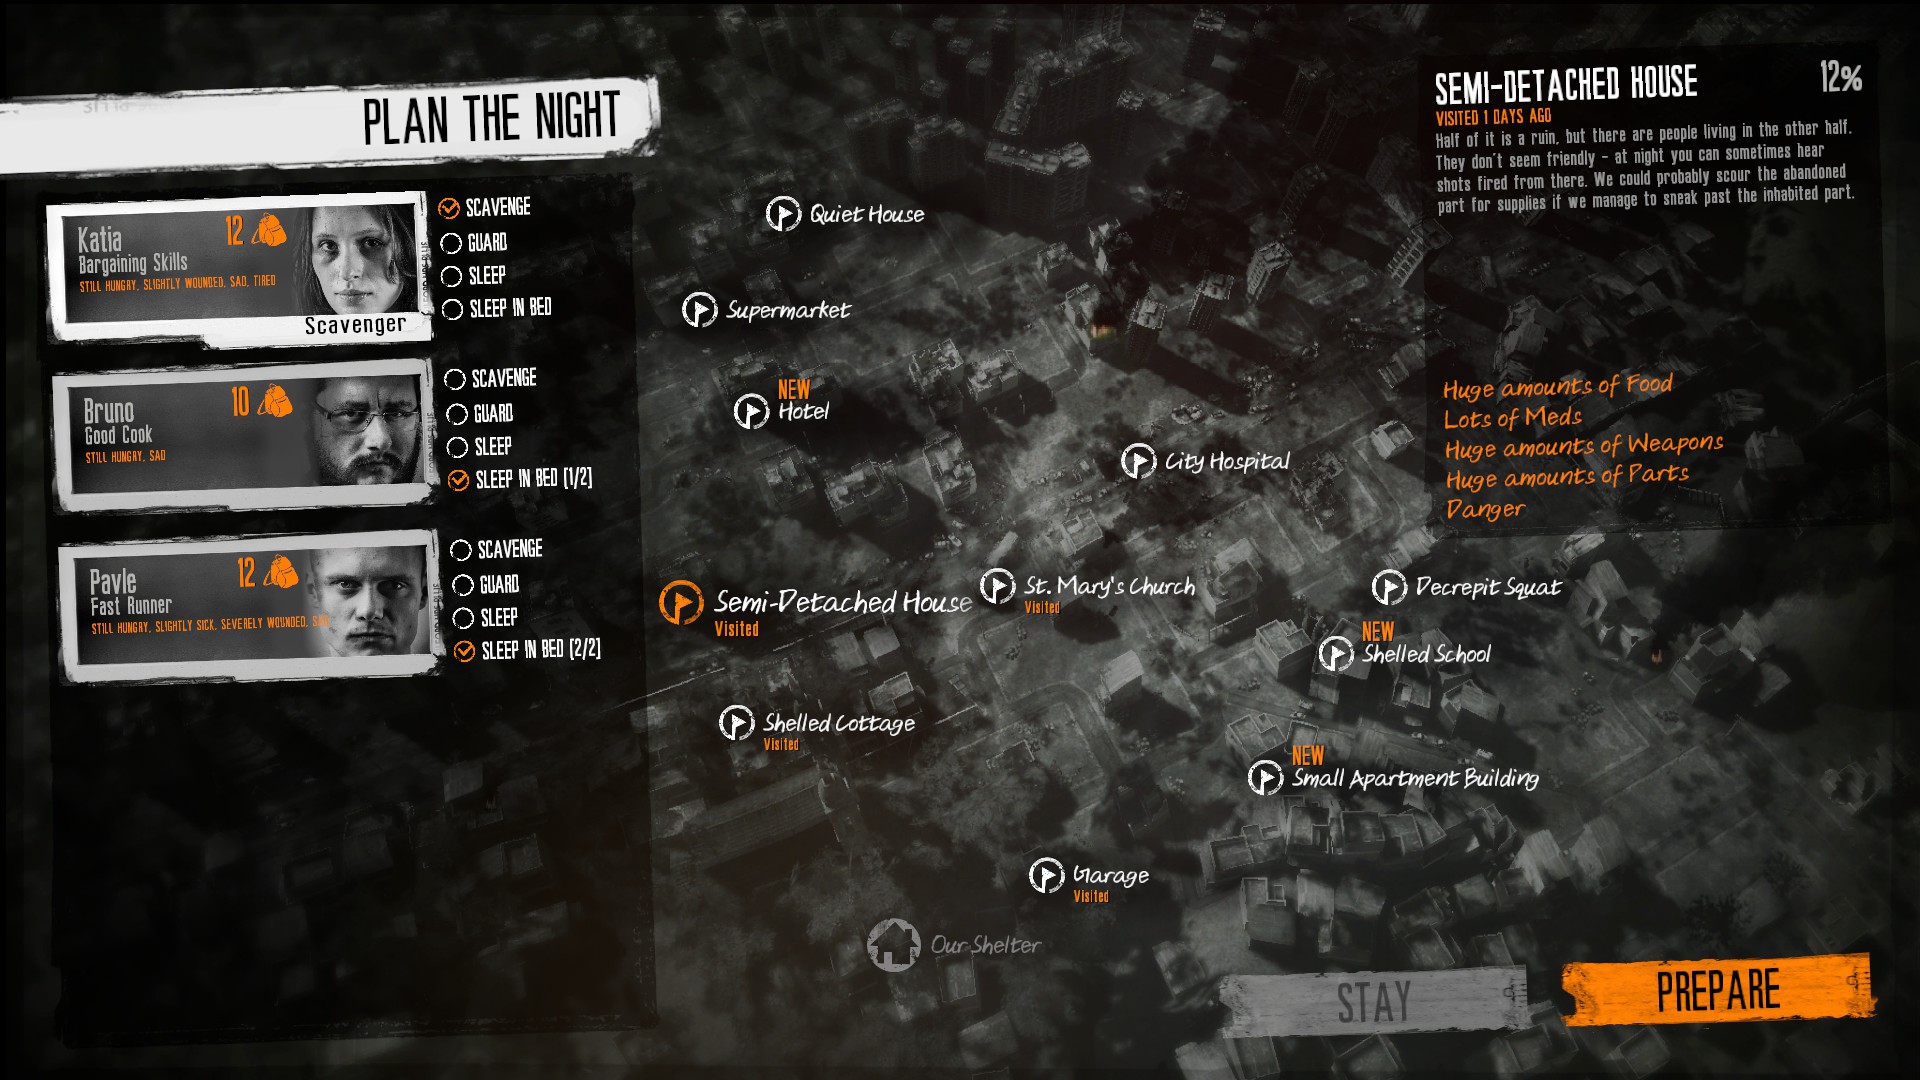
In This War of Mine, scavenging is a critical aspect of gameplay, requiring players to carefully assess risks and rewards to ensure the survival of their characters. Here’s a comprehensive breakdown of notable scavenging locations, their associated risks, rewards, and strategic tips for maximizing your chances of survival.
Scavenging Locations and Their Characteristics
1. Abandoned Cottage
– Risk: Low; the main challenge involves clearing rubble.
– Reward: Food, medicine, and essential supplies.
– Equipment Needed: Crowbar, lockpick, shovel.
– Risk Level: Low
2. Ruined Villa
– Risk: High; unpredictable encounters, especially with soldiers or hostile NPCs.
– Reward: A varied assortment of supplies depending on the specific scenario.
– Risk Level: High
3. Sniper Junction
– Risk: Medium to high; navigate sniper fire with careful timing and use of cover.
– Reward: Food, medical supplies, and valuable crafting materials.
– Risk Level: Medium to High
4. Shelled School
– Risk: Moderate; hazards exist, but loot is available.
– Reward: A selection of supplies and materials necessary for survival.
– Risk Level: Moderate
5. Supermarket
– Risk: Moderate; potential bandit encounters make it risky.
– Reward: Large quantities of food and crucial resources.
– Risk Level: Moderate
6. City Hospital
– Risk: Moderate; bandits may be present, along with the usual hazards of looting.
– Reward: Essential medical supplies and critical equipment.
– Risk Level: Moderate
7. Military Outpost
– Risk: Very high; heavily armed soldiers present a significant danger.
– Reward: Weapons, ammunition, and vast quantities of other necessary supplies.
– Risk Level: Extremely High
8. Airport
– Risk: High; typically guarded by soldiers or hostile factions.
– Reward: A variety of supplies and potentially rare items.
– Risk Level: High
9. Brothel
– Risk: Moderate to high; risk varies based on current circumstances.
– Reward: Supplies and the chance to interact with NPCs for potential benefits.
– Risk Level: Moderate to High
10. Pharmacy
– Risk: Low to moderate; safer compared to highly guarded locations.
– Reward: Medical supplies and crucial medications.
– Risk Level: Low to Moderate
11. Old Church / St. Mary’s Church
– Risk: Low; although unexpected events can occur, risk is generally low.
– Reward: Various supplies and sometimes unique items or NPC interactions.
– Risk Level: Low
12. Garage
– Risk: Moderate; valuable items with associated dangers.
– Reward: Mechanical parts and useful tools for crafting.
– Risk Level: Moderate
13. Construction Site
– Risk: Low; relatively safe for material gathering.
– Reward: Raw materials for crafting needs.
– Risk Level: Low
14. Hotel (Trader/Scavenger/Bandit)
– Risk: High; potential encounters with bandits could occur.
– Reward: Valuable items and interactions with traders.
– Risk Level: High
General Tips for an Effective Scavenging Experience
– Equipment Preparation: Always equip your characters with the necessary tools like lockpicks, sawblades, and shovels to ensure access to various areas and efficient looting.
– Utilize Day/Night Cycles: Plan your scavenging strategy around the time of day, where certain locations may present less risk at night due to reduced NPC activity or visibility.
– Skill Allocation: Tailor your scavenging efforts based on your characters’ skills—for instance, combat-oriented characters might better handle high-risk locations, whereas stealthy characters excel in evading danger.
Conclusion
Each location within This War of Mine presents unique challenges and opportunities that can greatly influence the survival outcome of your characters. Careful analysis of risks, adequate preparation, and strategic play will enhance your scavenging success, making it a pivotal element of your survival strategy in the game.


Leave a Reply