
## The Duchess of Queensbury: Boss Guide
The Duchess of Queensbury is the guardian of the first Spark Generator, located at the end of the **Queensbury Crypt** region in the Ancestral Chamber. This encounter is a significant difficulty spike and consists of two distinct phases.
### Recommended Preparation
Before entering the Ancestral Chamber, ensure you are properly leveled and equipped to handle the Duchess’s high damage output.
* **Stats:** Aim for **Level 4 or 5** in both Attack and Defense. Level 6 Attack will significantly shorten the fight.
* **Sidearms:**
* **Mist Jar:** Found within the Crypt, this allows you to dash through the boss for invulnerability frames and a small amount of health recovery.
* **Gyro Dagger:** Excellent for Phase 2, as it allows you to deal damage from a safe vertical distance.
* **Volt Hatchets:** Useful if you prefer a ranged playstyle to avoid her wide melee swings.
* **Trinkets:**
* **Plasma Funnel:** Prevents you from losing your healing progress if you are hit while drinking a Plasma Vial.
* **Steady Soles:** Reduces knockback and helps you maintain positioning on the arena’s pressure plates.
* **Secret Tip:** Smash the tombstone in the **top left corner** just outside the boss arena to unlock additional Side Arm options if you don’t have a preferred one.
—
### Phase 1: The Stone Guardian
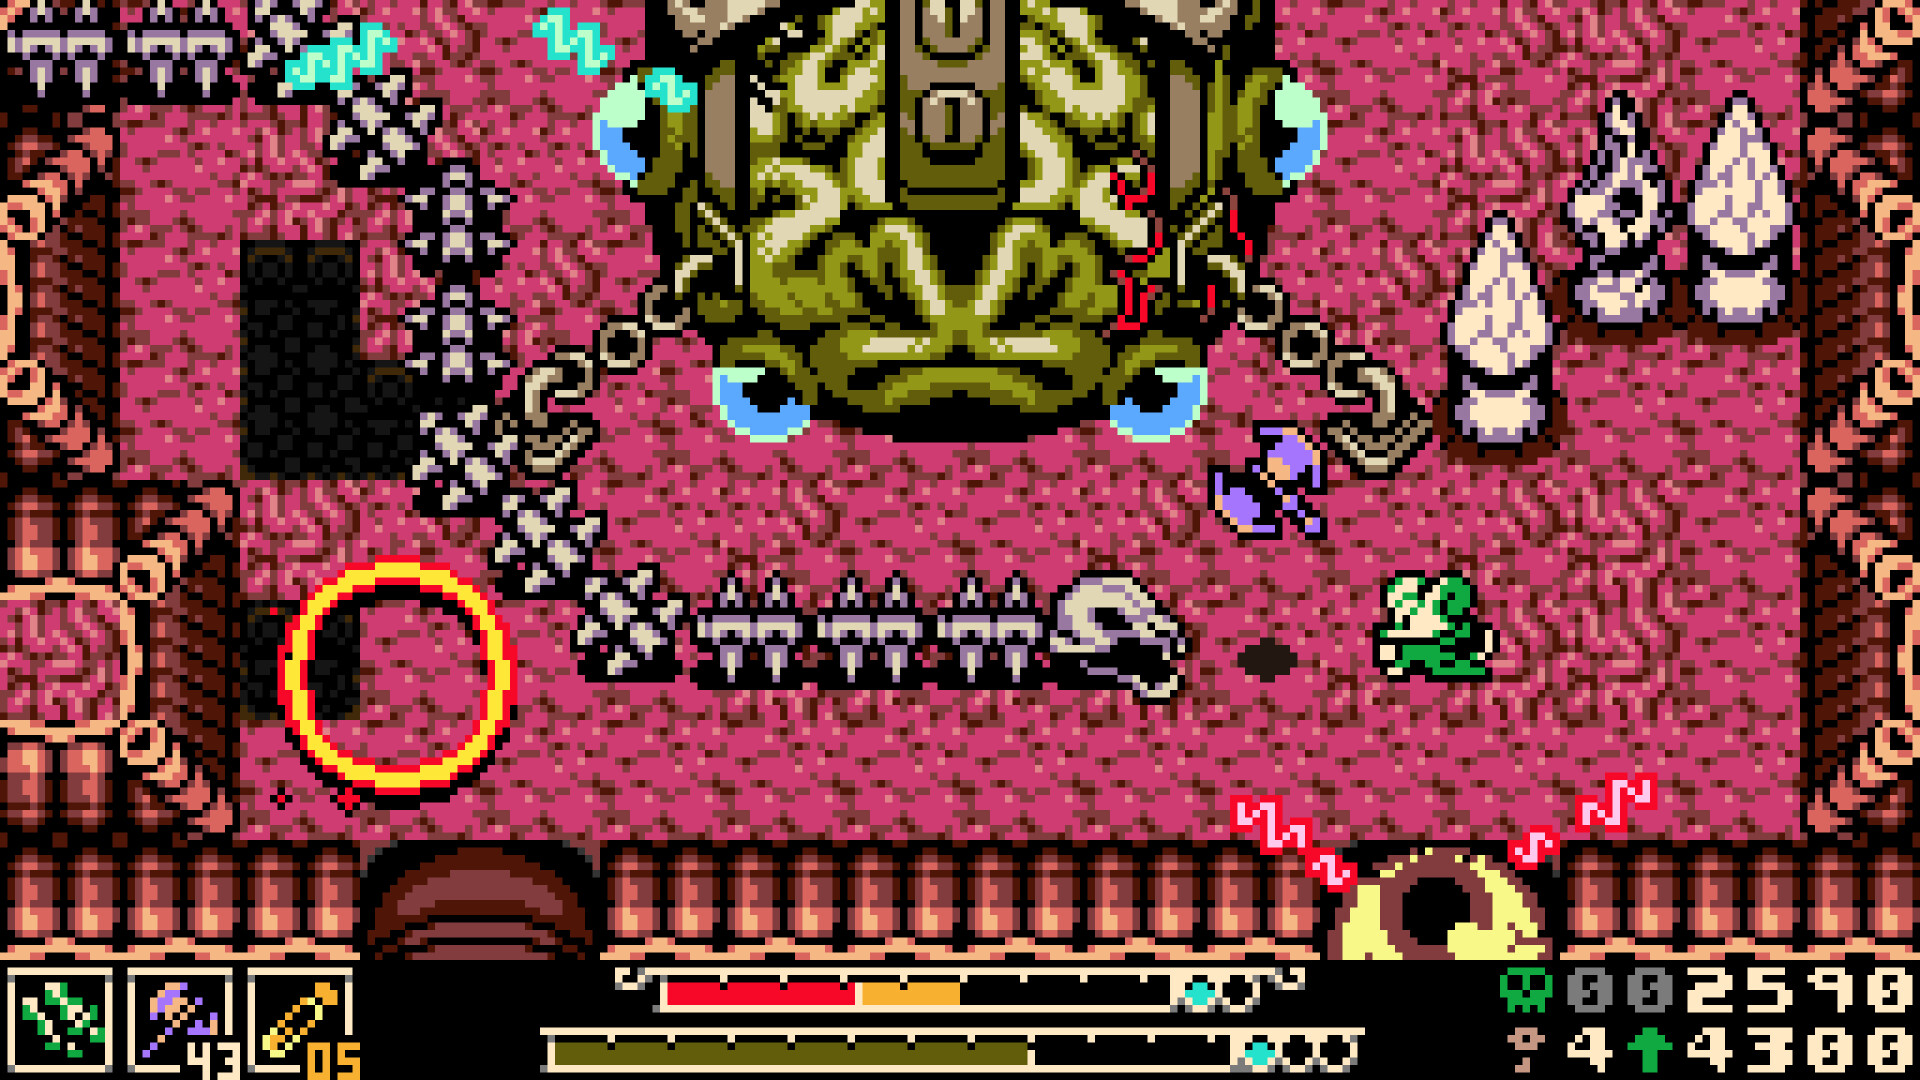
In this phase, the Duchess remains inside her stone statue. She is slow but has massive reach.
* **Horizontal Swing:** The Duchess will pull her weapon back and charge a wide swing. **Burrow underground** the moment you see the wind-up to avoid the hit entirely.
* **Leap Attack:** She will jump across the arena to close the gap. Watch the shadow on the floor and move or burrow to avoid being crushed.
* **Arrow Traps:** The floor is covered in pressure plates. When stepped on (by you or the boss), they fire arrows from the walls.
* **Deflection:** You can hit these arrows with your whip to reflect them back at the Duchess for extra damage.
* **Shielding:** Position yourself so the Duchess is between you and the arrow wall; the arrows will break against her stone form without damaging her, but they will stop them from hitting you.
—
### Phase 2: The Tentacled Horror
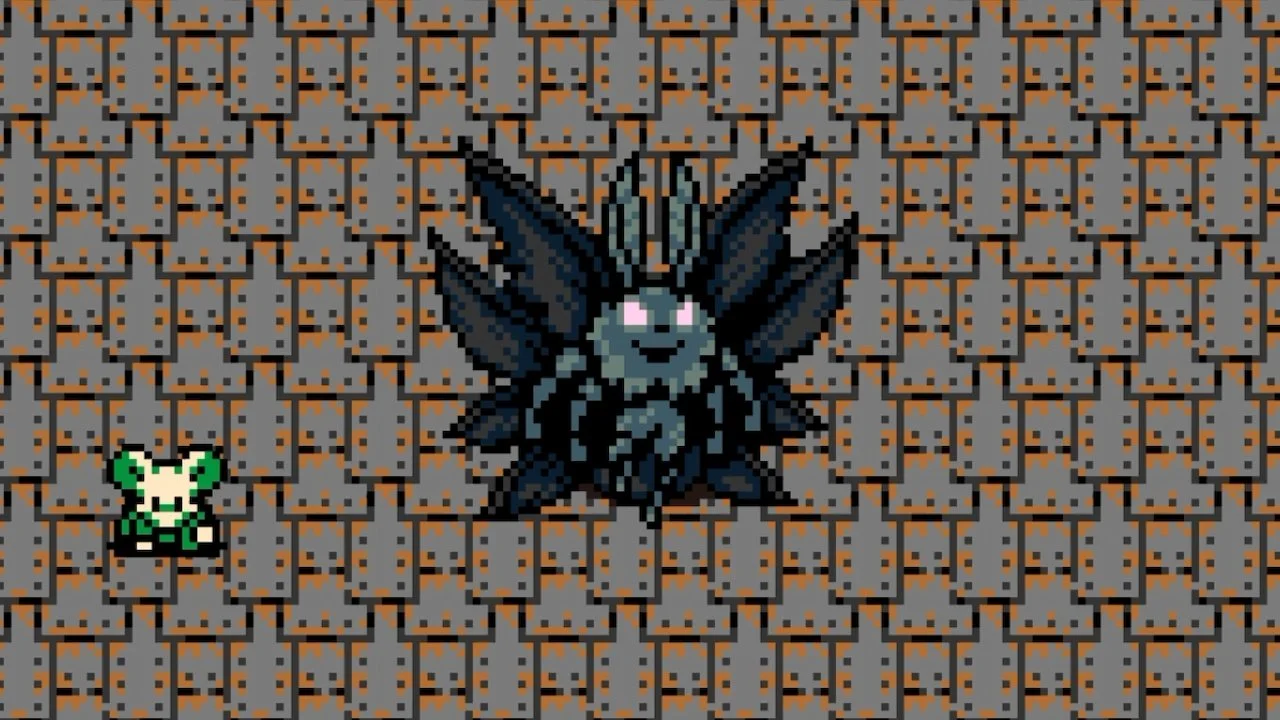
Once her health bar reaches zero, the statue’s head detaches, and a mass of tentacles emerges from the armor. This phase is much faster and more aggressive.
* **The Bouncing Head:** The detached head is **invulnerable**. It bounces around the arena, constantly triggering the arrow pressure plates. Ignore the head and focus all attacks on the main body.
* **Enhanced Swing & Lunge:** Her melee swing is now much faster and is often followed immediately by a forward lunge. Do not stay directly in front of her for more than two hits.
* **Floor Tentacles:** She will occasionally thrust a tentacle into the ground, which then erupts underneath Mina. Keep moving in a circular motion around the boss to bait these out.
* **Tentacle Flail:** When her “arms” begin to convulse, she is about to perform a screen-wide horizontal flail. This attack has a massive hitbox; burrowing is the only reliable way to avoid damage if you are caught in the middle of the arena.
—
### Key Strategies for Success
1. **Conserve Vials:** Phase 1 is a test of patience. Try to complete it without using more than one Plasma Vial so you have a full stock for the much more chaotic Phase 2.
2. **Burrow Timing:** Do not stay underground too long. If you stay submerged, you cannot see the arrow trap indicators. Pop up, strike once or twice, and prepare to burrow again.
3. **Diagonal Movement:** Most of the Duchess’s lunges and swings are cardinal (up, down, left, right). Moving and attacking diagonally provides a natural safety buffer.
4. **Post-Boss Reward:** After defeating her, follow the path to the **Royal Tomb** to find the Duke. Completing his short dialogue sequence rewards you with the **Proto Spark** trinket, which grants you a “second life” (revive with half health) once per life—one of the best early-game items.

Leave a Reply