
To beat the first Spark Generator boss in *Mina the Hollower*, you must defeat **The Duchess of Queensbury**, the guardian of the **Solemn Generator** located in the **Queensbury Crypt**. While the dungeon also features an optional mini-boss named Midden, the Duchess is the primary obstacle you must overcome to reach the generator tower.
## Boss Location and Preparation
The Duchess is found in the **Ancestral Chamber** at the deepest point of the Queensbury Crypt (northeast of Ossex).
* **Recommended Level:** Aim for **Level 4 or 5 in Attack and Defense**. Level 6 Attack makes the fight significantly easier.
* **Essential Gear:** Ensure you have at least two **Plasma Vials** for healing. The **Night Whip** is the standard reliable choice, but any fast weapon is effective here.
* **Reward:** Defeating her and restoring the generator grants the **Proto Spark** trinket, which provides a free revive—one of the most powerful early-game items.
—
## Phase 1: The Stone Guardian
In her first phase, the Duchess acts as a large, mobile statue. The arena is filled with pressure plates that trigger arrow traps from the walls.
### Attack Patterns
* **Charged Swing:** She pulls her weapon back and lunges forward with a massive horizontal swing. This move has surprising range.
* **Leaping Slam:** She jumps across the arena to close distance, attempting to crush Mina.
* **Body Doubles:** She may rush backward, leaving temporary after-images that can confuse your positioning.
### Strategy Tips
* **Use Her as a Shield:** The arrows fired from the wall traps do not damage the Duchess, but they break upon hitting her. Position yourself so she is between you and the arrow launchers to avoid getting hit.
* **Deflect Arrows:** You can hit incoming arrows with your weapon to deflect them. While they don’t do massive damage to her, it keeps the arena clear.
* **Burrow Timing:** When you see her wind up for the charged swing, **Burrow** immediately. Burrowing makes you invulnerable to the swing and allows you to reposition behind her for a counter-attack.
* **Don’t Get Greedy:** Hit her 2–3 times after she finishes a move, then retreat. Staying too close for too long will likely result in taking damage from a quick jump or swing.
—
## Phase 2: The Ethereal Horror
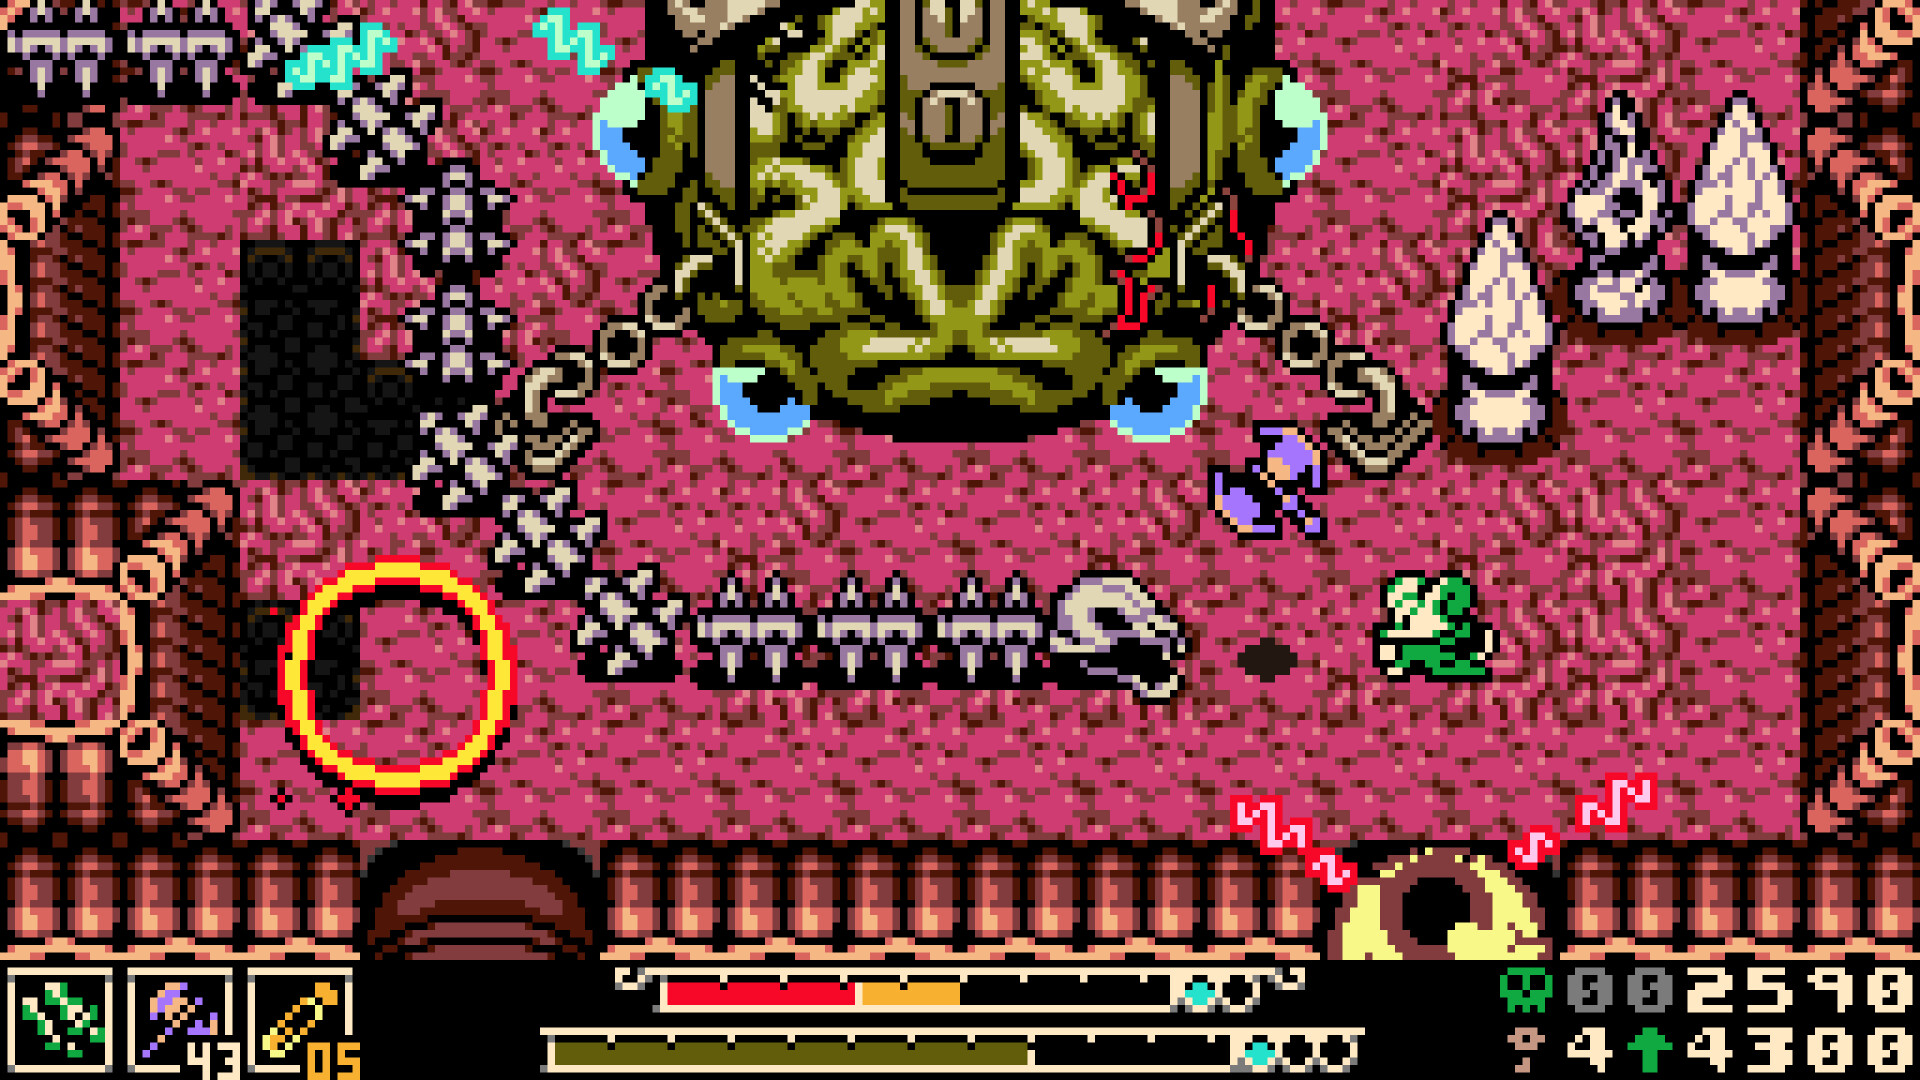
Once her health drops to roughly 50%, the Duchess enters a more grotesque form. Her head detaches and floats, and tentacles sprout from her armor.
### Attack Patterns
* **Floating Head:** The head moves independently and is **invulnerable**. Do not waste time attacking it; focus entirely on the main body.
* **Floor Tentacles:** She will thrust tentacles into the ground that erupt underneath Mina. You must stay in constant motion to avoid these.
* **Wide Convulsion:** When her main arms begin to twist and shake, she is about to perform her widest horizontal attack yet. This covers a large portion of the arena.
### Strategy Tips
* **Stay Mobile:** Never stand still in Phase 2. The floor tentacles are her most frequent way of chipping away at your health.
* **Focus the Body:** All damage must be dealt to the armored torso. Use your **Sidearms** (like the Mist Jar or Gyro) if you are struggling to get close due to the tentacles.
* **Diagonal Movement:** When she prepares her wide horizontal attack, move or burrow **diagonally** toward the corners of the arena to escape the hitbox.
—
## Restoring the Spark Generator (Tower Climb)
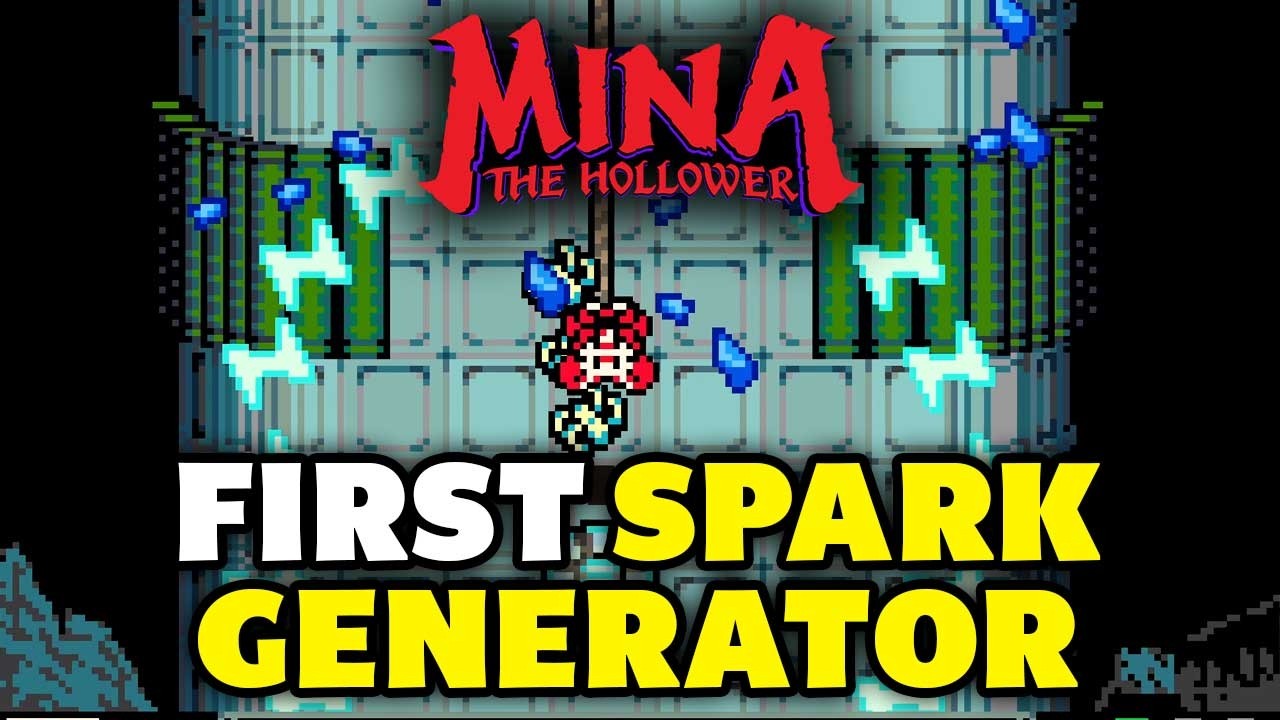
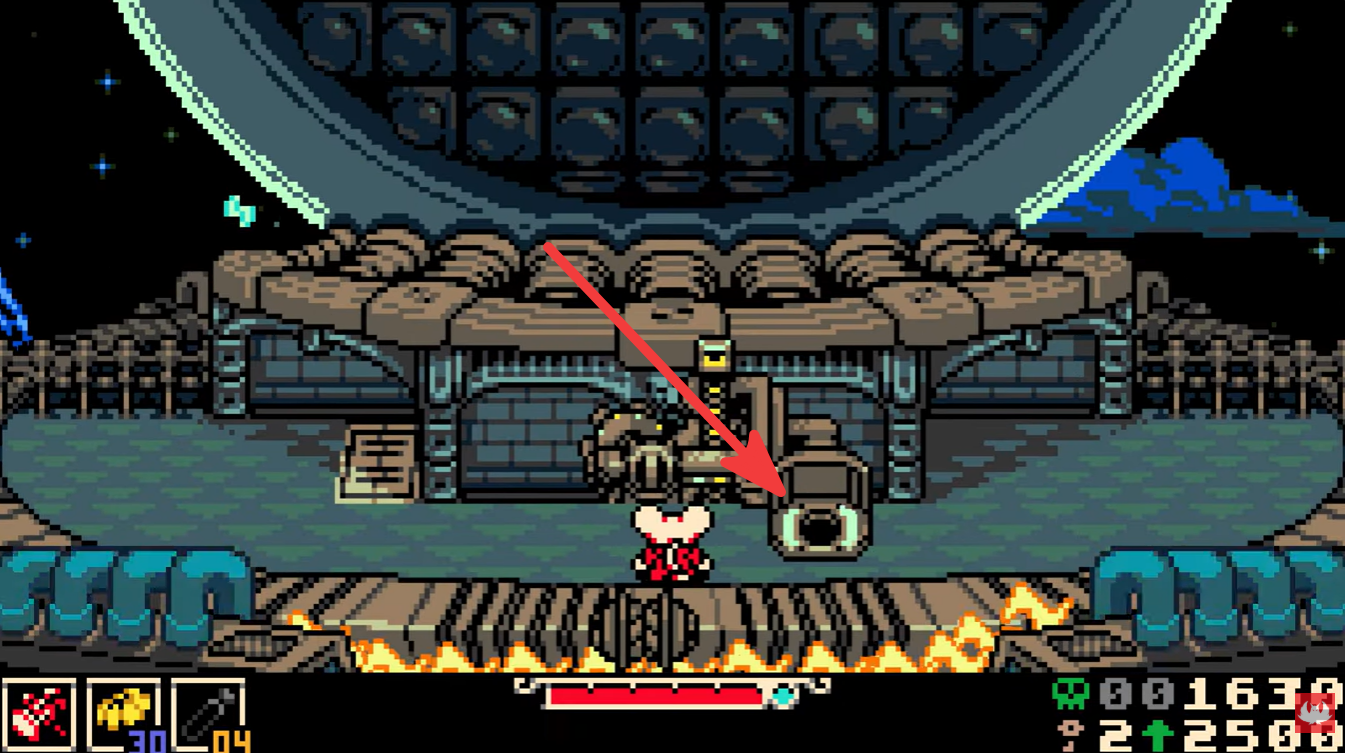
After the boss is defeated, you enter the **Solemn Generator** itself. This is a vertical “tower climb” mini-game rather than a traditional combat encounter.
* **The Spark Wave:** An electric “death fence” will slowly rise from the bottom. If it touches you, you fail the segment (though you do not lose your life/Plasma).
* **Hitting Fuses/Holes:** Throughout the climb, you will see glowing holes or fuses. **Burrow into these holes** or hit the switches. This action pushes the Spark Wave back down, giving you more time to reach the top.
* **Ignore Enemies:** Most enemies in this segment are distractions. Unless they are directly blocking your path to a fuse, focus entirely on upward momentum.
* **Trial and Error:** The pathing can be tricky. If you fail, the game allows you to retry immediately. Memorize the locations of the fuses to optimize your route.
## Post-Boss Encounter: Maxi
Be aware that upon leaving the Queensbury Crypt and heading back toward Ossex, you will be ambushed by a rival Hollower named **Maxi**.
* **Strategy:** Use the same burrow-and-counter tactics you learned from the Duchess.
* **Reward:** Defeating Maxi rewards you with a **Trinket Bag**, allowing you to equip more than one trinket at a time, which is essential for the mid-game.


Leave a Reply