
In Helldivers II, securing extraction zones requires not just brute force but a calculated approach to defense. Here’s a detailed breakdown of the best defensive stratagems that players can employ, ensuring a successful defense against waves of enemies.
Key Defensive Stratagems
1. EMS Mortar Sentry (A/M-23)
– Functionality: This sentry fires shells that inflict minimal friendly fire damage while incapacitating enemies through slowing effects.
– Strategic Deployment: It’s most effective when placed on elevated positions or behind your frontline, maximizing its area of effect while minimizing exposure to enemy assaults.
– Combination Potential: When paired with other defensive structures like turrets, the EMS Mortar can create formidable overlapping fields of fire, effectively managing both the slowdown and elimination of advancing foes.
2. HMG Emplacement (E/MG-101)
– Functionality: This heavy machine gun turret offers continuous fire, making it a boon against concentrated enemy groups. It boasts a large ammo capacity and strong armor penetration.
– Tactical Positioning: Ideal for deployment in areas where it can cover multiple approaches, particularly where enemies come from predictable directions.
– Maximizing Impact: Placing the HMG in conjunction with turrets provides a multi-layered defense that can effectively disrupt enemy formations.
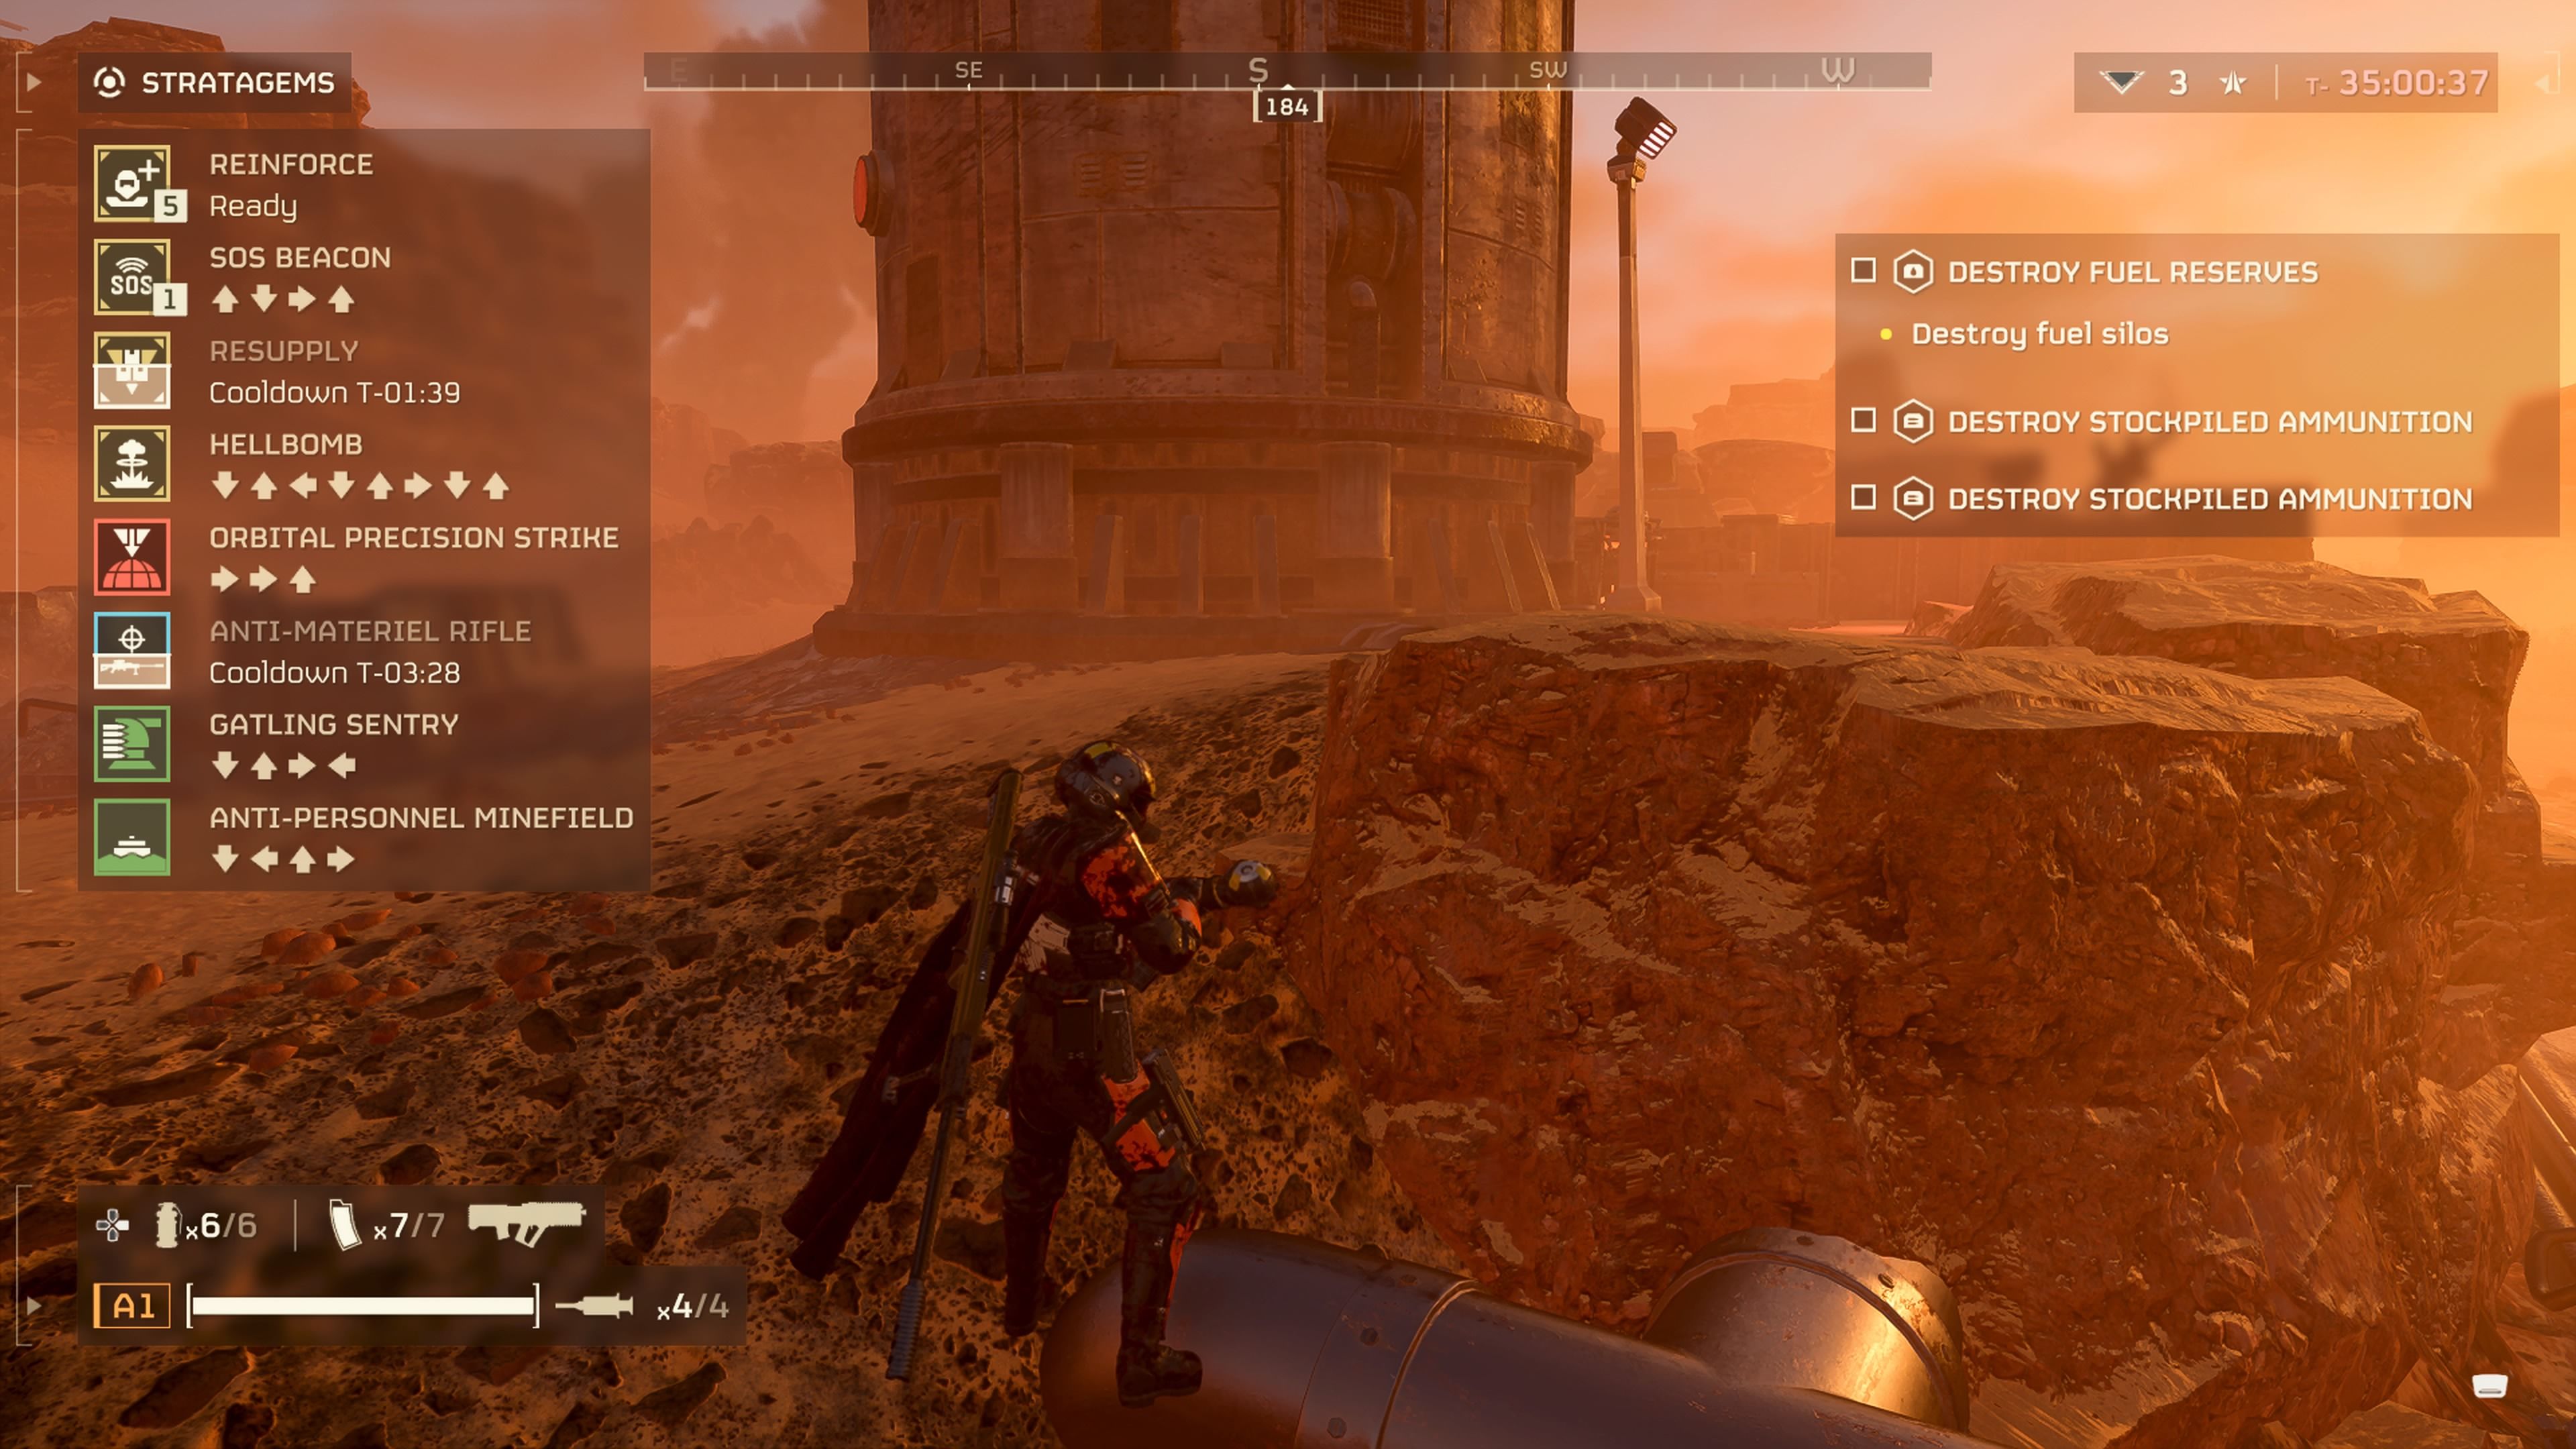
3. Anti-Personnel Minefield (MD-6)
– Functionality: These mines automatically detonate upon detecting enemy movement, serving as an excellent deterrent at chokepoints.
– Considerations for Use: Due to potential friendly fire, mines should be strategically placed and clearly communicated to teammates.
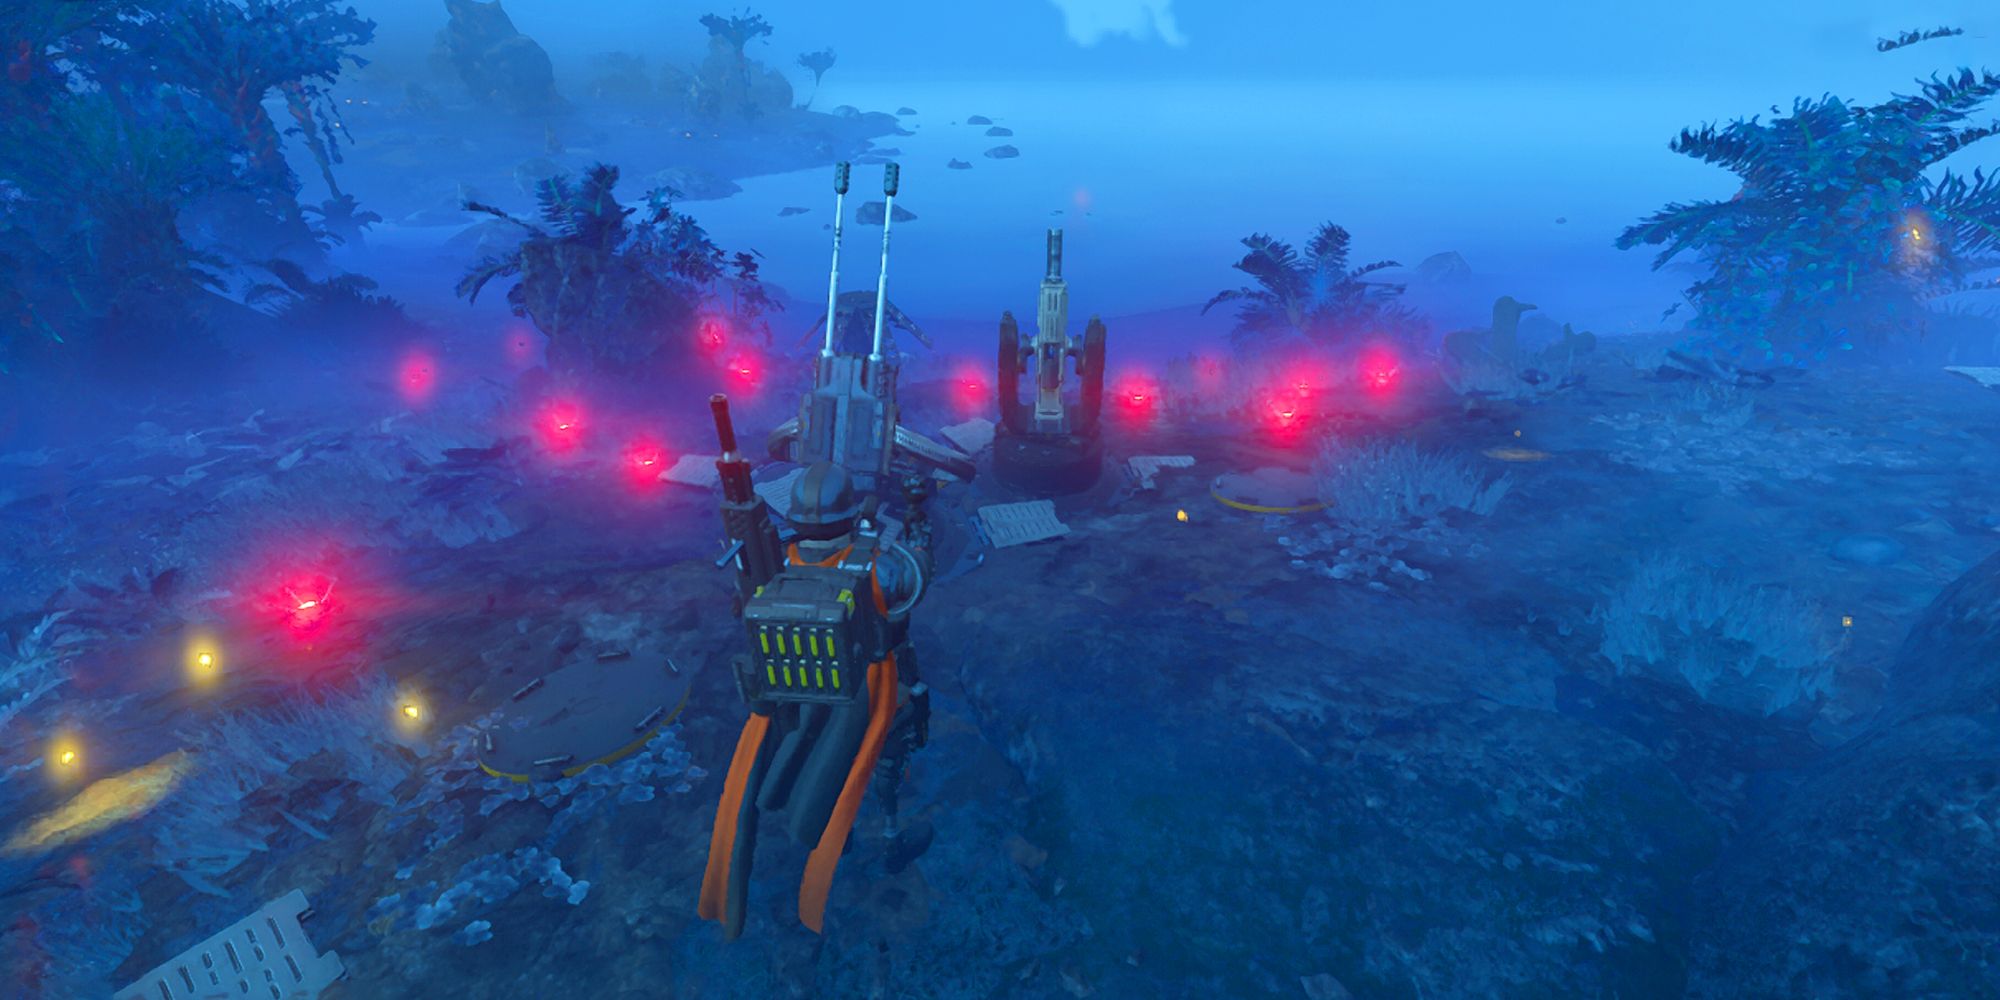
– Layering Defense: Integrate mines with turret placements to create a defensive wall that compels enemies to enter kill zones.
4. Incendiary Mines
– Functionality: Upon detonation, these mines unleash fire, inflicting damage that can disrupt enemy formations, particularly effective against close-range attackers.
– Placement Strategy: Ideal for areas where you anticipate heavy enemy movement, strategically drawing foes into the blast radius can significantly cripple their advance.
5. Shield Generator Relay
– Functionality: Provides temporary, instant cover against small arms fire, crucial during intense engagements.
– Usage Scenarios: Particularly beneficial when facing scattered enemy forces, as it allows teammates to regroup and recover under protective cover.
Additional Defensive Tactics
– Chokepoint Control: Employ a mix of turrets and mines to funnel enemies into narrow spaces, ensuring they are efficiently targeted. Create kill zones that maximize the impact of your defensive assets.
– Team Coordination: Effective communication is essential. Ensure all team members are aware of the location of mines and other defenses to avoid accidental triggers. Additionally, sharing supportive stratagems, like Guard Dogs, enhances frontline defenses and provides supplementary firepower.
– Adaptive Stratagem Loadouts: Tailor your loadout based on mission specifics and the enemy type. Some stratagems may outperform others against certain foes, necessitating flexible strategic planning.
By leveraging these defensive stratagems and tactics, players in Helldivers II can significantly improve their effectiveness in holding extraction zones. Through strategic planning and coordinated team effort, players can enhance their combat prowess, ensuring the safety of their team and successful mission outcomes.


Leave a Reply