
Biome Strategies in Loop Hero: A Comprehensive Guide
In Loop Hero, the unique biomes and environments you encounter are crucial to shaping your strategy and optimizing your gameplay. Each biome offers specific advantages and challenges that affect resource acquisition, enemy encounters, and hero survivability. Below is an in-depth analysis of key biomes and environments, including strategies for adapting your playstyle effectively.
Key Biomes and Their Effects
1. Meadow and Blooming Meadow
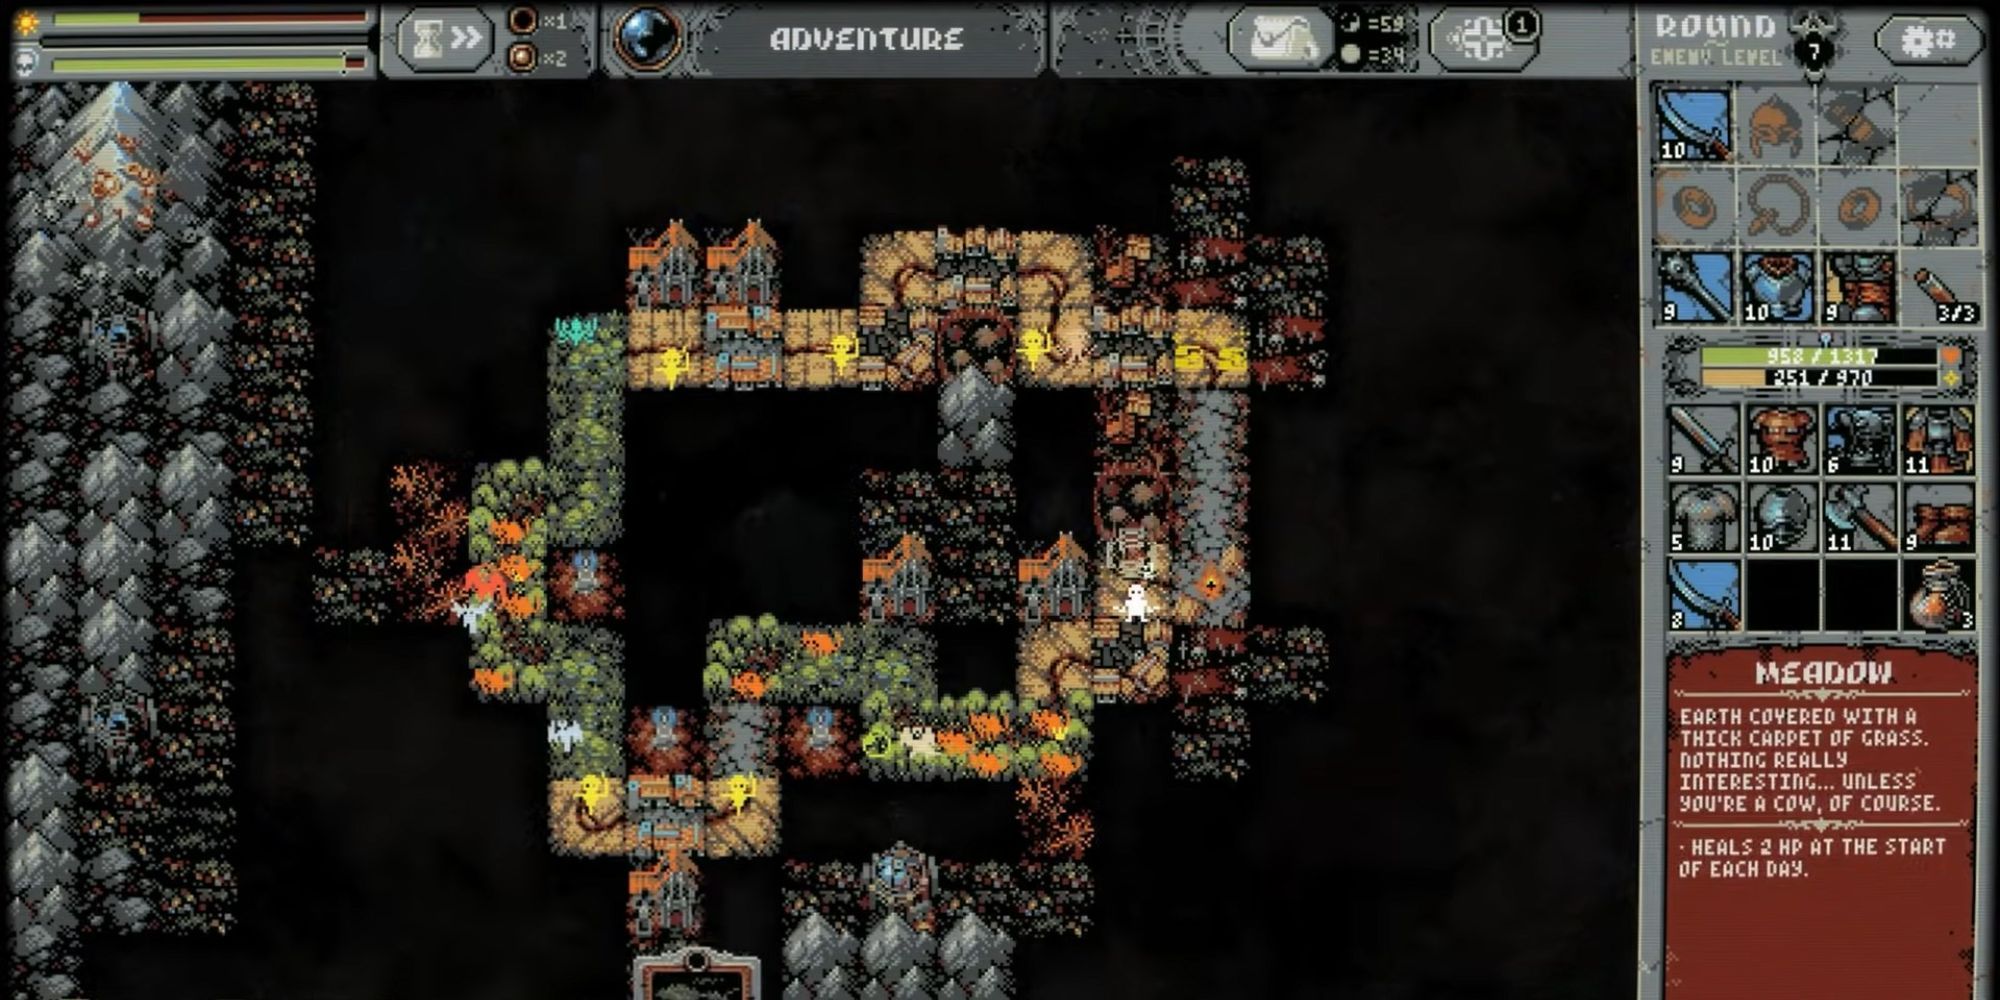
– Meadow: Provides a small amount of daily HP healing. It’s essential for sustaining your hero over extended loops.
– Blooming Meadow: Created by placing any tile (except another meadow) adjacent to a meadow. It enhances healing and grants bonus resources.
– Strategy: Space meadows strategically to maximize blooming meadows. This is particularly effective in the early game, providing consistent healing and extra resources.
2. Forest, Thicket, and Burned Forest
– Forest/Thicket: Increases attack speed for nearby allies and enemies. Thickets boost this effect further.
– Burned Forest: Formed by placing a Storm Temple or Oblivion cards near forests. It enhances the hero’s magic damage but reduces the attack speed bonuses.
– Strategy: Use thickets cautiously as they increase enemy attack speed. Burned forests suit magic-focused builds, allowing for higher damage output against enemies.
3. Mountain, Rock, and Mountain Peaks
– Mountain/Rock: Provides an increase to maximum HP. Arranging a 3×3 grid of mountains/rocks results in a Mountain Peak, which further boosts HP and generates bonus resources, albeit with the spawn of Harpies.
– Strategy: Mountain peaks are ideal for tanky builds, but prepare for the Harpies, which can be challenging foes.
4. Desert, Sand Dune, and Oasis
– Desert/Sand Dune: Reduces maximum HP for all creatures, including your hero.
– Oasis: Created by placing a River next to a Desert/Sand Dune, it reduces attack speed for everyone, disproportionately affecting enemies.
– Strategy: Deserts work well for glass-cannon builds, while Oases are perfect for slowing down fast attackers, enhancing survivability.
5. Village, Ransacked Village, and Count’s Land
– Village: Provides healing and quests.
– Ransacked Village: Formed by placing a Vampire Mansion adjacent to a Village, spawning Ghouls each loop.
– Count’s Land: Evolves from a Ransacked Village after three loops, providing significantly greater healing.
– Strategy: Use Vampire Mansions with caution. Surviving Ransacked Villages can lead to robust healing sources in Count’s Land. Oblivion cards can help you remove unwanted mansions if necessary.
6. Grove, Blood Grove, and Hungry Grove
– Grove/Blood Grove: Spawns enemies to engage.
– Hungry Grove: Creates problems for the hero but can eliminate enemies below 20% HP when surrounded by specific tiles.
– Strategy: While Hungry Groves are effective in dispatching tough enemies, they can also damage your hero. Plan accordingly.
7. River
– River: When adjacent to specific biomes, it creates beneficial synergies (like Oasis with Desert).
– Strategy: Utilize rivers to enhance biome effects, carefully planning their placement for optimal benefits.
General Playstyle Adjustments
– Resource Management: Focus on constructing biomes that yield critical resources or synergies aligned with your goals for the current run.
– Enemy Spawning Awareness: Monitor tiles that spawn enemies (e.g., grove, vampire mansion, mountain peak) and adjust your gear and perks to mitigate threats effectively.
– Healing and Sustain: When your hero struggles with health, prioritize biomes that offer healing or sustain (e.g., meadow, village).
– Tile Synergies: Exploit synergies among tiles, as certain placements can amplify advantages or introduce new challenges.
– Mid-Combat Adjustments: During battles, use the inventory panel to change equipment, adapting to enemy types and biome effects.
Example Strategies for Different Builds
| Build Type | Recommended Biomes | Notes |
|——————–|——————————|———————————————|
| Tanky/HP | Mountain Peak, Meadow | Maximizes HP and healing |
| Magic Damage | Burned Forest, River | Enhances magic damage and utilizes unique river effects|
| Attack Speed | Thicket, River (carefully) | Boosts attack speed while remaining cautious of foes |
| Sustain/Healing | Village, Count’s Land, Meadow| Increases survivability over longer runs |
Summary Table: Biome Effects
| Biome | Main Effect | Special Synergy/Strategy |
|———————-|————————————————–|———————————————|
| Meadow | Healing | Maximize blooming meadows |
| Forest/Thicket | Attack speed boost | Caution: boosts enemy speed too |
| Burned Forest | Magic damage boost, attack speed reduction | Ideal for magical builds |
| Mountain/Rock | Max HP boost | Mountain peaks generate resources, but spawn Harpies |
| Desert/Sand Dune | Reduces max HP | Oasis with river offers attack speed reduction |
| Village | Healing, quests | Transform into Count’s Land for extra healing |
| Grove/Blood Grove | Spawns enemies | Hungry Groves eliminate low-HP foes |
| River | Creates synergies | Pair with deserts for enhanced effects |
By grasping and capitalizing on the effects of these biomes and their synergies, players can master Loop Hero and adapt their playstyle to excel in various environments.

Leave a Reply