
Creating custom routes in Microsoft Flight Simulator (MSFS) is a fantastic way to enhance your flight experience by tailoring your journeys between chosen airports. Here’s a comprehensive step-by-step guide to help you navigate the built-in flight planner and customize your routes effectively.
Step 1: Accessing the Flight Planner
1. Main Menu: Launch Microsoft Flight Simulator and ensure you are on the main menu.
2. Flight Planner Option: Click on the “Flight Planner” option to open the flight planning interface.
Step 2: Adding Origin and Destination Airports
1. Select Origin Airport:
– Click the “Add” button under the “Origin” section.
– In the search box, input the airport name or ICAO code (e.g., type “Lisbon” or “LPPT”). Select the correct airport from the search results.
2. Select Destination Airport:
– Click the “Add” button under the “Destination” section.
– Enter the name or ICAO code for your destination airport (for example, “Madeira” or “LPMA”) and select it from the list.
Step 3: Creating a Route
1. Using Auto-Route:
– Once you’ve set your origin and destination, click the “Auto-Route” button. This feature automatically creates a route that incorporates departure and arrival procedures based on current environmental conditions.
2. Manual Route Editing:
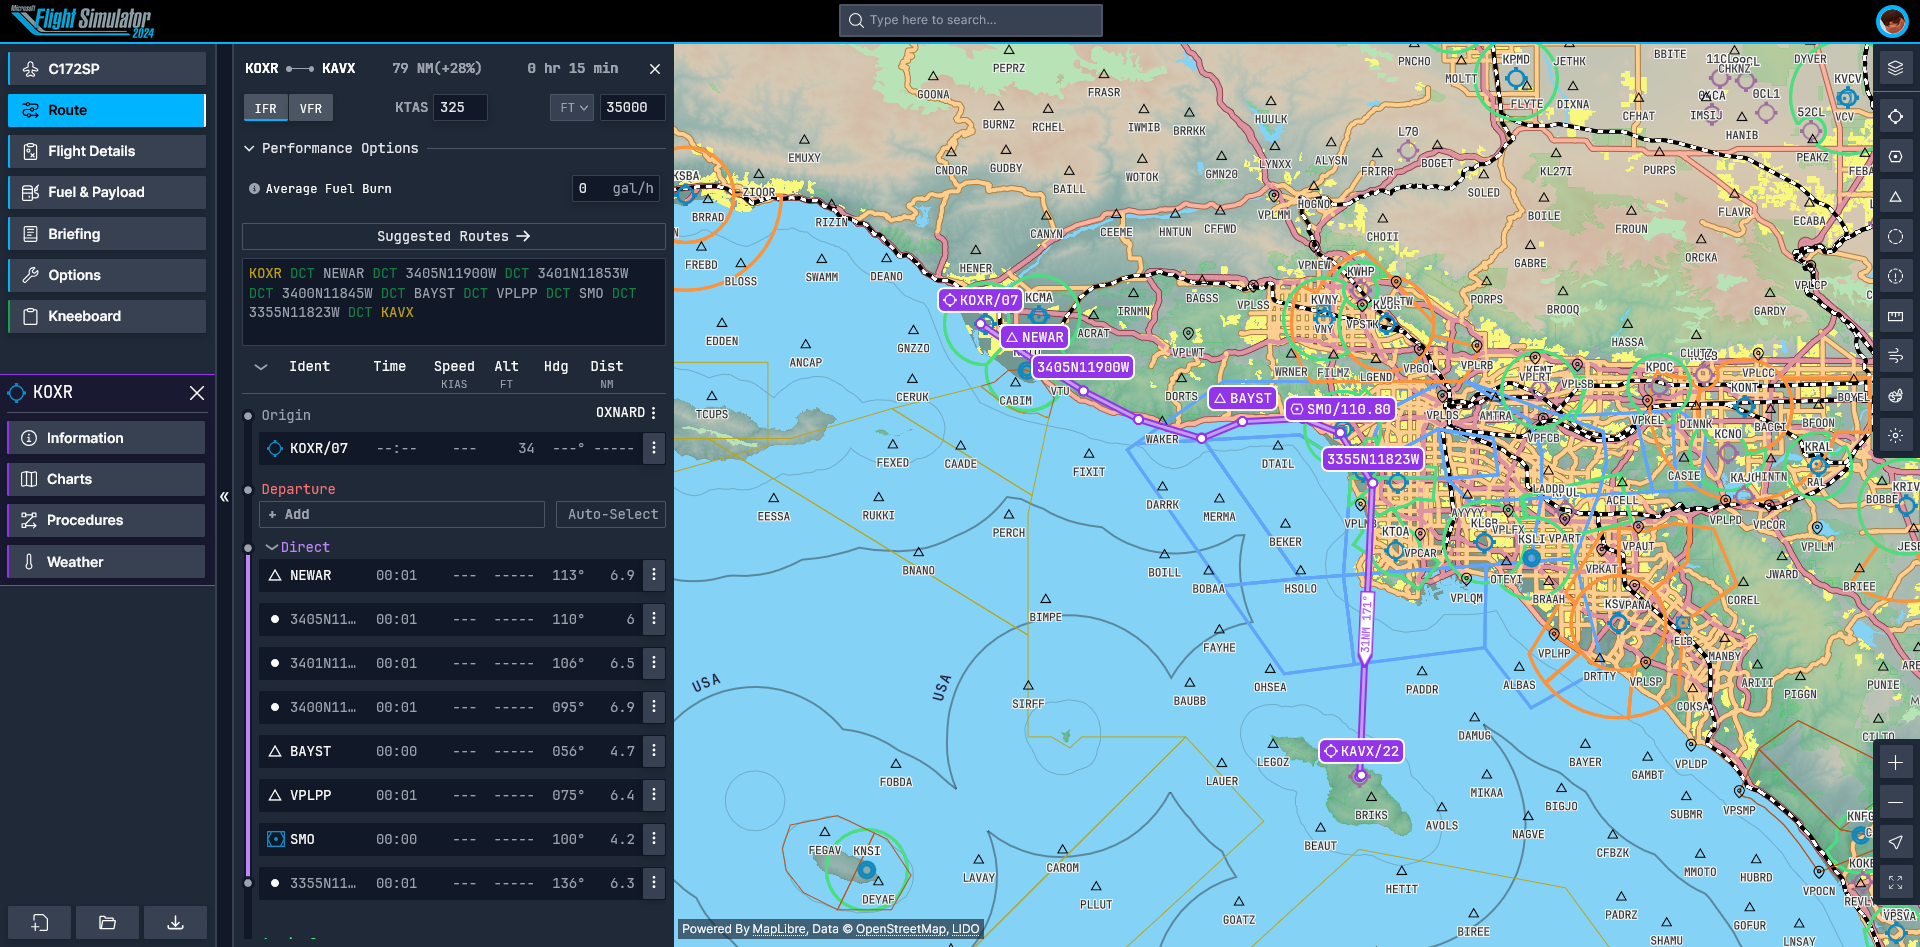
– If you prefer a more tailored approach, manually add waypoints. You can do this by clicking directly on the route displayed on the map or using known VORs (VHF Omnidirectional Range) or other navigation aids.
– Use the “Filters” option to show additional navigational aids including fixes and intersections, which can help refine your route.
Step 4: Customizing the Route
1. Route Inspection:
– Review the route generated to ensure there are no procedural conflicts or adverse weather conditions affecting your flight.
2. Adjust Arrival Procedure:
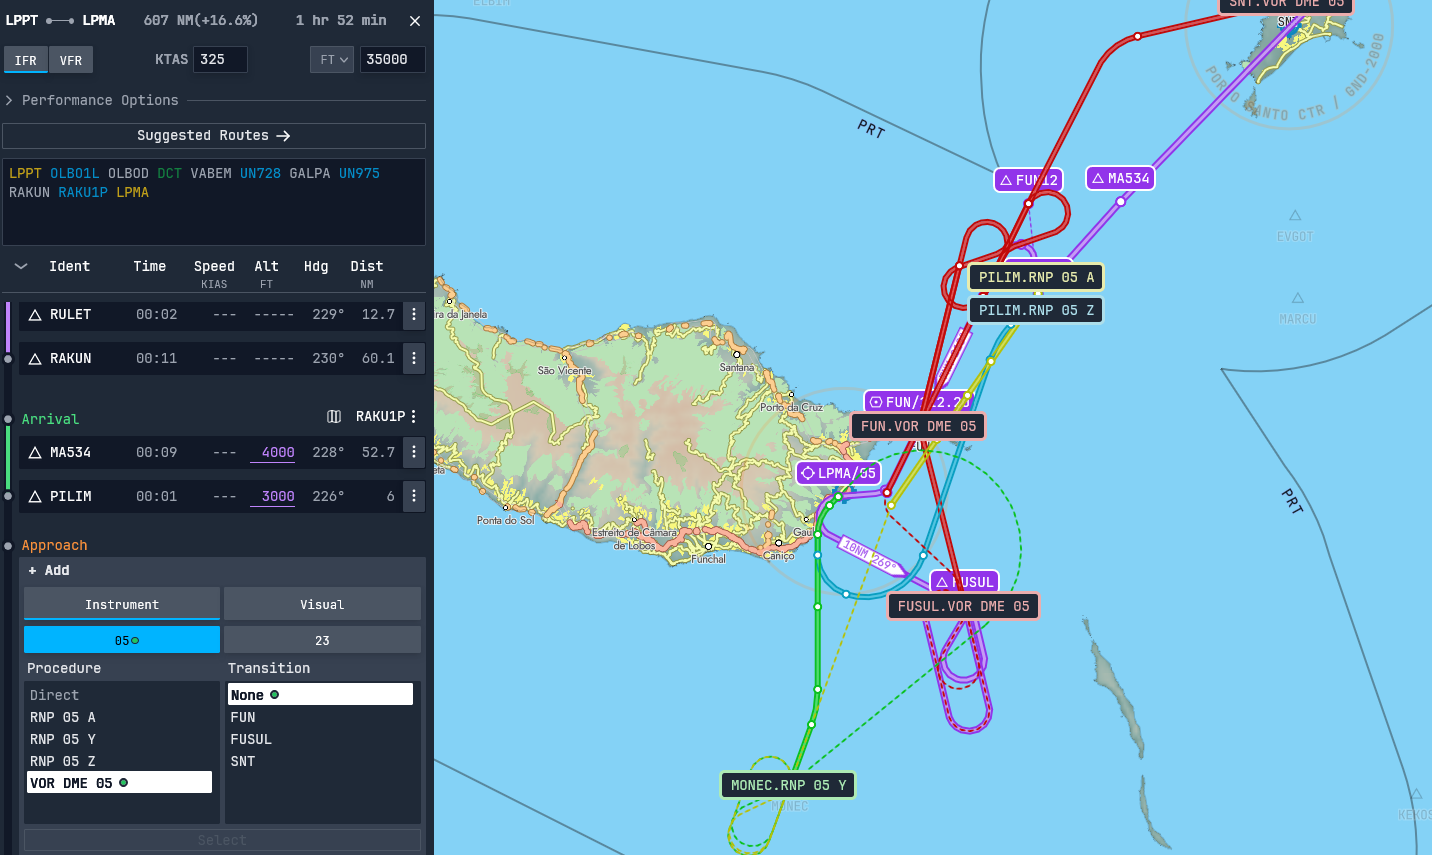
– If needed, modify the arrival procedure. For instance, you may switch from a VOR/DME approach to an RNAV approach, which can offer a smoother experience.
3. Adjust Departure Procedure:
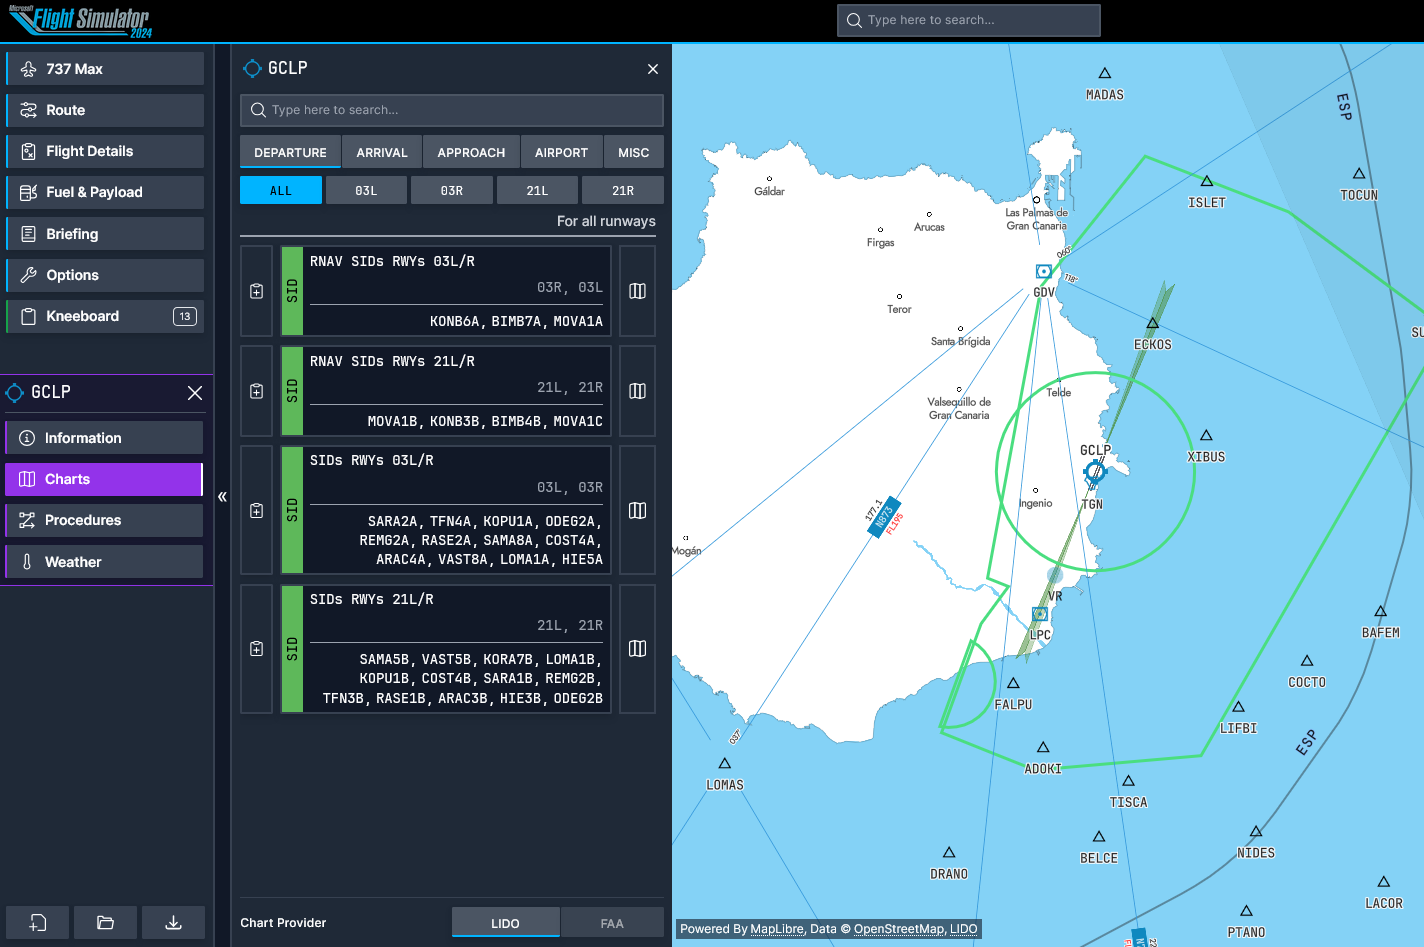
– Similar to the arrival procedures, review and modify the departure procedure to match your preferences or ensure compliance with air traffic control.
Step 5: Saving and Loading the Flight Plan
1. Save the Flight Plan:
– Once your route meets your expectations, save the plan. This option is available within the flight planner interface, allowing you to revisit it later.
2. Load the Flight Plan:
– When you want to fly a saved plan, simply choose it from your list of saved flights in the flight planner.
Step 6: Starting the Flight
1. Spawn Location:
– Decide whether you want to spawn on the runway or at a parking ramp. Spawning on the runway with engines running is often preferred for quick flights.
2. Begin the Flight:
– With your flight plan loaded and the aircraft configured, you can now commence your journey. Ensure all pre-flight checks are complete for a smooth takeoff.
Additional Tips
– Utilizing External Tools:
– For more complex planning, consider using external flight planning tools like SimBrief. Export routes from these tools and import them into MSFS for added convenience and detail.
– Understanding Waypoints:
– Familiarize yourself with how to add and manage waypoints to create more precise and efficient routes. This understanding will greatly enhance your flight planning skills.
By following these detailed steps, you can successfully create customized routes in Microsoft Flight Simulator, enriching your flying experience according to your preferences and enhancing your skills as a virtual pilot. Happy flying!

Leave a Reply