
Comprehensive Guide to Photo Mode in Ratchet & Clank: Rift Apart
If you’re looking to capture stunning moments in Ratchet & Clank: Rift Apart, the game’s photo mode offers a treasure trove of features that can enhance your snapshots. Below is a detailed guide to help you navigate and utilize this feature to its fullest potential.
Accessing Photo Mode
1. Entry Point: To activate Photo Mode, press the Options button on your PlayStation controller. From the main menu, select the ‘Photo Mode’ option.
2. Customization for Quick Access: For even quicker access, consider assigning a custom D-pad shortcut by exploring the Controls & Shortcuts settings. This allows you to enter photo mode seamlessly, even during intense gameplay sequences.
Overview of Photo Mode Features
The Photo Mode interface is intuitively divided into four main tabs: Camera, Character, Lighting, and Stickers. This clear layout makes it easy to navigate and optimize your images.
Camera Tab
– Camera Controls: Enjoy full freedom to move the camera in all directions, allowing you to find the perfect angle.
– Depth of Field: Play around with the depth of field settings to create background blur effects, drawing attention to your subjects.
– Zoom Features: Use the zoom function to capture close-ups or expansive scenes, which can be particularly effective for showcasing intricate details or panoramic views.
– Hide the UI: For cleaner captures, you can hide the on-screen user interface before snapping your photo.
– Visual Effects: Activate animated effects for a dynamic preview, ideal for creating GIFs or short video clips.
Character Tab
– Character Poses: Access a rich variety of poses for Ratchet and Rivet, including unique weapon-specific animations. More poses become available as you advance through the game.
– Outfit Customization: Change or remove character outfits to align with your vision for the snapshot.
– Facial Expressions: Infuse personality into your characters by adding different facial expressions, enhancing the storytelling aspect of your photos.
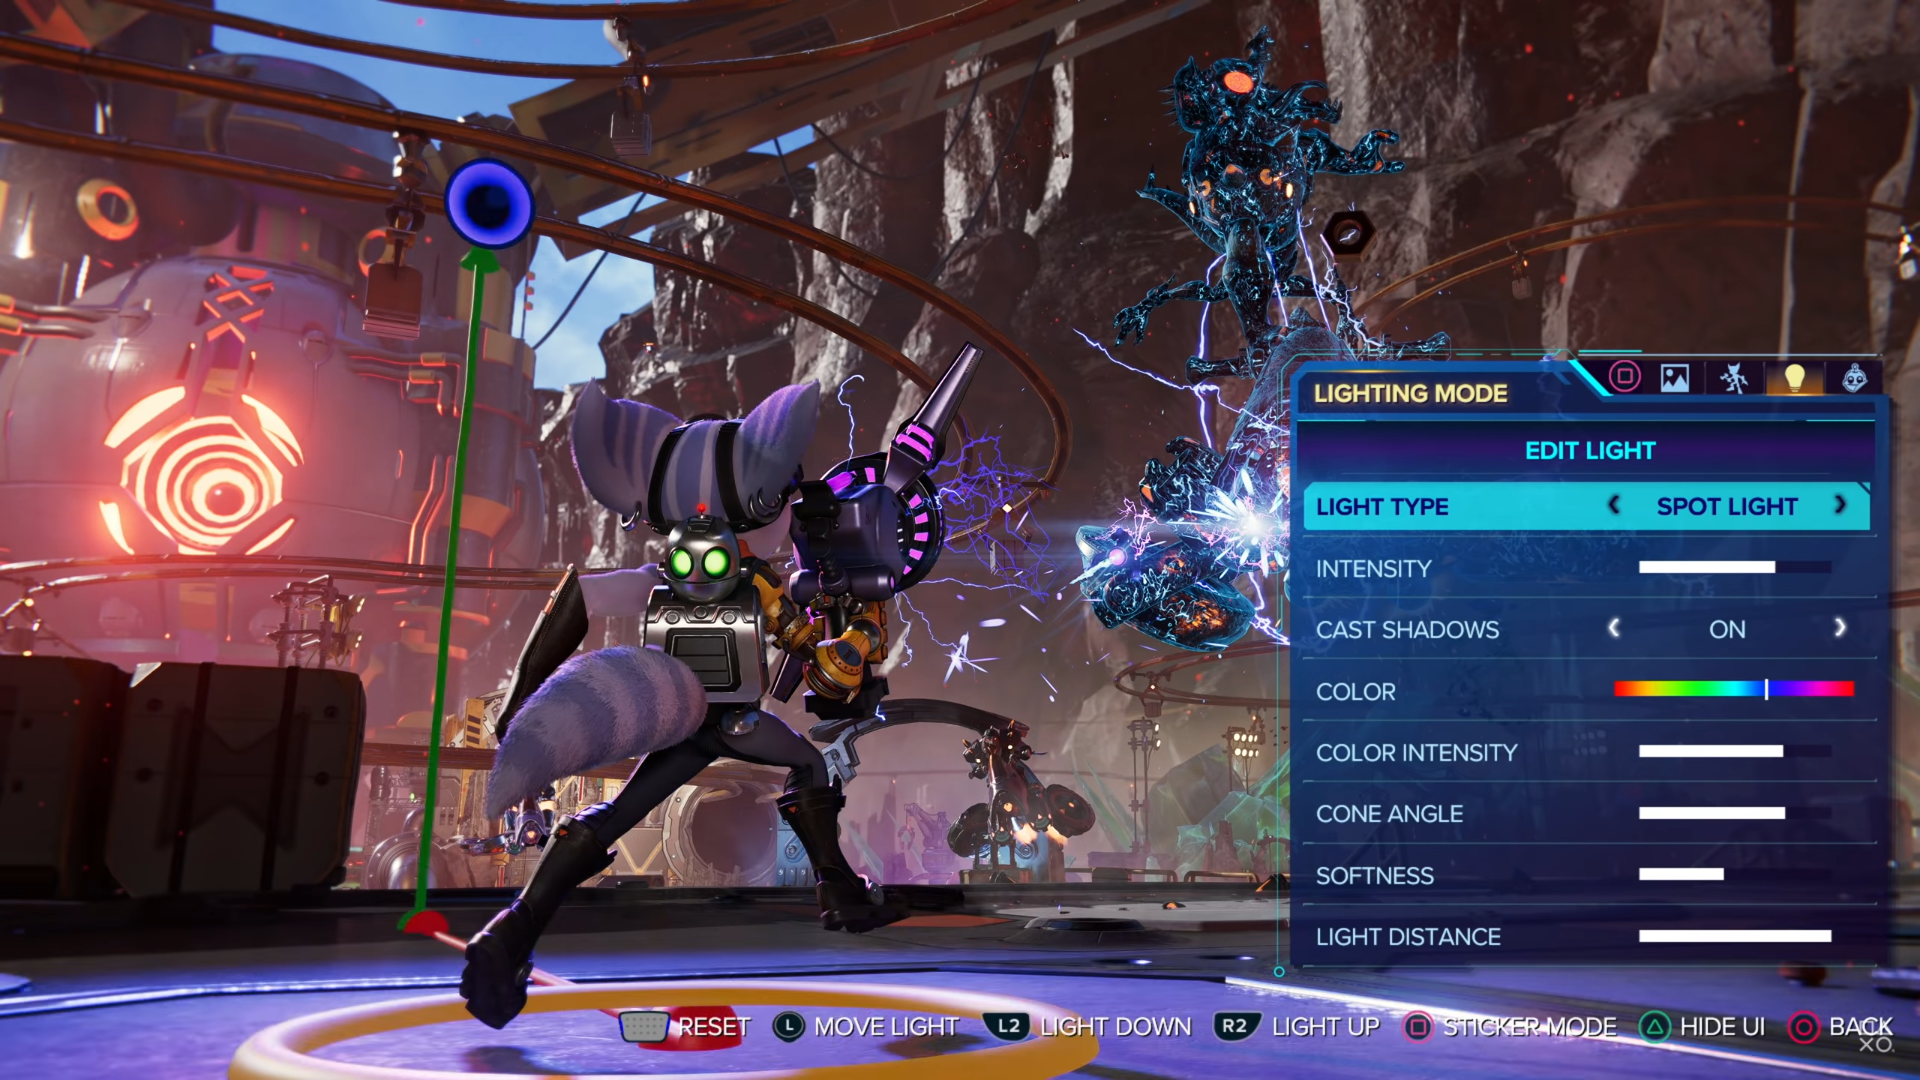
Lighting Tab
– Lighting Adjustments: Fine-tune the intensity, color, and distances of lighting within your scenes for a polished look.
– Custom Lighting: You can add up to three custom lights (either sphere or spotlight types) to enhance specific areas of your shot.
– Mood Setting: Experiment with various lighting setups to create distinct atmospheres, whether vibrant or dramatic.
Stickers Tab
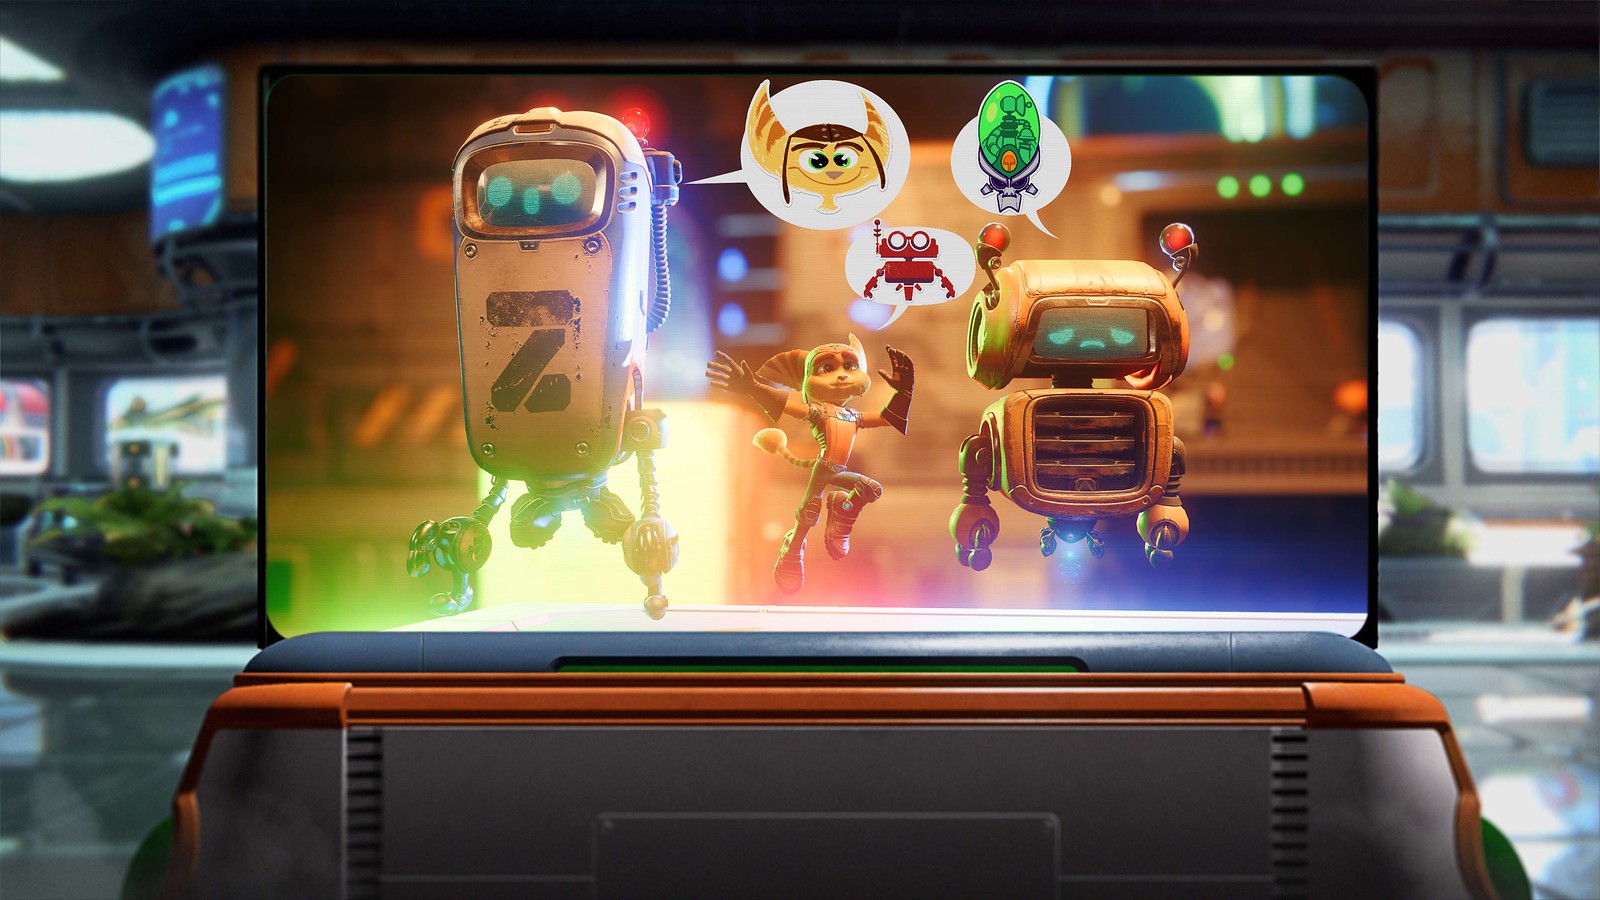
– Stickers and Frames: With up to 400 customizable stickers in five categories—characters, comic objects, facial features, and more—you can add a playful touch to your images.
– Layering Capabilities: Utilize up to 10 layers for stickers, allowing for sophisticated compositions by placing elements above or below other graphics.
– Frames: Choose from 37 per-designed frames and overlays to add context and flair to your snapshots.
Capturing and Sharing
– Taking the Shot: Once your scene is ready, hide the UI and press the Share button on your DualSense controller. From there, select ‘Take Screenshot’ to save the image.
– Editing and Sharing: Utilize the built-in editing tools to refine your captures and share them directly from your PlayStation or export them for further editing.
Pro Tips
– Quick Action Shots: Utilize the D-pad shortcut to enter photo mode quickly amidst action for spontaneous captures.
– Unlocking Features: Continue progressing through the game to unlock additional customization options and poses.
– Creative Experimenting: Combine different poses, lighting effects, and stickers to create visually unique and personalized images.
– Animated Previews: Take advantage of animated effects to add a dynamic aspect to your previews or when creating GIFs.
By mastering the various features laid out in this guide, you will undoubtedly enhance your ability to capture and personalize your favorite moments in Ratchet & Clank: Rift Apart, making your gameplay experience even more memorable. Happy snapping!




Leave a Reply