
Setting up an automated train system in Factorio can significantly enhance your logistical capabilities, allowing for efficient resource transportation without manual intervention. Here’s a structured and detailed guide to help you establish this system successfully:
Step 1: Building the Railway Network
1. Laying Tracks:
– Begin by planning your rail layout based on your factory’s design and resource locations. Use the rail tool to place tracks; click to lay it down and drag to extend.
– Incorporate gentle curves to maintain a smooth ride, which can be achieved by dragging the rail up and down.
– Ensure your tracks are long enough to accommodate your trains and have sufficient straight sections for safe stopping and maneuvering.
2. Adding Stations:
– Position train stations strategically where trains will pick up and drop off resources. Each station can be designated for either loading or unloading cargo.
– Name each station for easy identification in the schedule, considering using a consistent naming convention for clarity.
Step 2: Constructing the Train
1. Locomotives and Wagons:
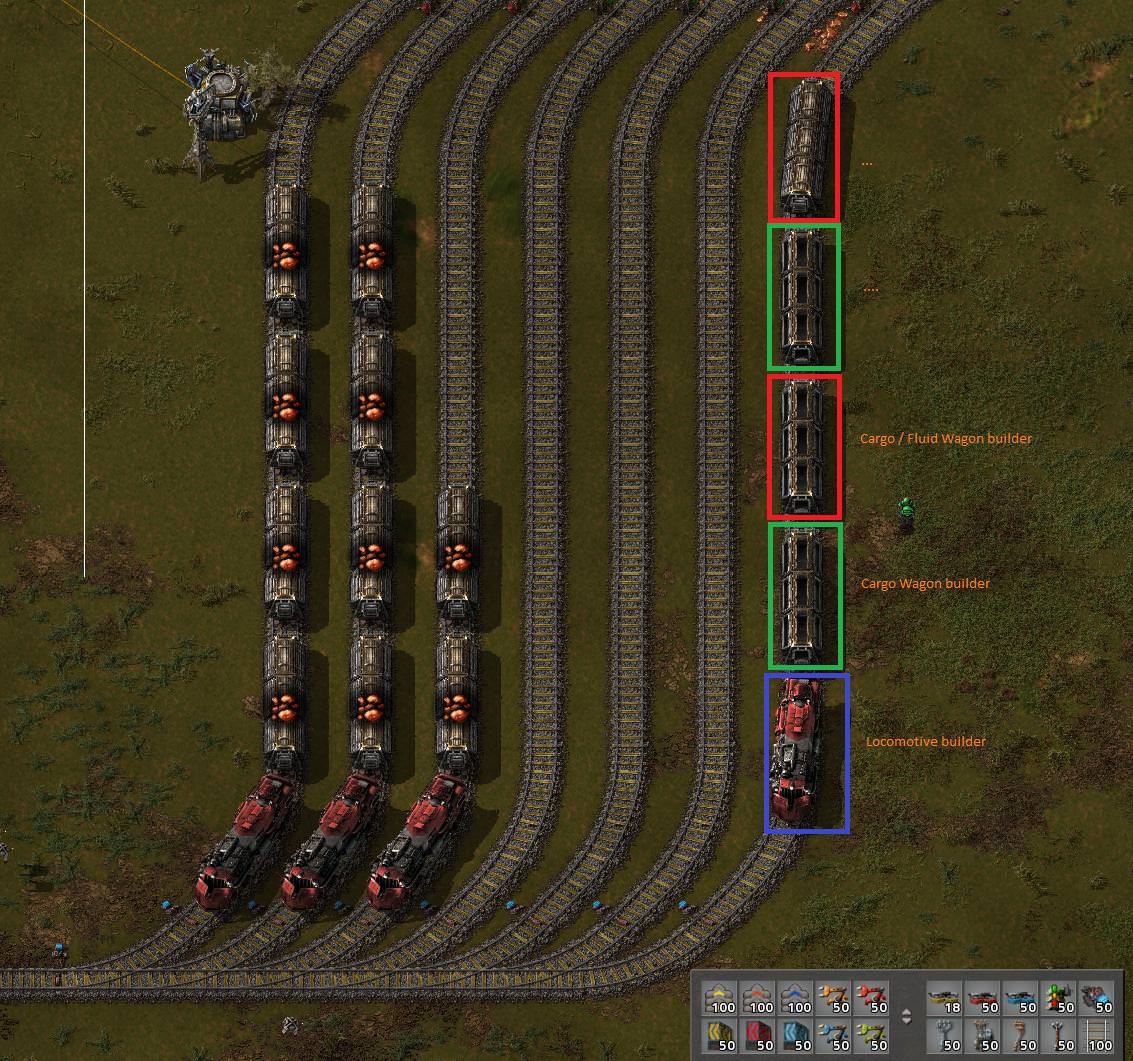
– Build your train by assembling locomotives and cargo wagons. A typical configuration might include two locomotives at either end for bidirectional capability, along with several cargo wagons in between, depending on your transportation needs.
– Place the components in the desired order within your inventory or using the train construction interface.
2. Fueling:
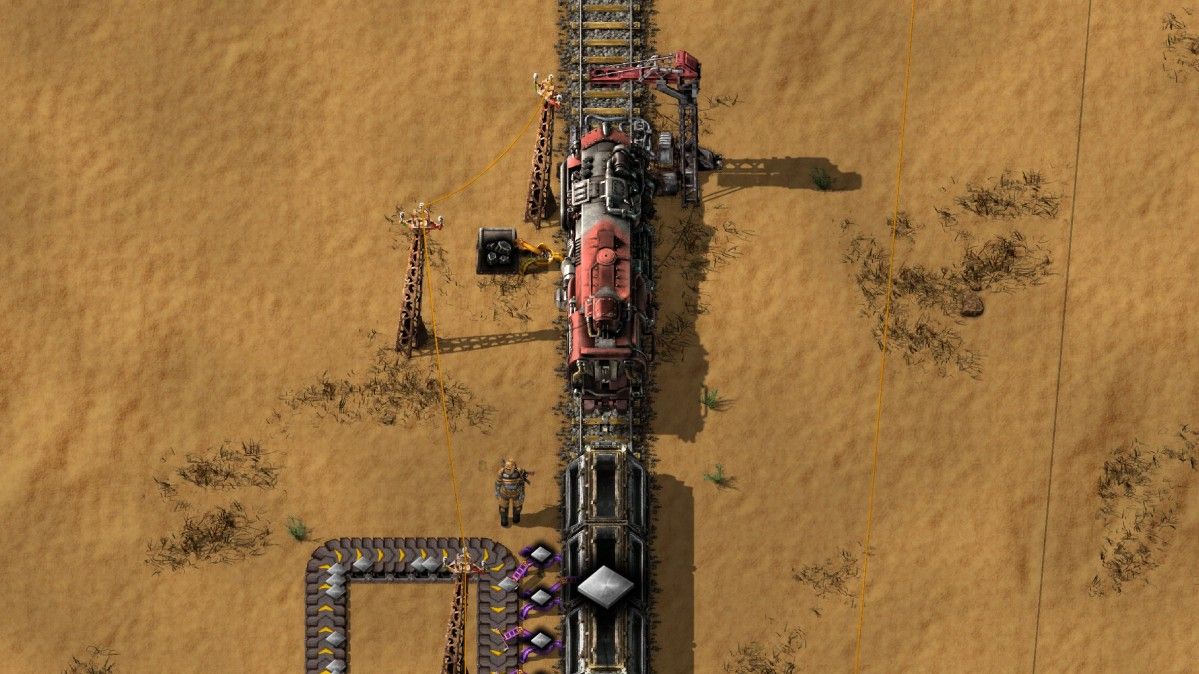
– Ensure that each locomotive has adequate fuel (coal, solid fuel, etc.) to operate continuously during its route. You can set up fueling stations using inserters to automate this process.
Step 3: Automating Train Movement
1. Scheduling:
– Click on the train to access its schedule interface. Here, you can add multiple stations for the train to visit.
– You can adjust the order of stations to create the desired route, ensuring that the train visits each location systematically.
2. Station Configuration:
– For each station, define the conditions under which the train should depart. Common configurations include:
– At a pick-up station, wait until the train is fully loaded.
– At a drop-off station, wait until the cargo is completely unloaded.
Step 4: Configuring Departure Conditions
1. Basic Conditions:
– Set straightforward conditions such as “load/unload all cargo” or “wait until inventory is above/below a certain threshold.”
2. Advanced Conditions:
– Take advantage of more complex conditions, such as timing or circuit network signals, to optimize your system. For example, you can configure a waiting time at a station or create triggers based on production or consumption rates.
Step 5: Circuits and Signals (Optional)
1. Signal Placement:
– While basic setups may not require signals, introducing them becomes crucial when operating multiple trains. This ensures safe traffic management and prevents collisions.
– Use chain signals at intersections to manage train flows toward their respective destinations efficiently.
2. Circuit Network:
– Utilize the circuit network to monitor logistical conditions and automate train behavior based on real-time resource availability. This requires some understanding of circuit logic and may involve setting up combinators and sensors.
Step 6: Testing and Optimization
1. Run the Schedule:
– Click the “Automatic” button to allow the train to follow its programmed schedule. Observe its operation closely to ensure that it visits each station as intended.
2. Adjustments:
– Be prepared to make adjustments based on any inefficiencies or bottlenecks observed during operation. Fine-tune the scheduling and conditions to enhance resource delivery and maintain smooth operations.
Additional Tips:
– Use of Multiple Locomotives: Employing multiple locomotives on longer trains or when heavily loaded allows for a smoother ride and faster travel times, especially on long distances.
– Signal Necessity: As your network grows, employing signals becomes vital. As a rule of thumb, always ensure that waiting areas are appropriately designed to avoid collisions amongst trains.
By closely following the steps outlined above, you can establish a robust automated train network that efficiently transports resources throughout your Factorio landscape. For further insights, consider exploring dedicated Factorio forums, video tutorials, or community-generated guides which often showcase advanced train systems and innovative logistical designs.


Leave a Reply