
Creating auto-scrolling levels in Super Mario Maker 2 can enhance gameplay by adding a unique challenge for players. Here’s a detailed guide on how to efficiently build these levels and adjust their scrolling speed:
Building Auto-Scrolling Levels
1. Enable Autoscroll in Course Maker
– Begin by entering the Course Maker interface. Look for the Autoscroll option, toggling it on for your selected Course Area. Activating this feature means the game automatically scrolls the camera, requiring players to navigate without the camera following Mario directly. This setting lays the groundwork for your auto-scrolling experience.
2. Determine Start and End Points for Scrolling
– Utilize the Custom Scroll tool to specify the beginning and end of your scroll path. The start point marks where the screen begins to scroll, and the end point signifies where it stops. You can manipulate the terrain’s vertical height, guiding the direction of the scroll—be it horizontal, vertical, or diagonal. This customization allows for creative scrolling paths that can enhance level design.
3. Implement Screen Lock for Vertical Limits
– To ensure that the camera maintains a consistent vertical position as it scrolls horizontally, employ the Screen Lock feature. This helps control the player’s vertical movement, thereby preventing the screen from shifting excessively up or down. It establishes clear limits on how far Mario can move vertically, providing a tighter gameplay experience conducive to the auto-scrolling format.
Adjusting Scroll Speed
– Utilize Scroll Speed Sliders
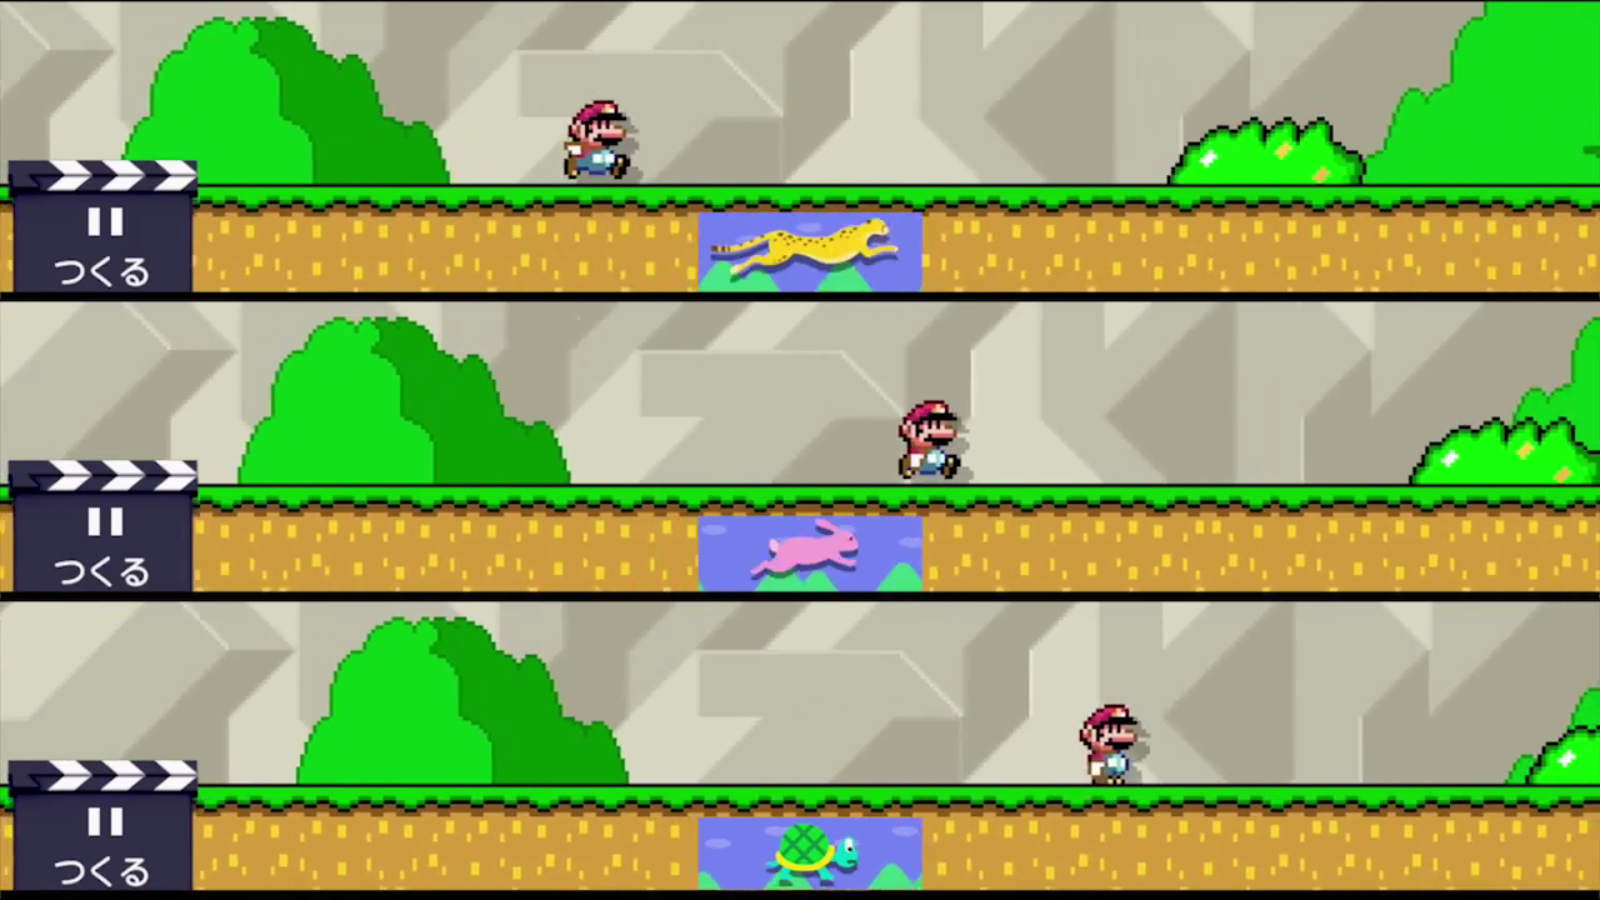
– After configuring your Custom Scroll settings, look for the scroll speed sliders near the scroll path markers. You can use the arrows next to the path to increase or decrease the scroll speed. This adjustment directly affects how fast the camera traverses the course area between the designated start and end points, making it a crucial element of your level design.
– Balance Scroll Speed with Level Design
– Finding the right balance for scroll speed is essential to ensure a smooth and enjoyable gameplay experience. If the scroll speed is too slow, it can lead to a tedious experience for players. Conversely, a speed that is too fast may frustrate players as they struggle to keep pace. It’s important to consider the overall difficulty and pacing of your level design when setting the scrolling speed.
Summary
In summary, to create an engaging auto-scrolling level in Super Mario Maker 2:
– Enable the Autoscroll option in Course Maker.
– Set start and end points using the Custom Scroll tool.
– Use Screen Lock to manage vertical movement limits.
– Adjust the scroll speed using the provided sliders for optimal pacing.
Thoughtful integration of these features will ensure that your auto-scrolling levels offer dynamic challenges that engage players while providing a fun and memorable experience. Always remember to design with the scrolling speed and overall gameplay flow in mind to deliver an enjoyable adventure!



Leave a Reply