Alright, adventurer! You’ve stumbled upon GameJinn, your ultimate guide to the digital realms. “Saros Shattered Rise,” you say? Excellent choice! Let’s dive deep into the shattered world of Saros and get you through every challenge. Prepare for an extremely detailed, accurate, and helpful walkthrough, packed with the latest tips and tricks to ensure your rise to victory!
First things first, it’s important to note that “Saros Shattered Rise” is a relatively new and evolving title, so strategies can shift with updates. I’ll be pulling the most current information available to give you the freshest insights.
Let’s get this walkthrough started!
## Saros: Shattered Rise – The Ultimate Walkthrough
“Saros: Shattered Rise” is a sci-fi action roguelite that throws you into the brutal, unforgiving world of Carcosa. Dying is part of the experience, so embrace each defeat as a learning opportunity! Your goal is to refine your strategy, master combat mechanics, and make it to the boss with as much health and adrenaline as possible.
### I. Core Mechanics & General Tips for Survival
Before we delve into the specifics of Shattered Rise, let’s cover the foundational elements that will keep you alive:
* **Movement is Life:** Never stand still in combat. Saros’ “bullet ballet” gameplay demands constant dodging, jumping, and kiting. Most enemies have homing attacks, so staying mobile is crucial.
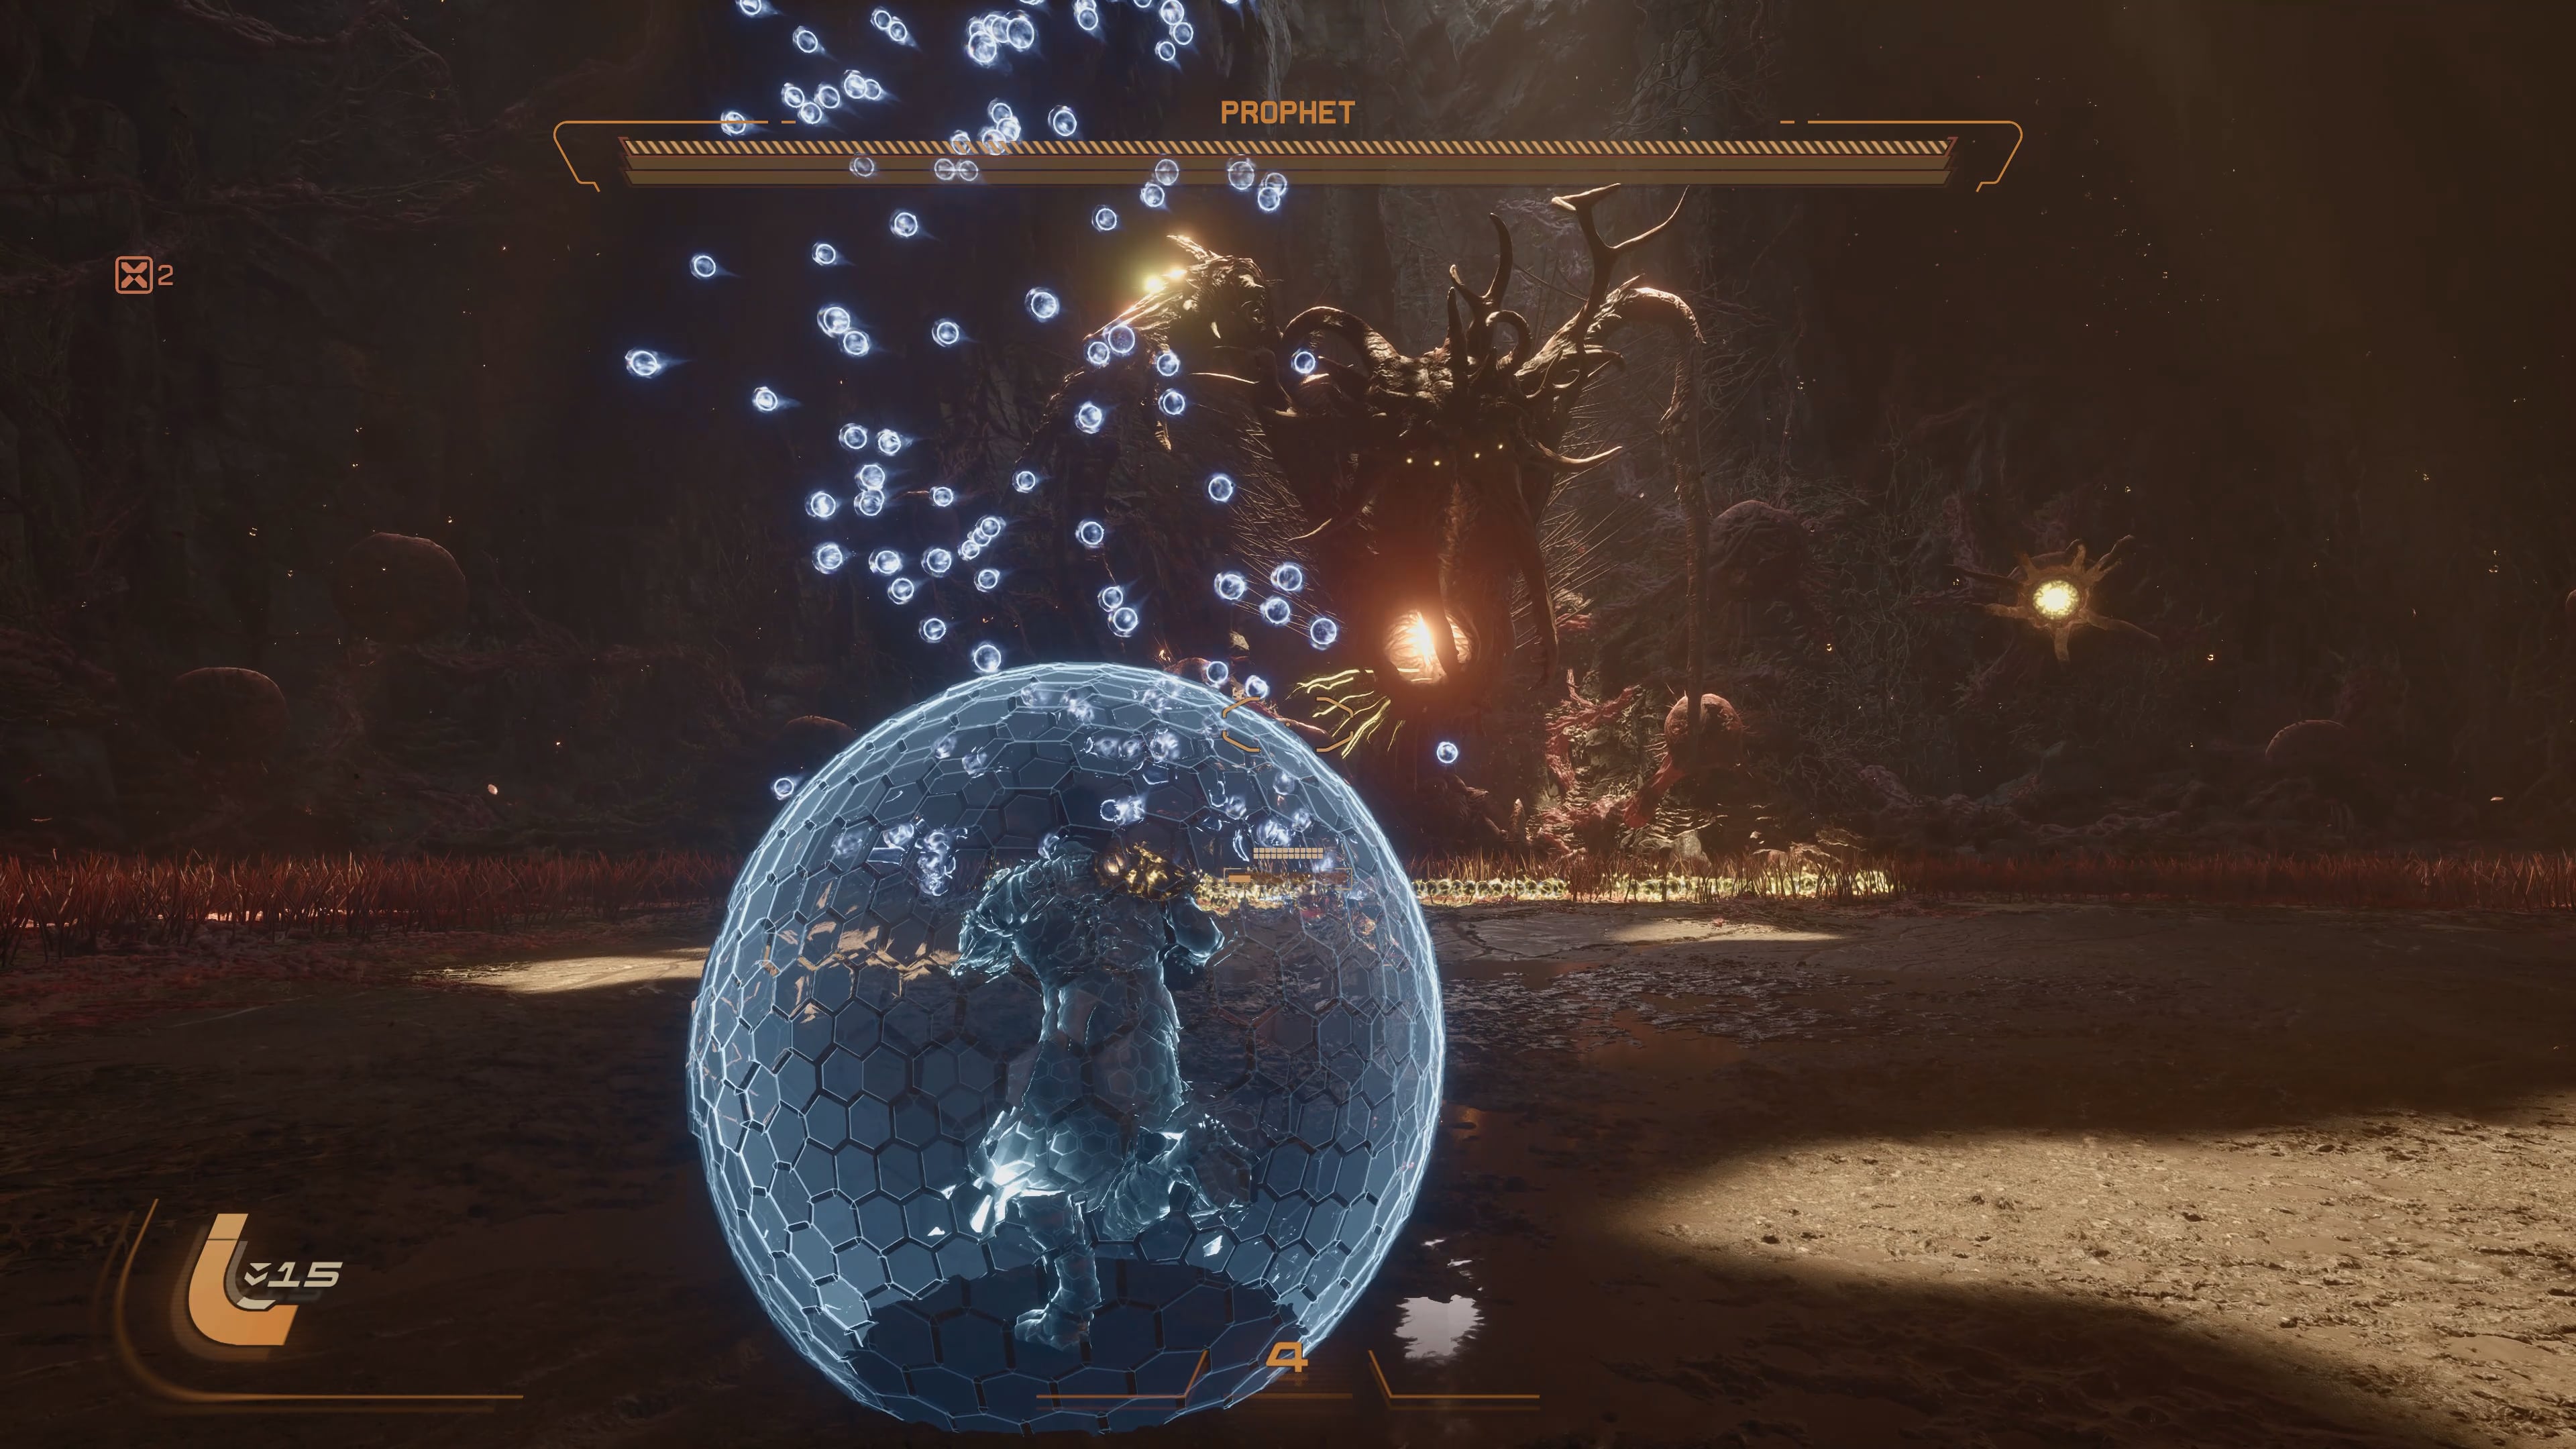
* **Master the Soltari Shield:** This energy shield can absorb blue projectiles, which in turn powers up your weapon’s special attacks (like Prominence in Shattered Rise). Practice using it to absorb incoming fire and unleash powerful retaliations.
* **Utilize Cover:** Many encounters in Shattered Rise offer walls and environmental elements you can use for cover. Keep your distance from enemies whenever possible.
* **Adrenaline System:** Aim to maintain a high adrenaline level by taking no damage. This will help you reach the boss with maximum health.
* **Armor Matrix Upgrades:** This is your primary progression system. Invest Lucenite and Halcyon (a rarer resource) into Resilience (health), Command (weapon/suit power), and Drive (Lucenite gathering). Prioritize Resilience early on to increase your survivability. Orange nodes, especially “Proficiency Enhancement,” are vital as they increase the quality of weapons you find. Purple nodes offer the most significant upgrades, so always grab Halcyon when you can.
* **Dying is Learning:** Every cycle introduces new rooms and enemy types. Learning layouts and enemy behaviors is key to preparing for the boss.
* **Melee Attacks:** Don’t forget your melee! It’s essential for breaking red barriers and can be a lifesaver in close quarters.
* **Hidden Areas:** Keep an eye out for glowing orange wall sections. Shooting them with your Power Weapon can reveal hidden resources and Carcosan Keys. Also, explore side paths and abandoned camps for artifacts and logs.
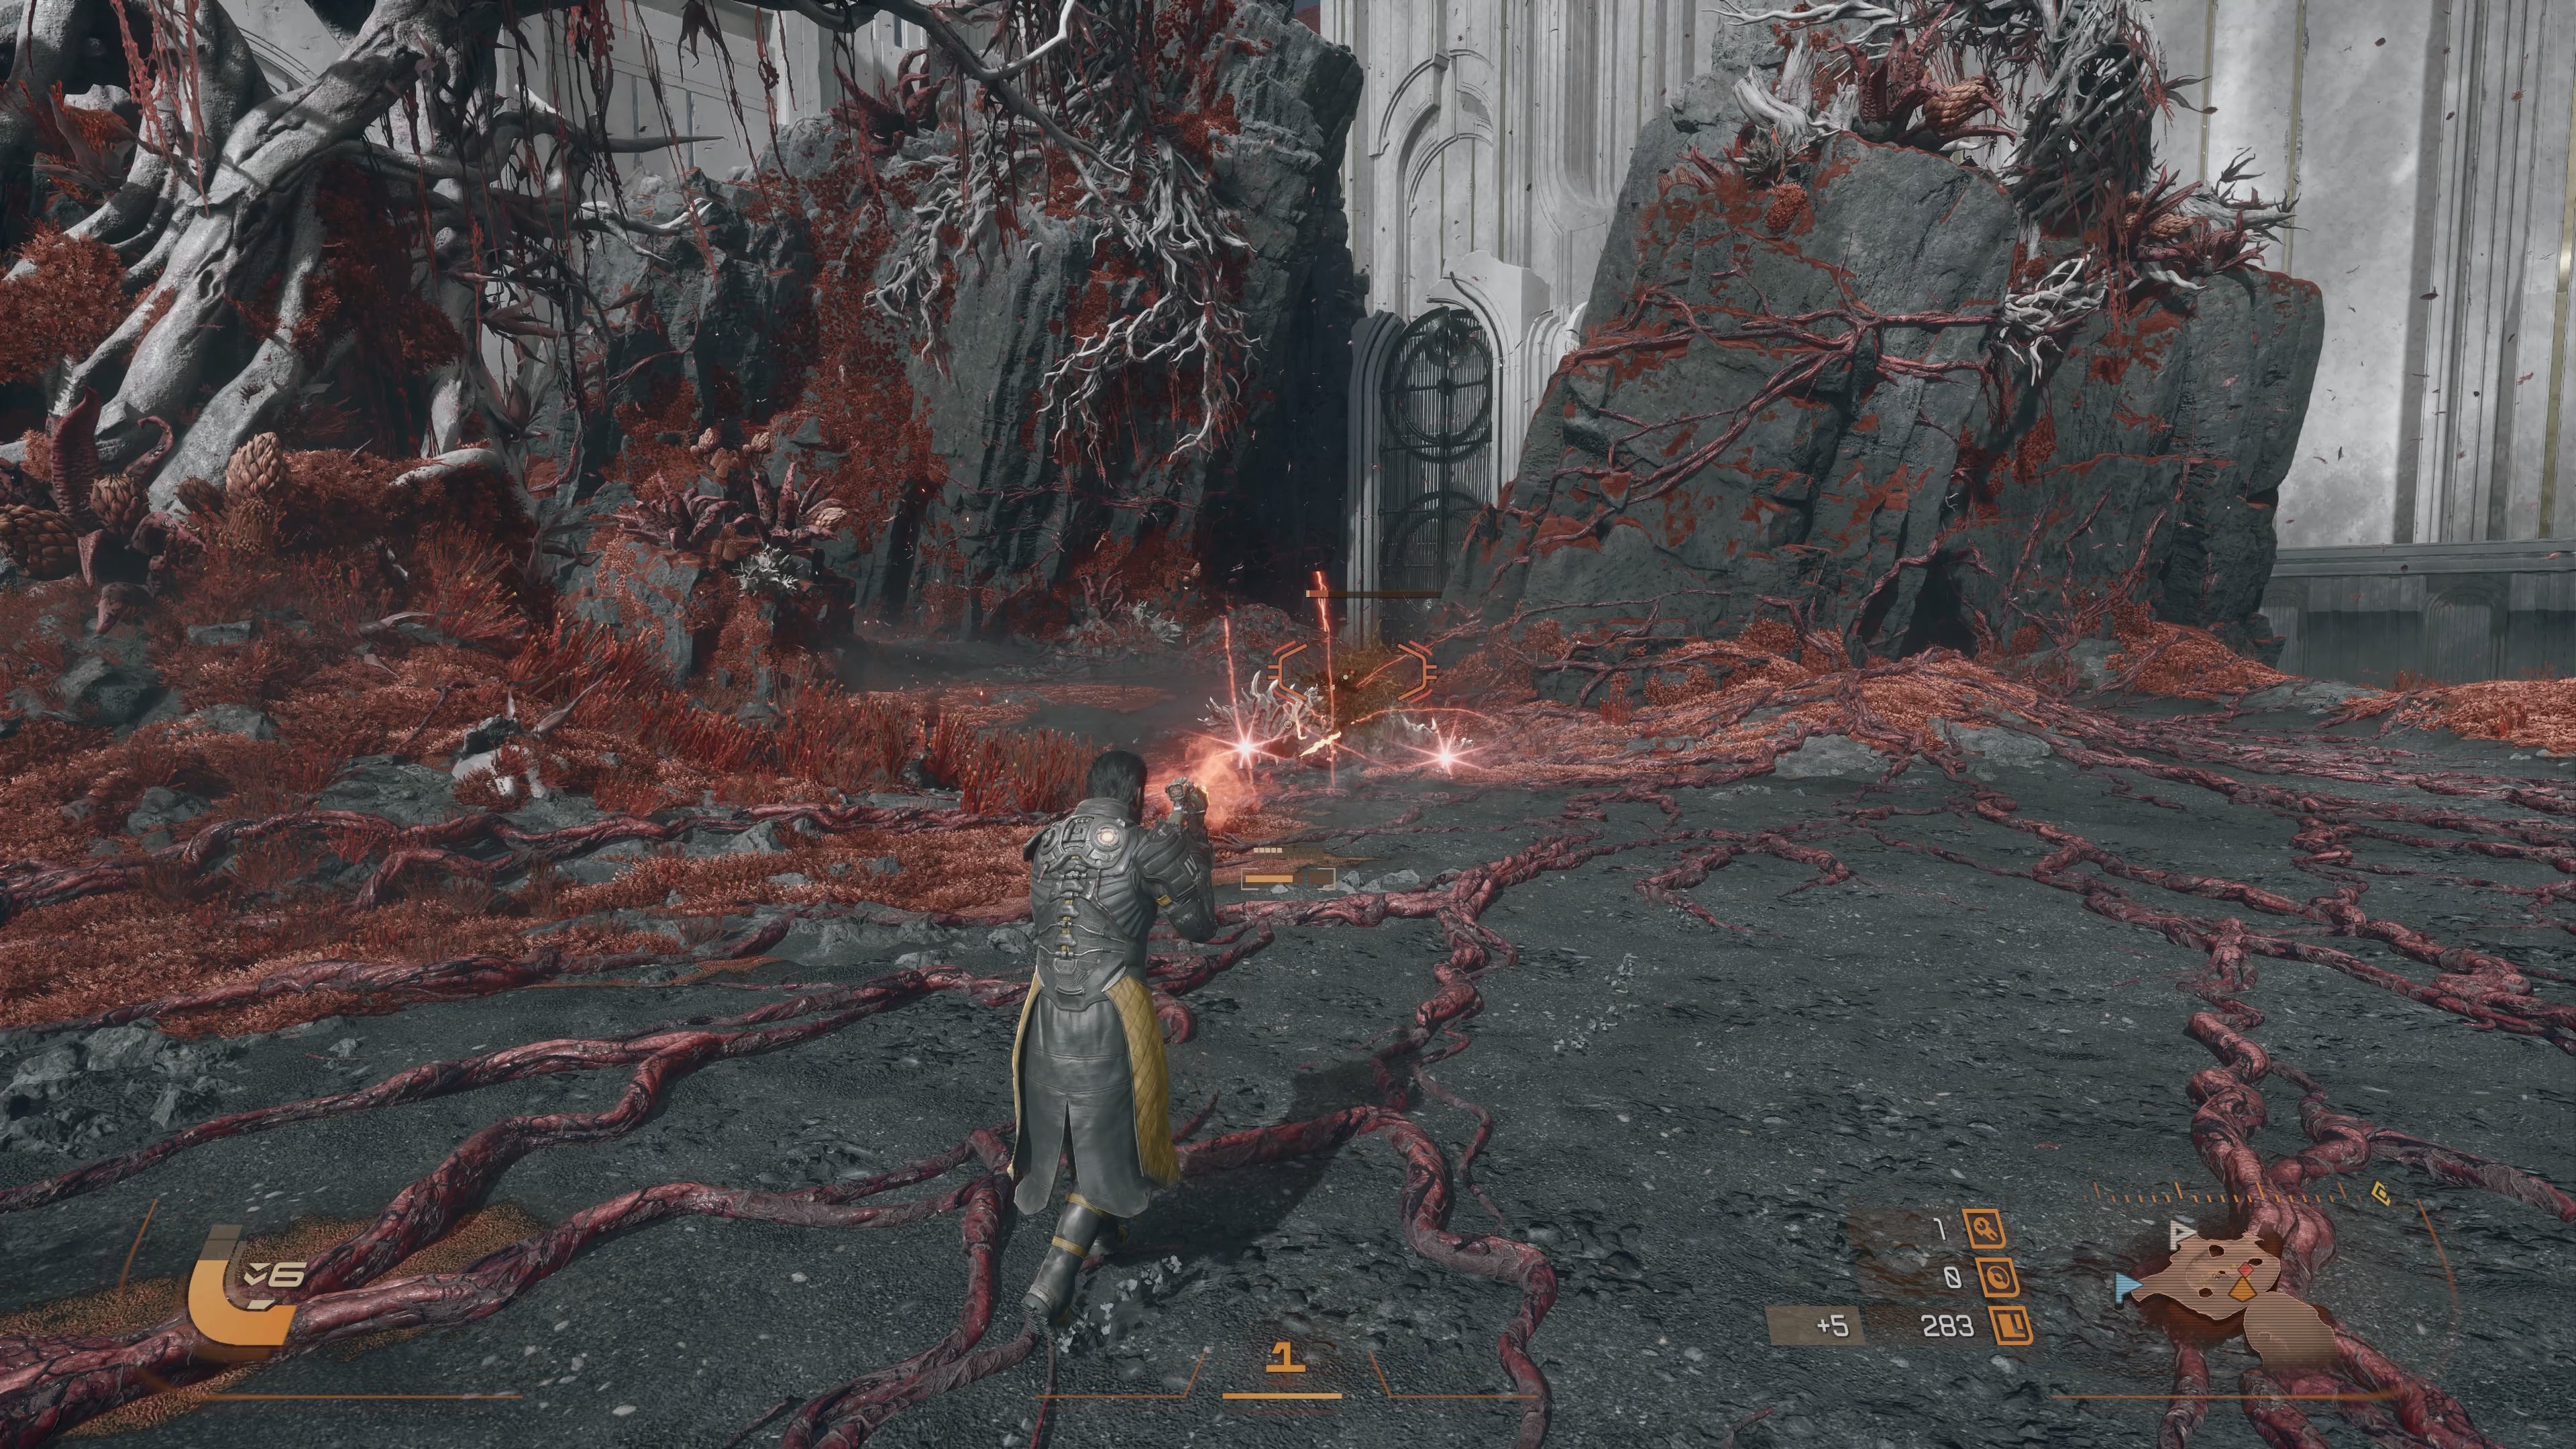
### II. Shattered Rise Biome Overview
Shattered Rise is the first biome you’ll encounter, characterized by mountainous regions and rocky structures. It serves as your training ground, introducing you to the game’s basic mechanics, starting weapons, and the Artifact system.
**Key Points of Interest:**
* **Tarn’s Camp:** A side room often accessed by using melee and your Red Shield. It’s a good place to find Audio Logs, Text Logs, Artifacts, and weapons.
* **The Mural Room:** A large room with a golden orb and two stands. Interacting with the stands lights up murals depicting ancient rituals. This is a main path forward.
* **The Eclipse Chamber:** Located just past the Mural Room, this is where the “Eclipse” system is introduced. The world changes, enemies become tougher, but you also earn more Lucenite. Until you unlock the boss shortcut, you *must* play through the Eclipse section.
* **Drop Rooms:** These rooms feature a circular hole in the floor leading to various challenges. You might land on a moving platform requiring quick jumps for rewards, or face closing gates forcing a quick choice between paths.
**Enemies of Shattered Rise and How to Fight Them:**
* **Custodian:** Slow-moving, fires blue projectiles (corrupted after Eclipse). Mostly fodder, but can be problematic when shielded or in groups. Keep your distance.
* **Guardian:** Stationary, sometimes shielded. Prioritize taking them out to facilitate kiting other enemies.
* **Flexion:** Flies and fires homing projectiles. Listen for their shriek as they can appear suddenly.
* **Vessel:** Flies in packs and explodes when close. Always eliminate these first to avoid significant damage.
* **Eclosion:** Very fast, spawns pods. Target the pods first, then close in on the Eclosion itself, as it can’t attack independently.
* **Osteomaw:** Extremely fast, charges for close-range attacks. They have high health, so kite them around the arena while dealing with other threats.
* **Sunflayer (Mini-boss):** Possesses a wide range of attacks. Maintain distance, use cover, and shield against blue projectiles to retaliate with your Power Weapon (Prominence).
### III. Weapons and Artifacts in Shattered Rise
Your weapon options are limited in the first biome, but all are serviceable.
**Recommended Weapons:**
* **Eruptor Handcannon:** A burst-fire handgun with an alt-fire charged shot for extra weakpoint damage. It also has the “Autohit” property, making it forgiving for imprecise aim.
* **Onslaught Rifle:** Similar to the Eruptor, it has Autohit on primary fire and rewards precision with its alt-fire.
* **Smart Rifle:** A full-auto AR whose alt-fire turns rounds into homing missiles. This can be great for hitting enemies while on the move.
* **Stalwart Shotgun:** With its “Pellet Wall” alt-fire, it can fire a wall of projectiles that then home in on the nearest enemy, making it excellent for stagger and damage.
**Artifacts:**
You can hold up to 10 artifacts initially. Generally, you should pick them up unless they have a particularly nasty debuff (like lowering maximum integrity or increasing dash cooldown). Artifacts can significantly enhance your run, offering benefits like extra homing projectiles, increased clip size, or faster reloads.
### IV. The Prophet – Shattered Rise Boss Guide
The Prophet is the first Overlord of Shattered Rise and a significant skill check. It has three health bars, and defeating it requires mastering dodging, shielding, and targeting its weak spots.
**Preparation is Key:**
* **Unlock Armor Matrix Upgrades:** Before facing the Prophet, focus on unlocking as many Armor Matrix nodes as possible, especially those that increase your maximum integrity (health).
* **Weapon Choice:** The Onslaught Rifle is highly recommended. Weapons with auto-hit are also very useful for taking out the tentacle orbs during the fight.
* **Carcosan Modifiers:** If you’re struggling, consider utilizing Carcosan Modifiers (found in Primary) to increase damage or decrease corruption.
**Prophet’s Attack Phases & Strategy:**
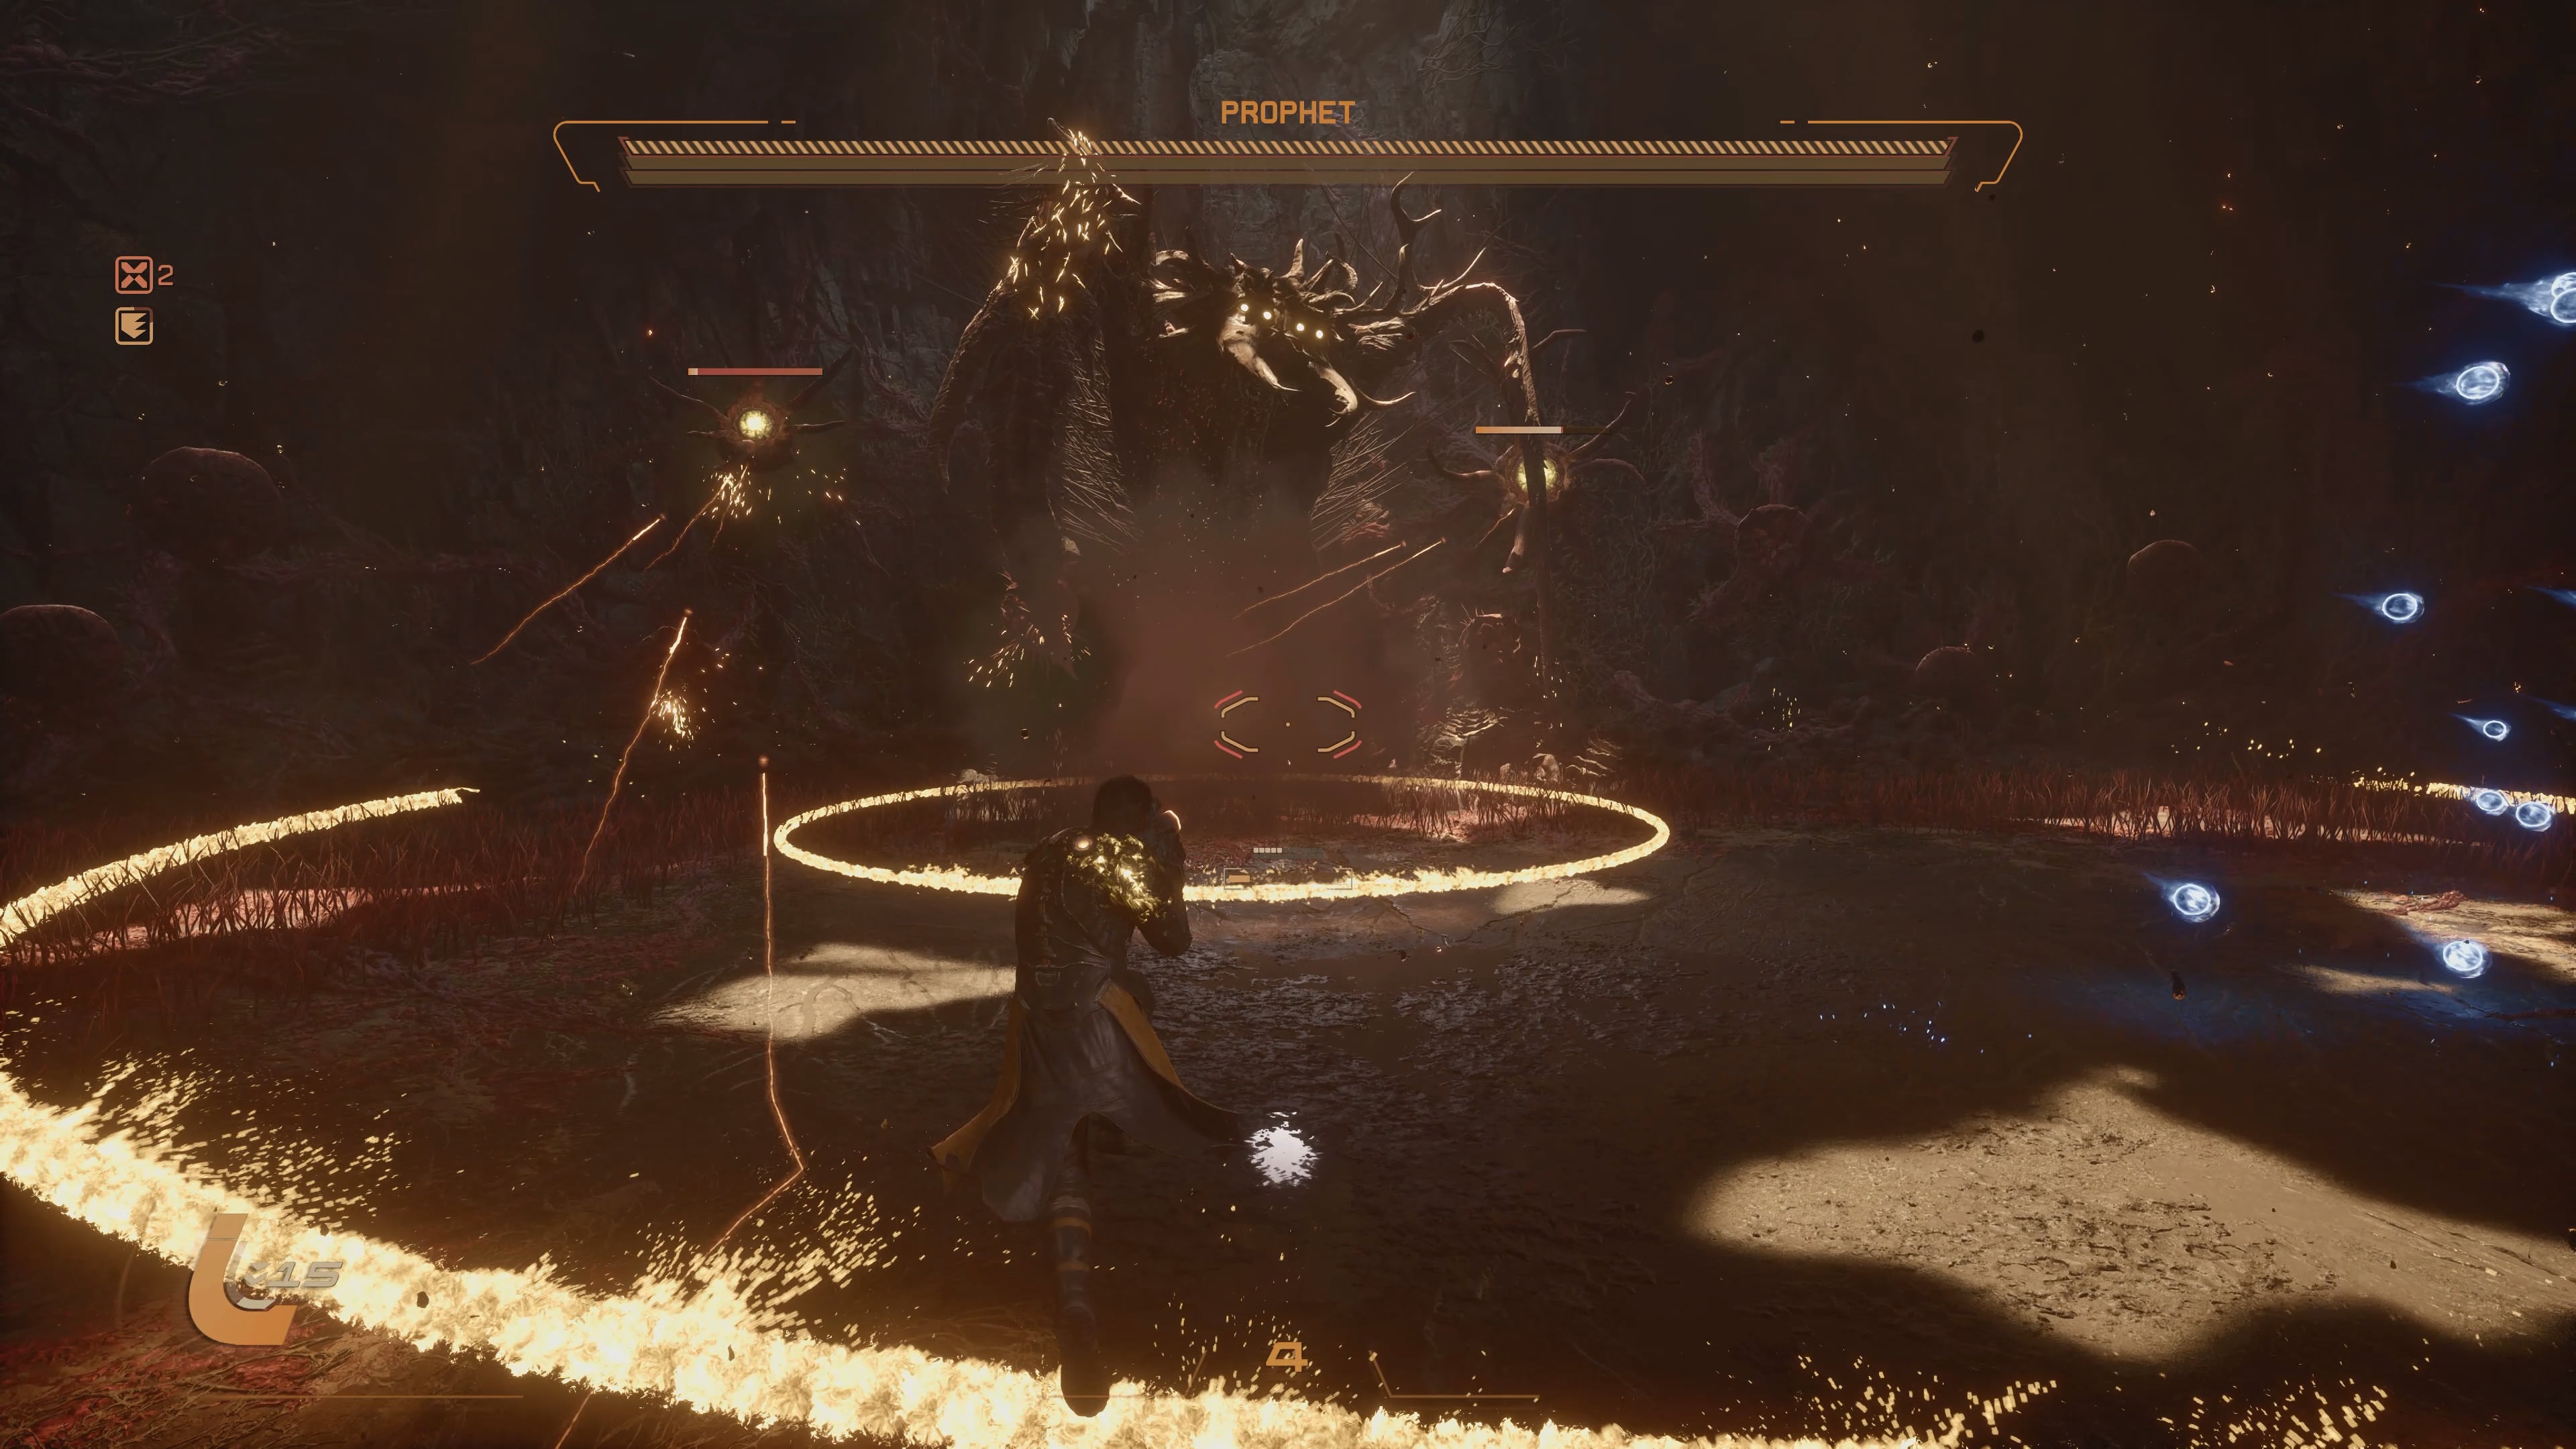
The Prophet has three phases, each increasing in intensity. In each phase, you must first destroy glowing yellow tentacle orbs that appear on the wall behind the Prophet before you can damage the boss itself. Avoid the red vine-grass around the arena, as it will slow you down.
**Phase 1:**
1. **Destroy Yellow Buds/Orbs:** The Prophet’s weak spot is initially hidden. You must destroy the yellow buds that appear around it on either side.
2. **Dodge and Shield:** While destroying the buds, dodge and jump over projectiles.
* **Blue Projectile Homing Attack:** The Prophet fires five slow-moving blue projectiles. Absorb these with your Soltari Shield to build Power for your Power Weapon.
* **Corrupted Orb Slash Attack:** Three “slashes” (projectiles) will come at you. The first two are angled, and the final one is horizontal. Dodge through or around these. You can absorb them if you need Power and don’t mind corruption buildup.
3. **Exposed Weakspot:** Once the buds are destroyed, a larger yellow bud (the weak spot) will open in the middle of the Prophet. Unleash your main weapon and Power Weapon (Prominence) on it.
4. **Repeat:** The weak spot will hide halfway through its health bar, and more buds will appear. Repeat the process until the first health bar is depleted.
**Phase 2:**
1. **Increased Buds and Enemies:** Similar to Phase 1, but more yellow buds will appear around the wall. The boss will also spawn enemies on the ground that shoot yellow projectiles. Prioritize damaging these enemies as they can drop Aether (health).
2. **New Attacks:** The Prophet will have additional attacks. Continue to absorb blue projectiles with your shield and dodge corrupted ones.
3. **Power Move:** After the boss creates five blue projectiles in the air, keep your Soltari Shield up to absorb them all. Immediately use a Power Move afterward to reset your meter.
**Phase 3:**
Expect even more intense versions of the previous attacks, with increased projectile density and enemy spawns. Maintain your focus on dodging, shielding, and prioritizing the yellow orbs to expose the Prophet’s weak spot.
Remember, every run is a chance to learn and adapt. Don’t get discouraged by deaths; they’re just another opportunity to come back stronger! Now go forth, Enforcer, and shatter that rise!


Leave a Reply